- PAGE SETTINGSClick on the gear to simplify view
- Settings

Lesson Plan
What You’ll Need
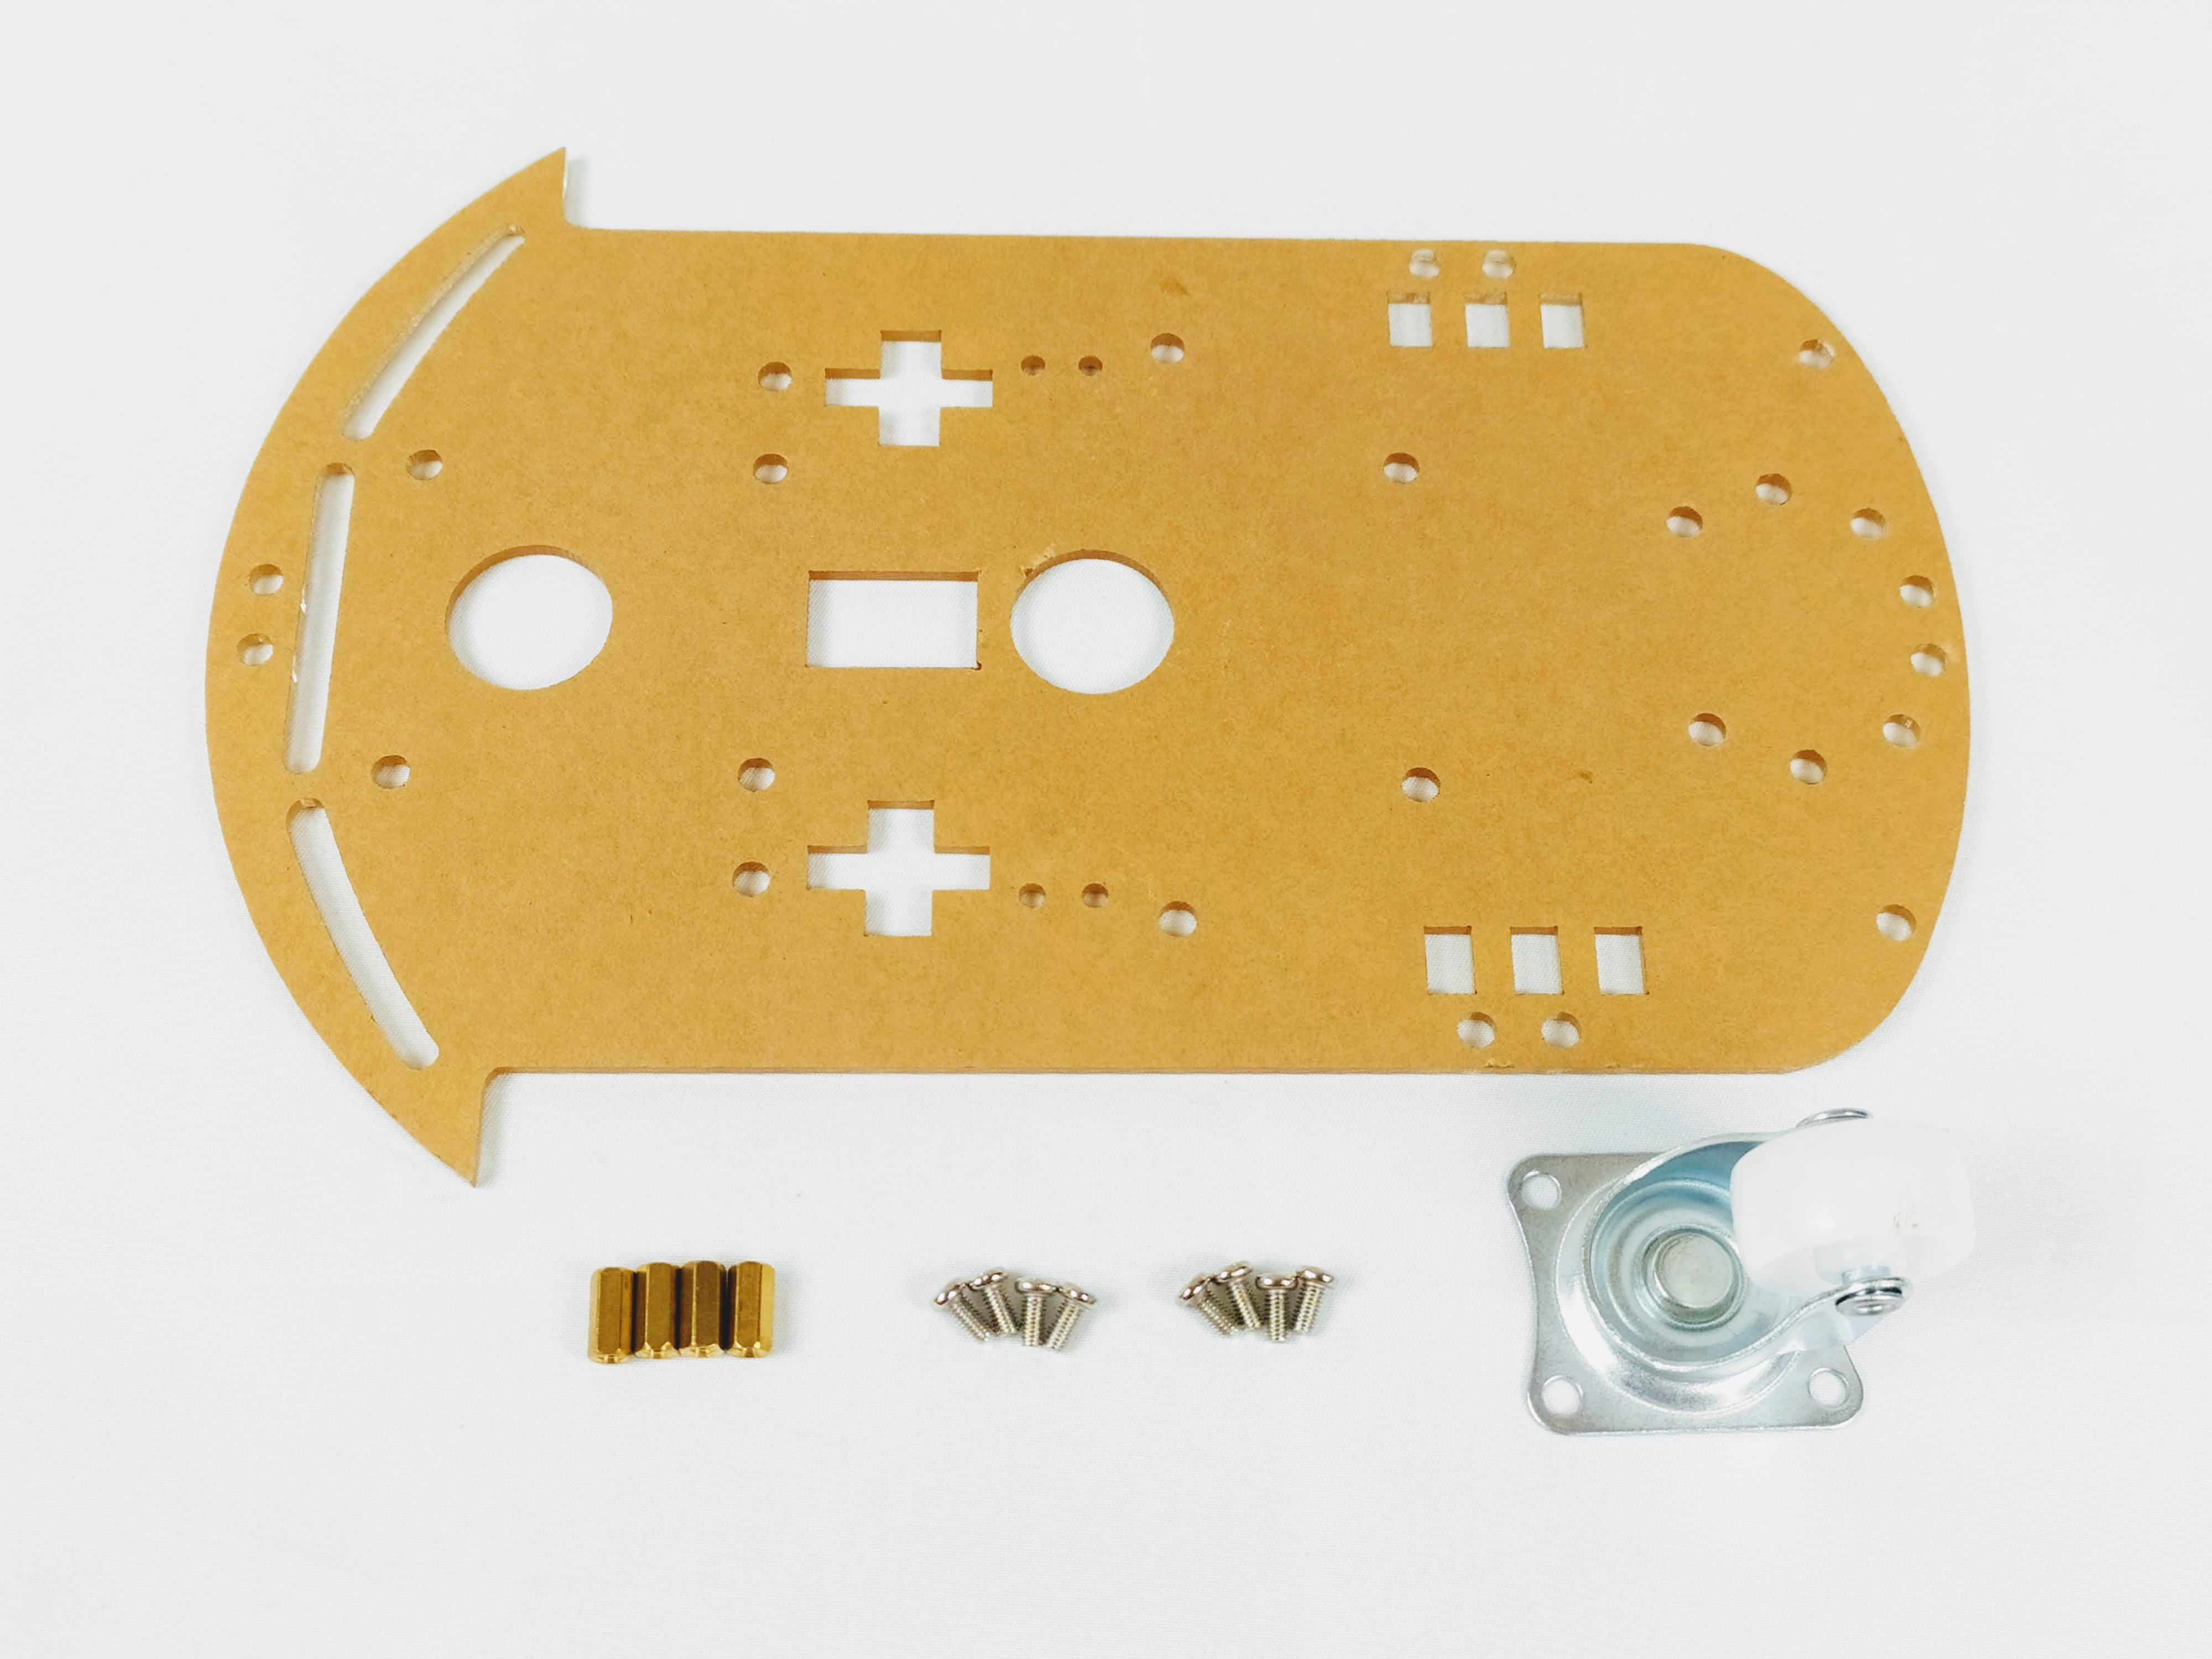
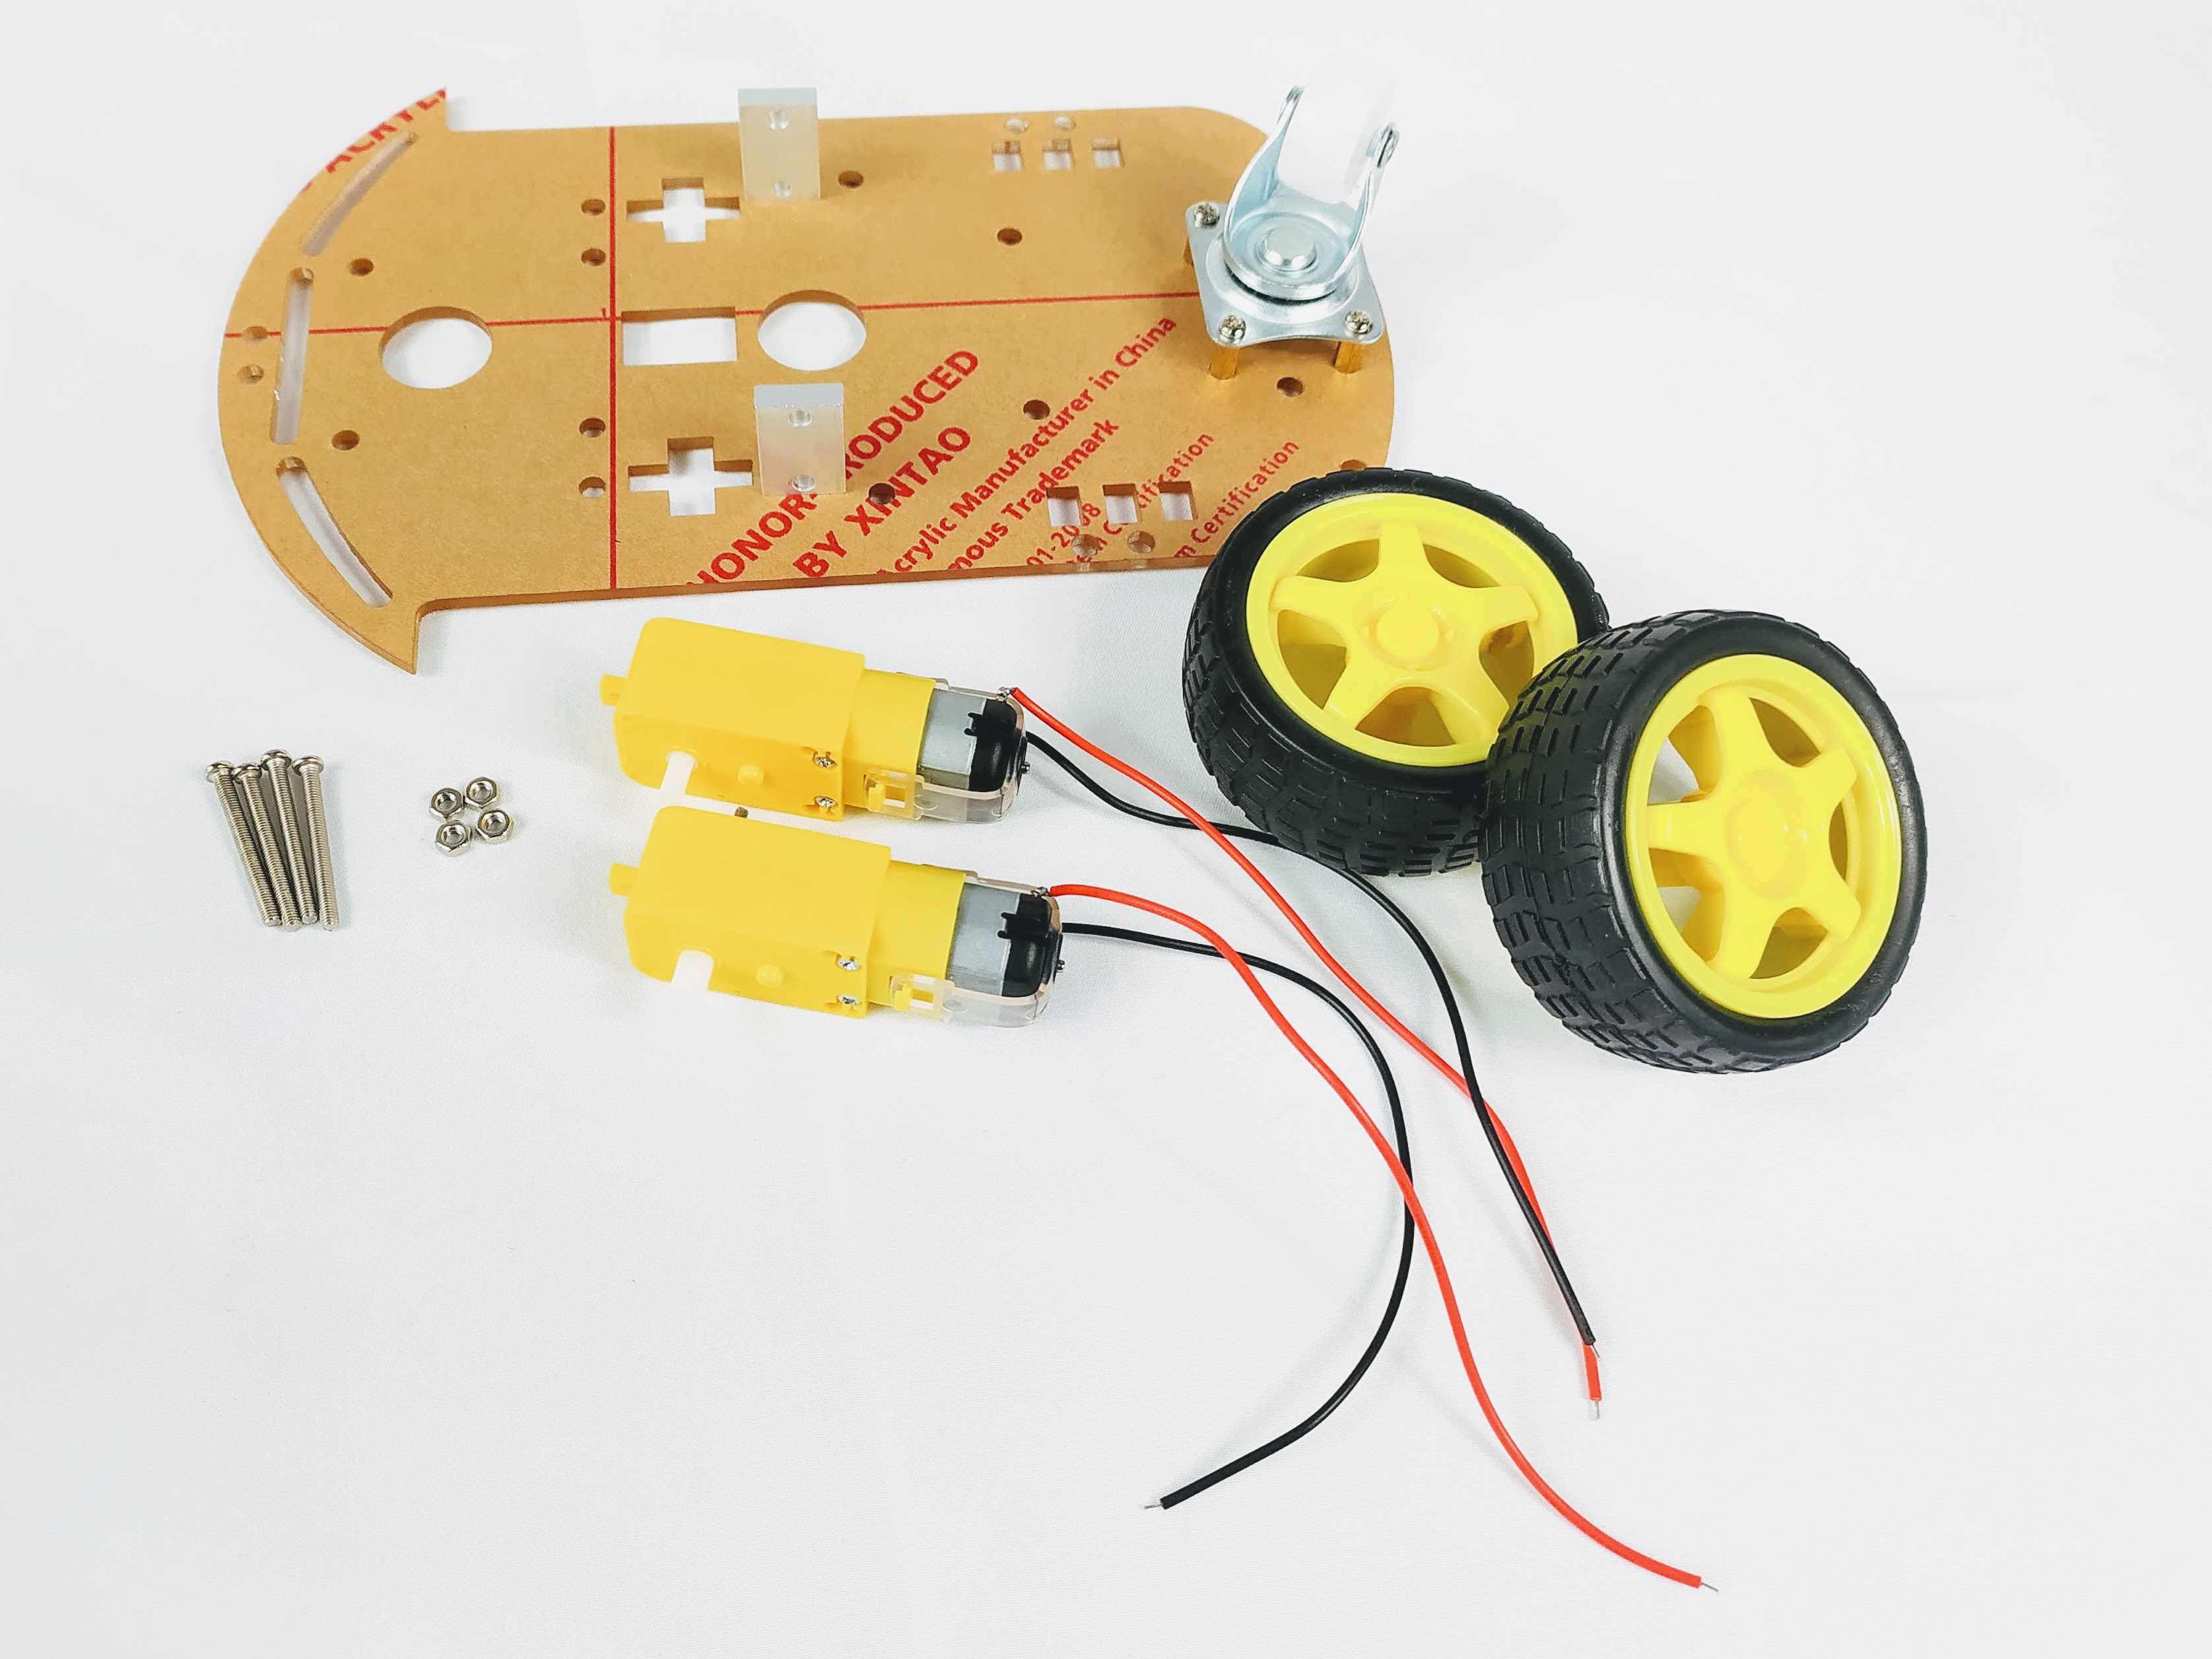
Check to make sure that you have all the parts for this lesson before you get started.
- 1 x 2WD Chassis + Wheels
- 2 x DC Motors
- 1 x Arduino Uno Compatible Board
- 1 x DC Driver Board
- 1 x Battery Holder
- 6 x Sticky Foam
Overview
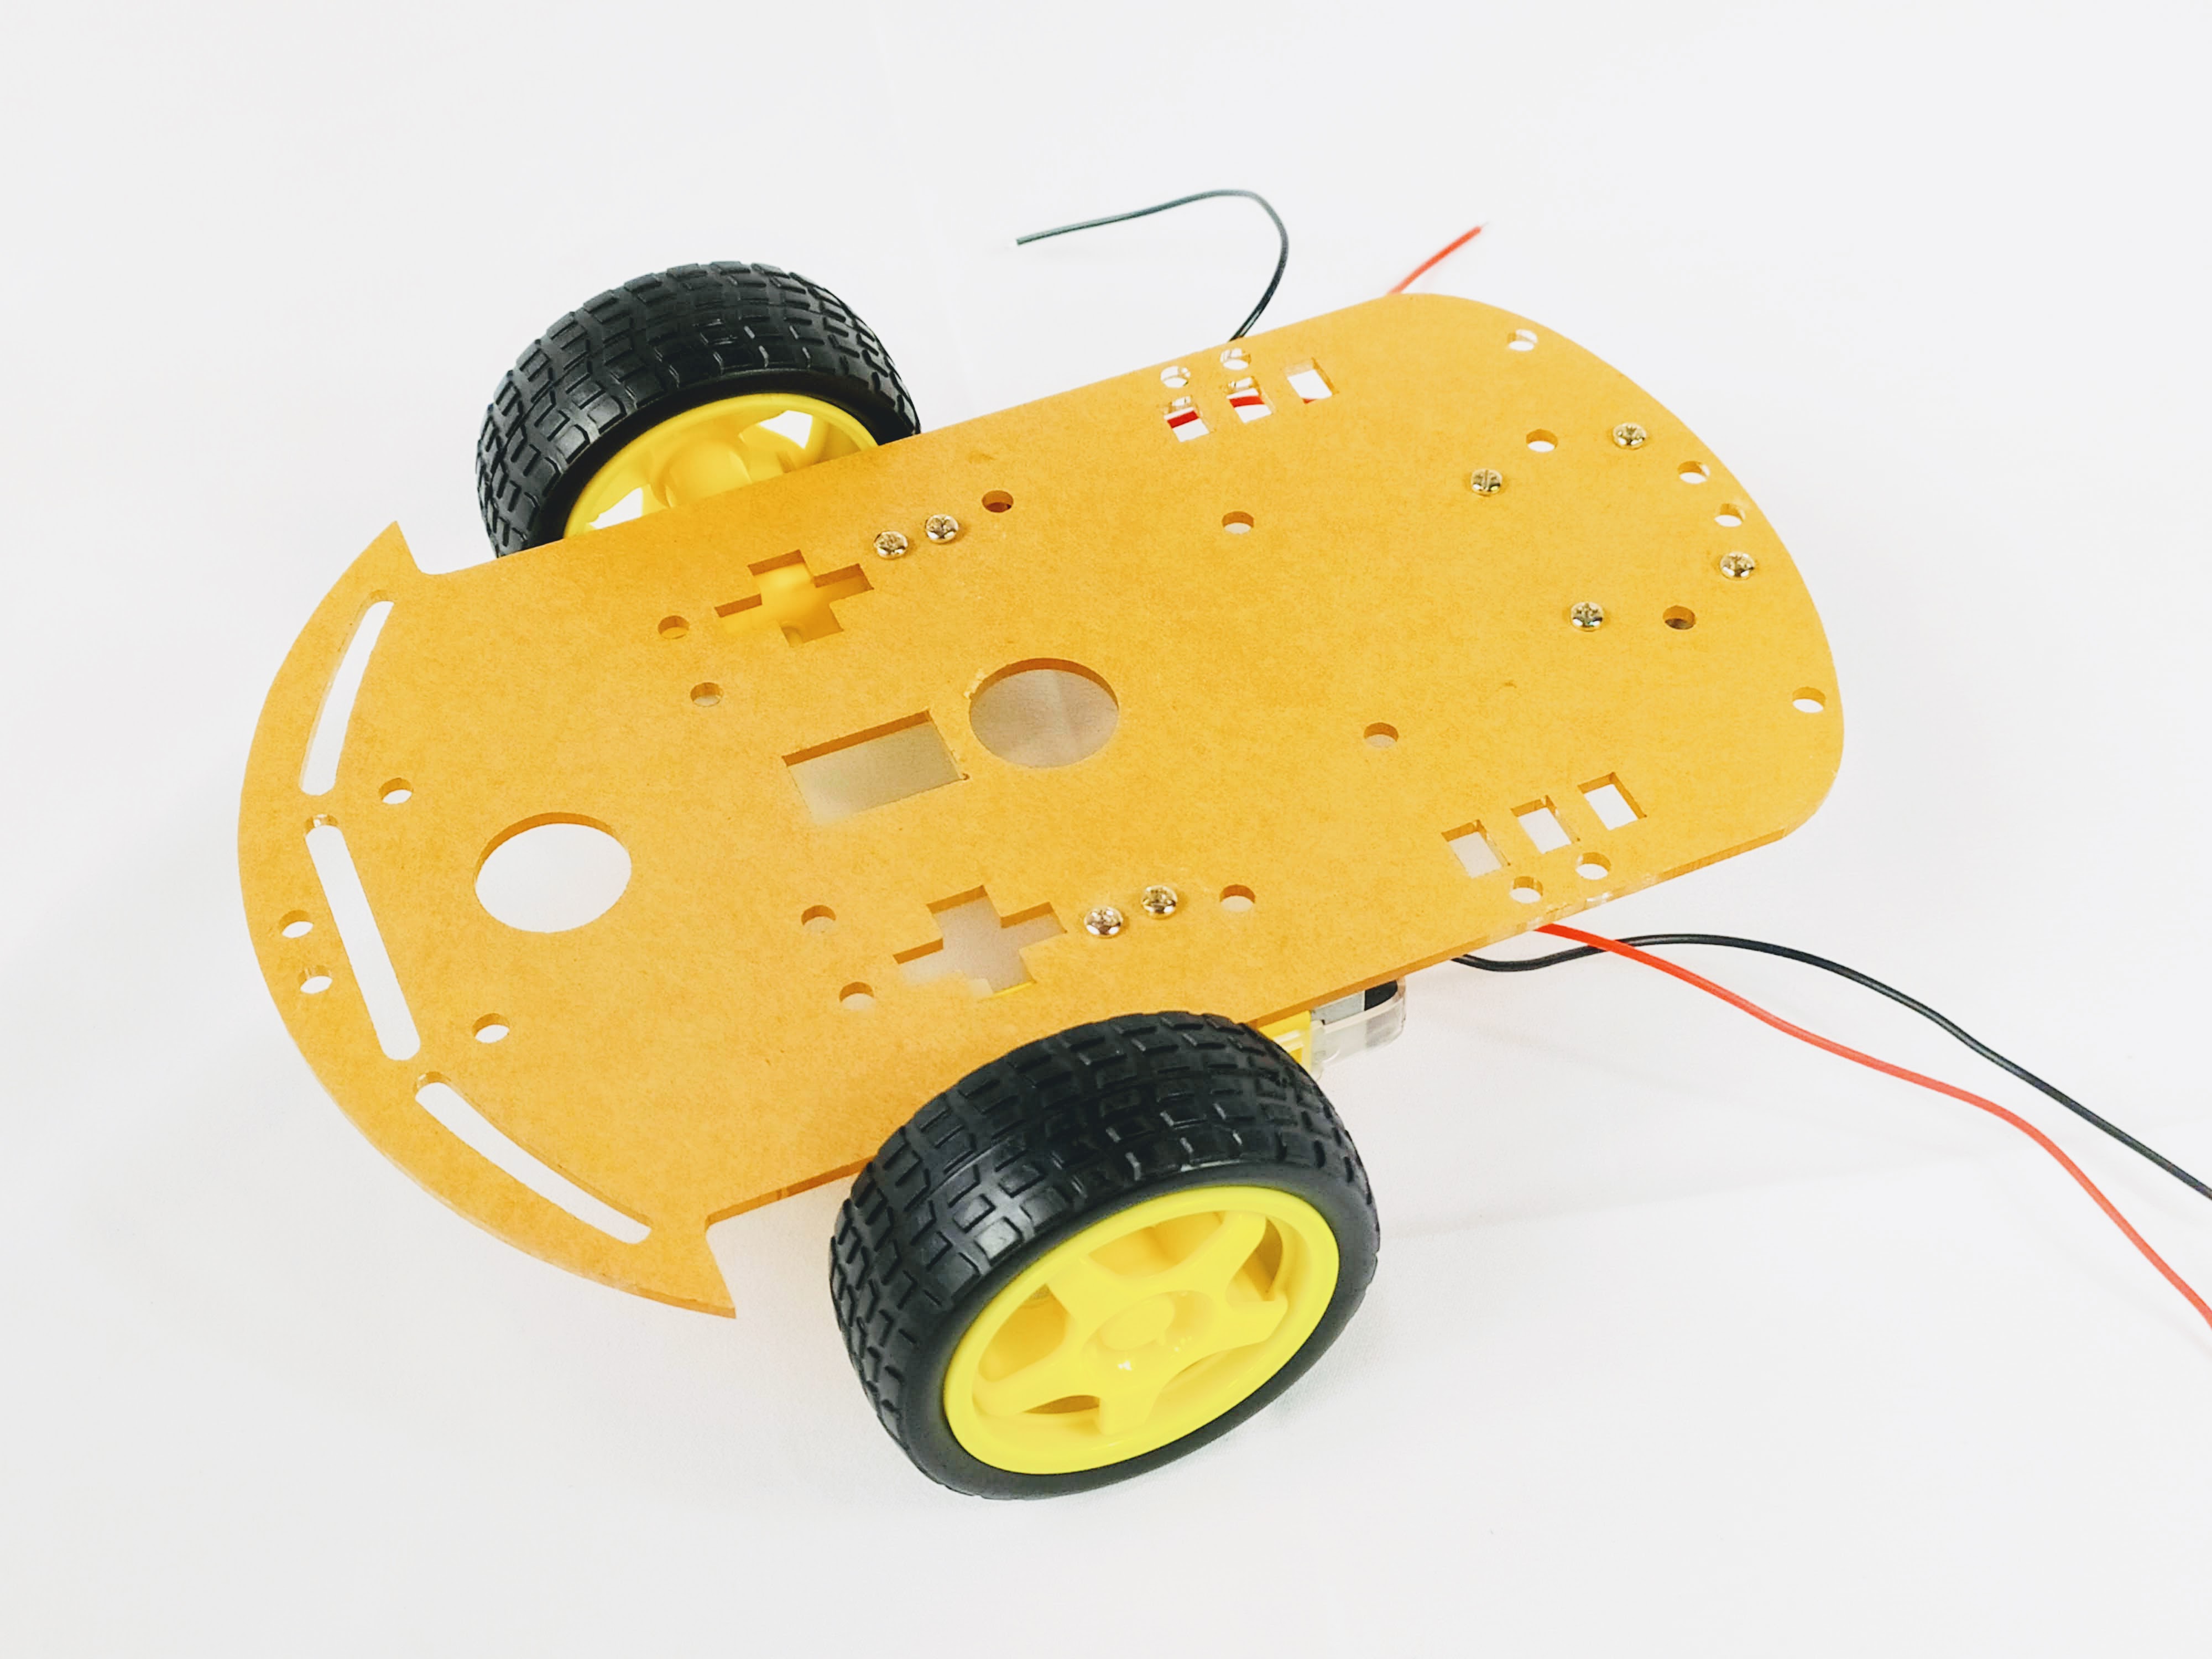
In this section we will assemble the car and mount our hardware
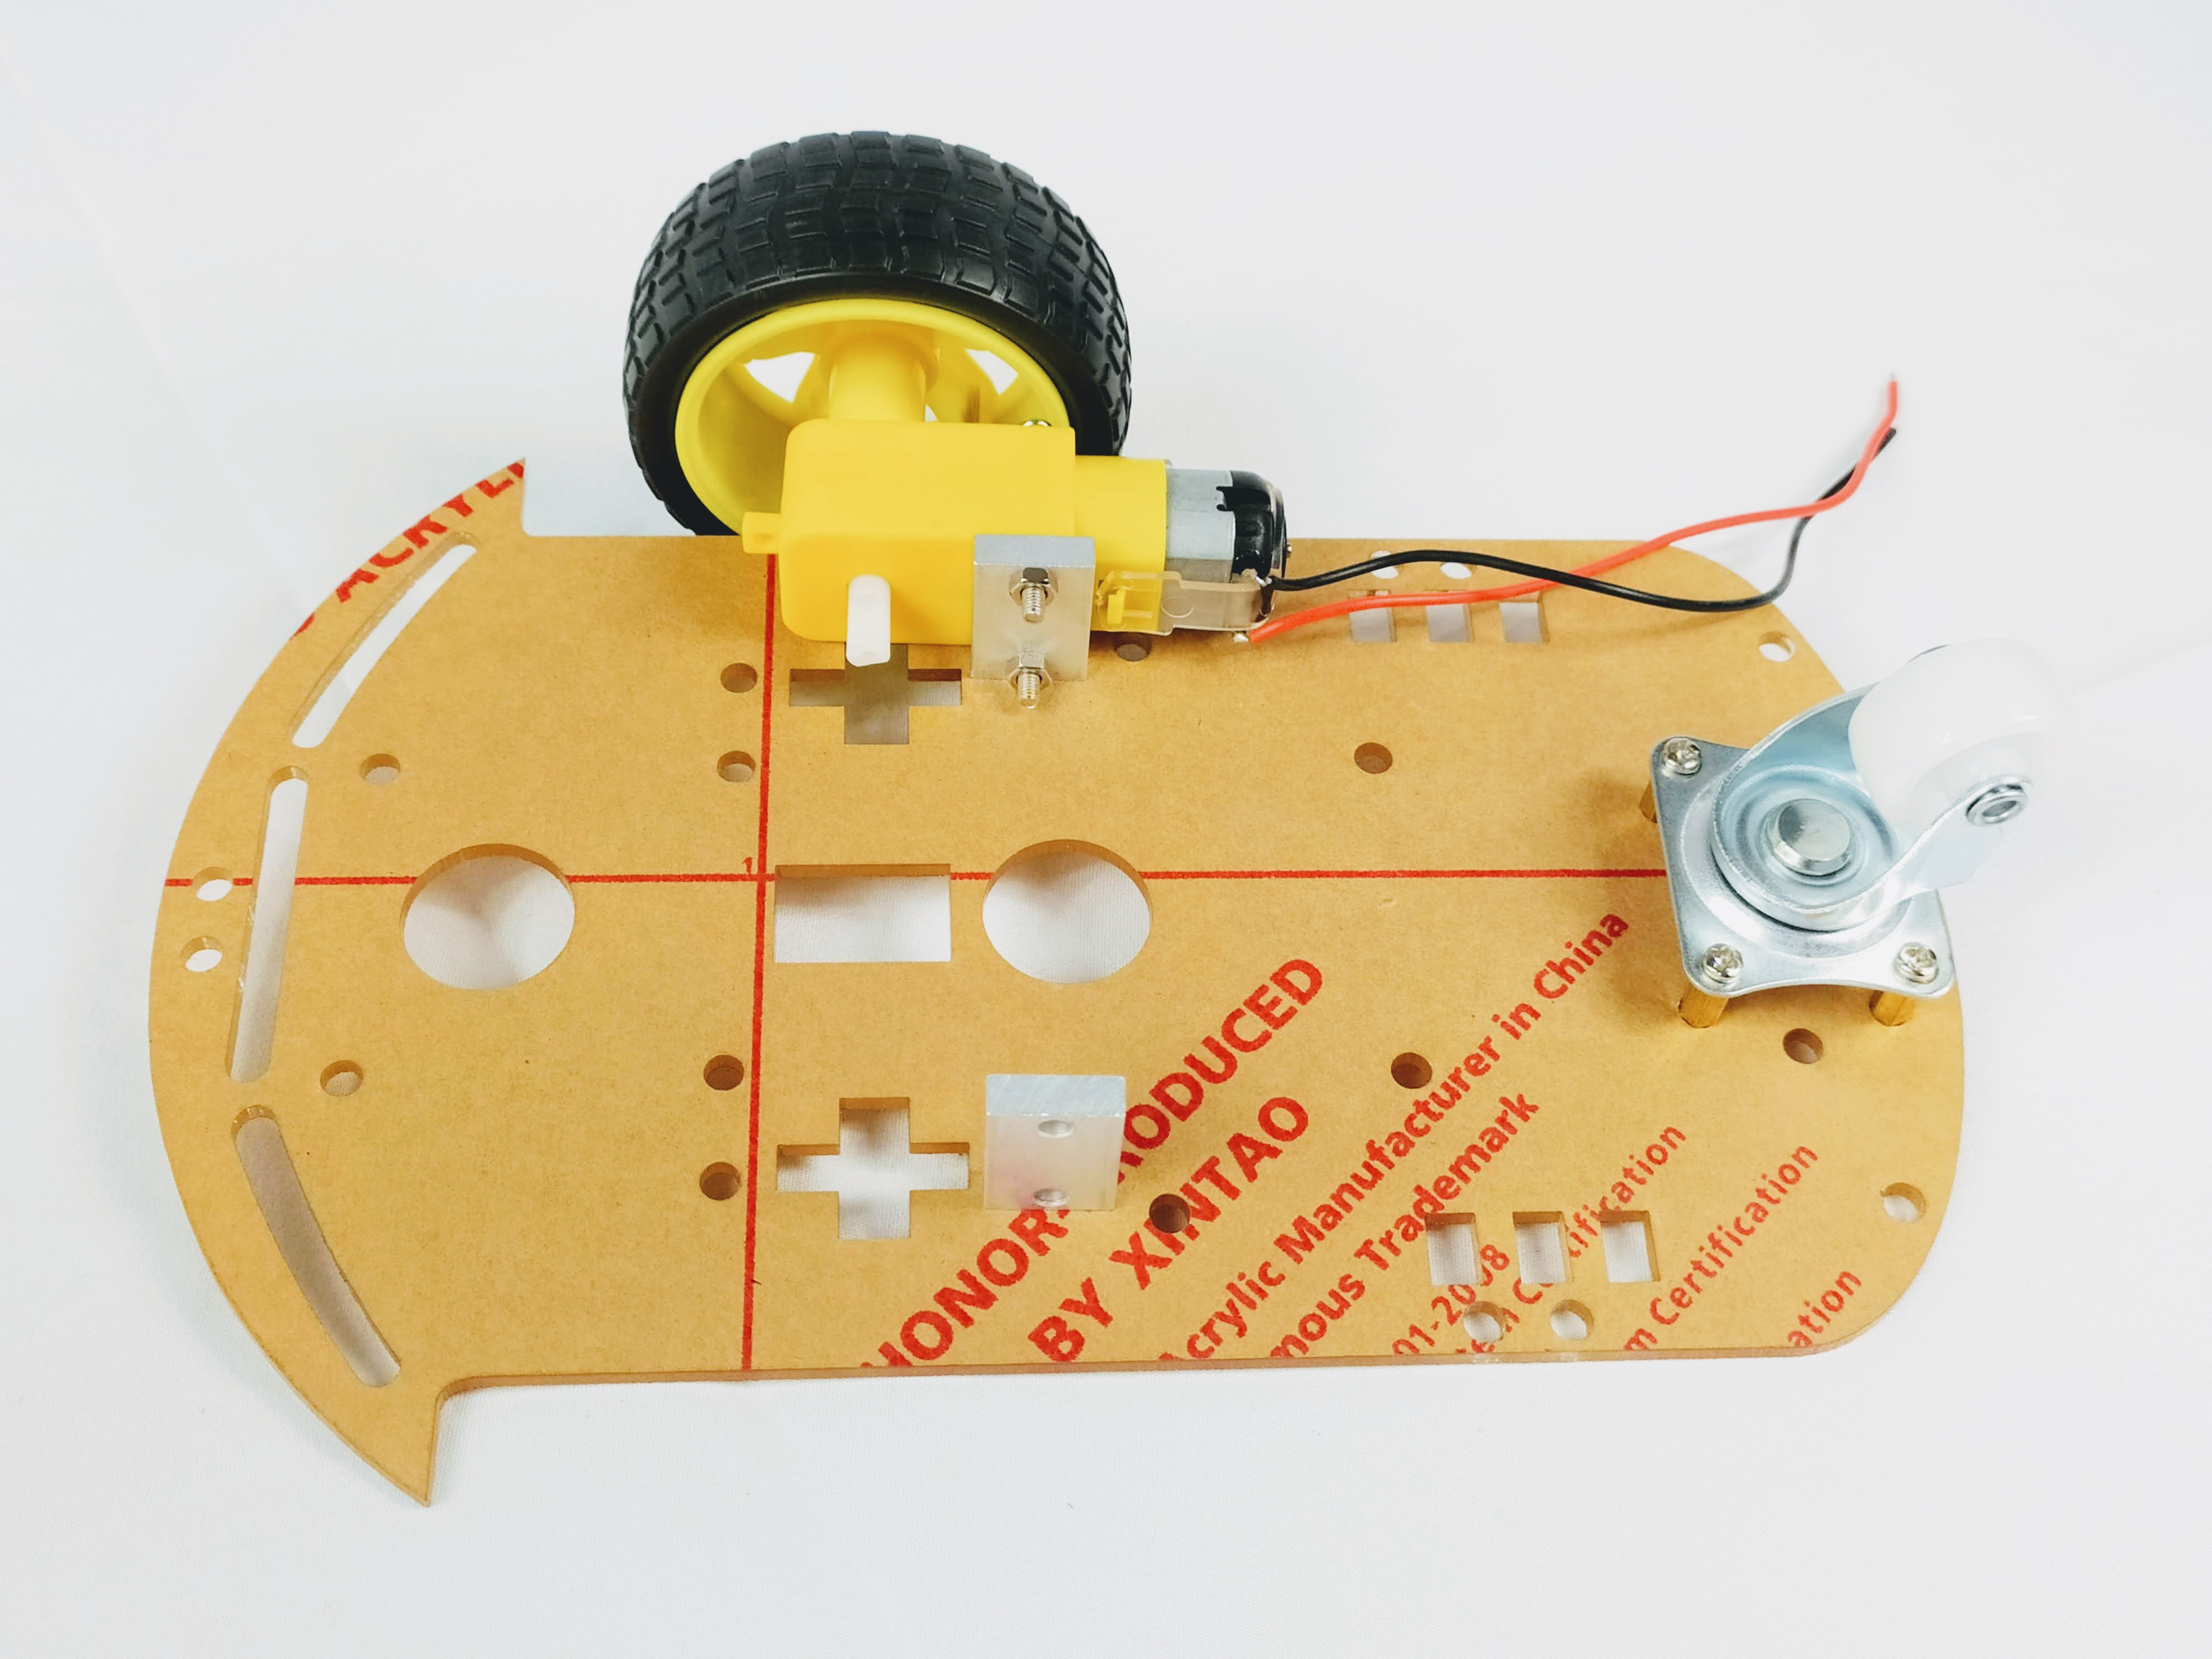
Mount The Motors And Wheels
Note: N
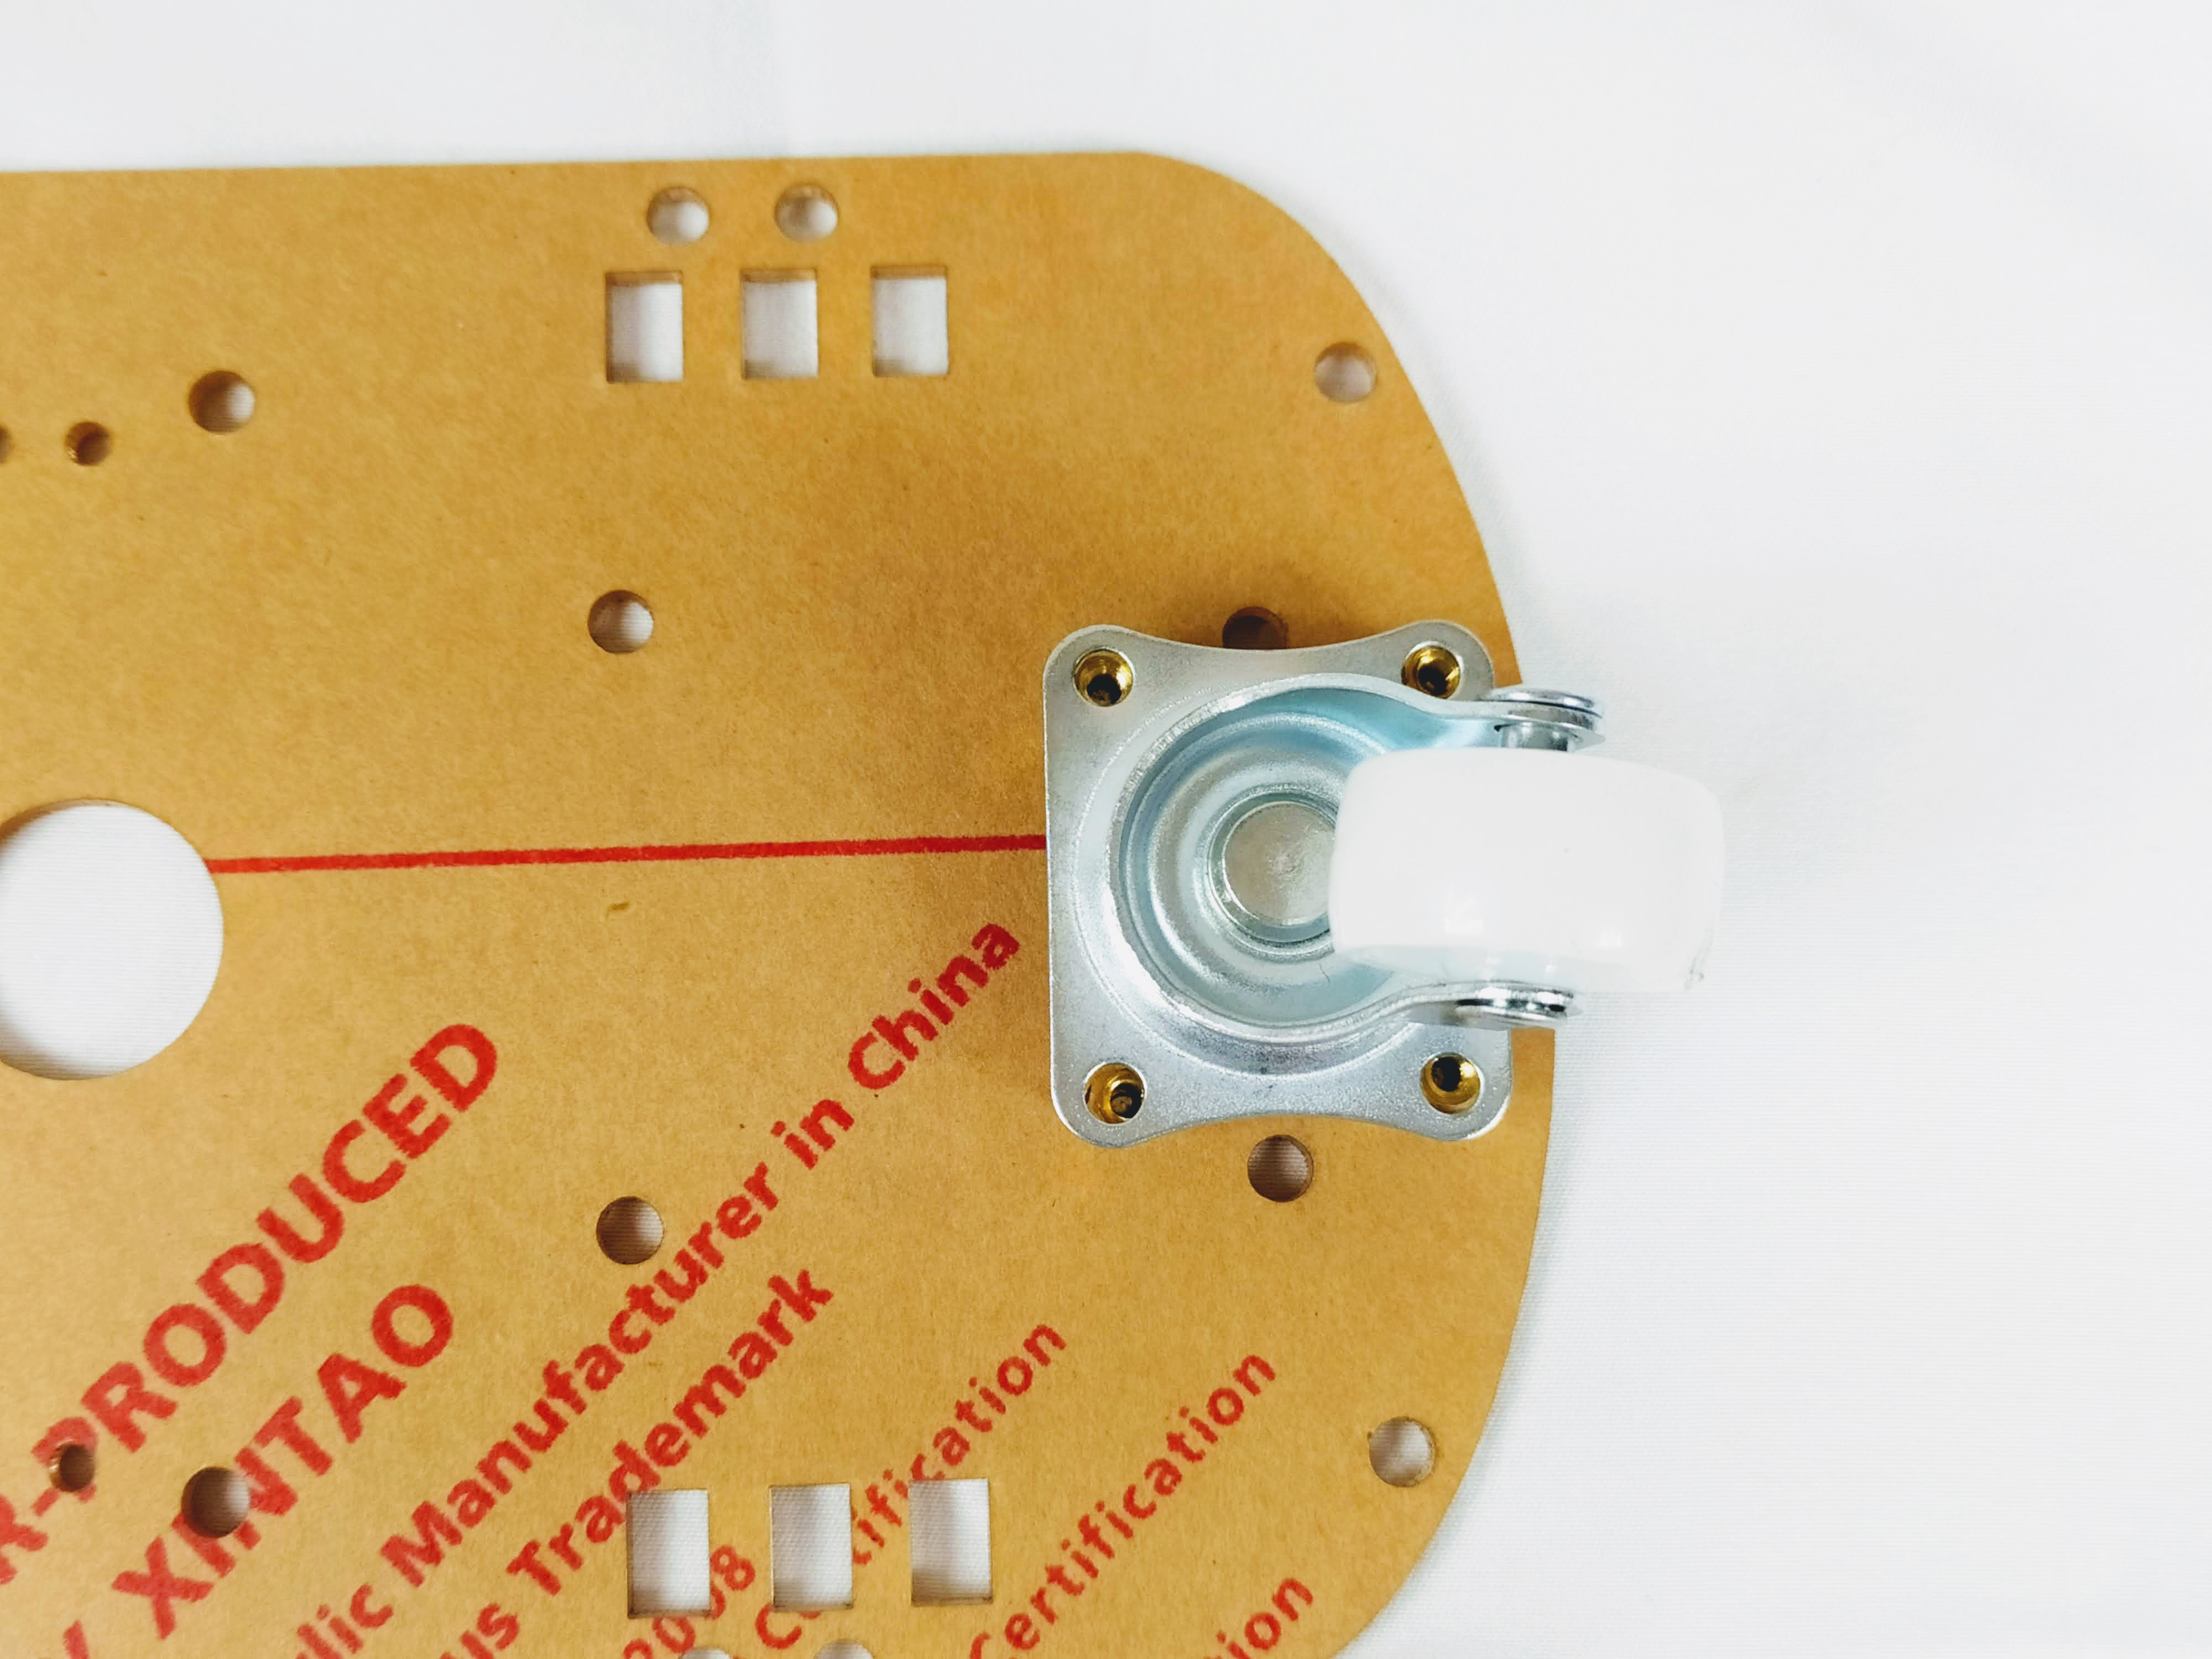
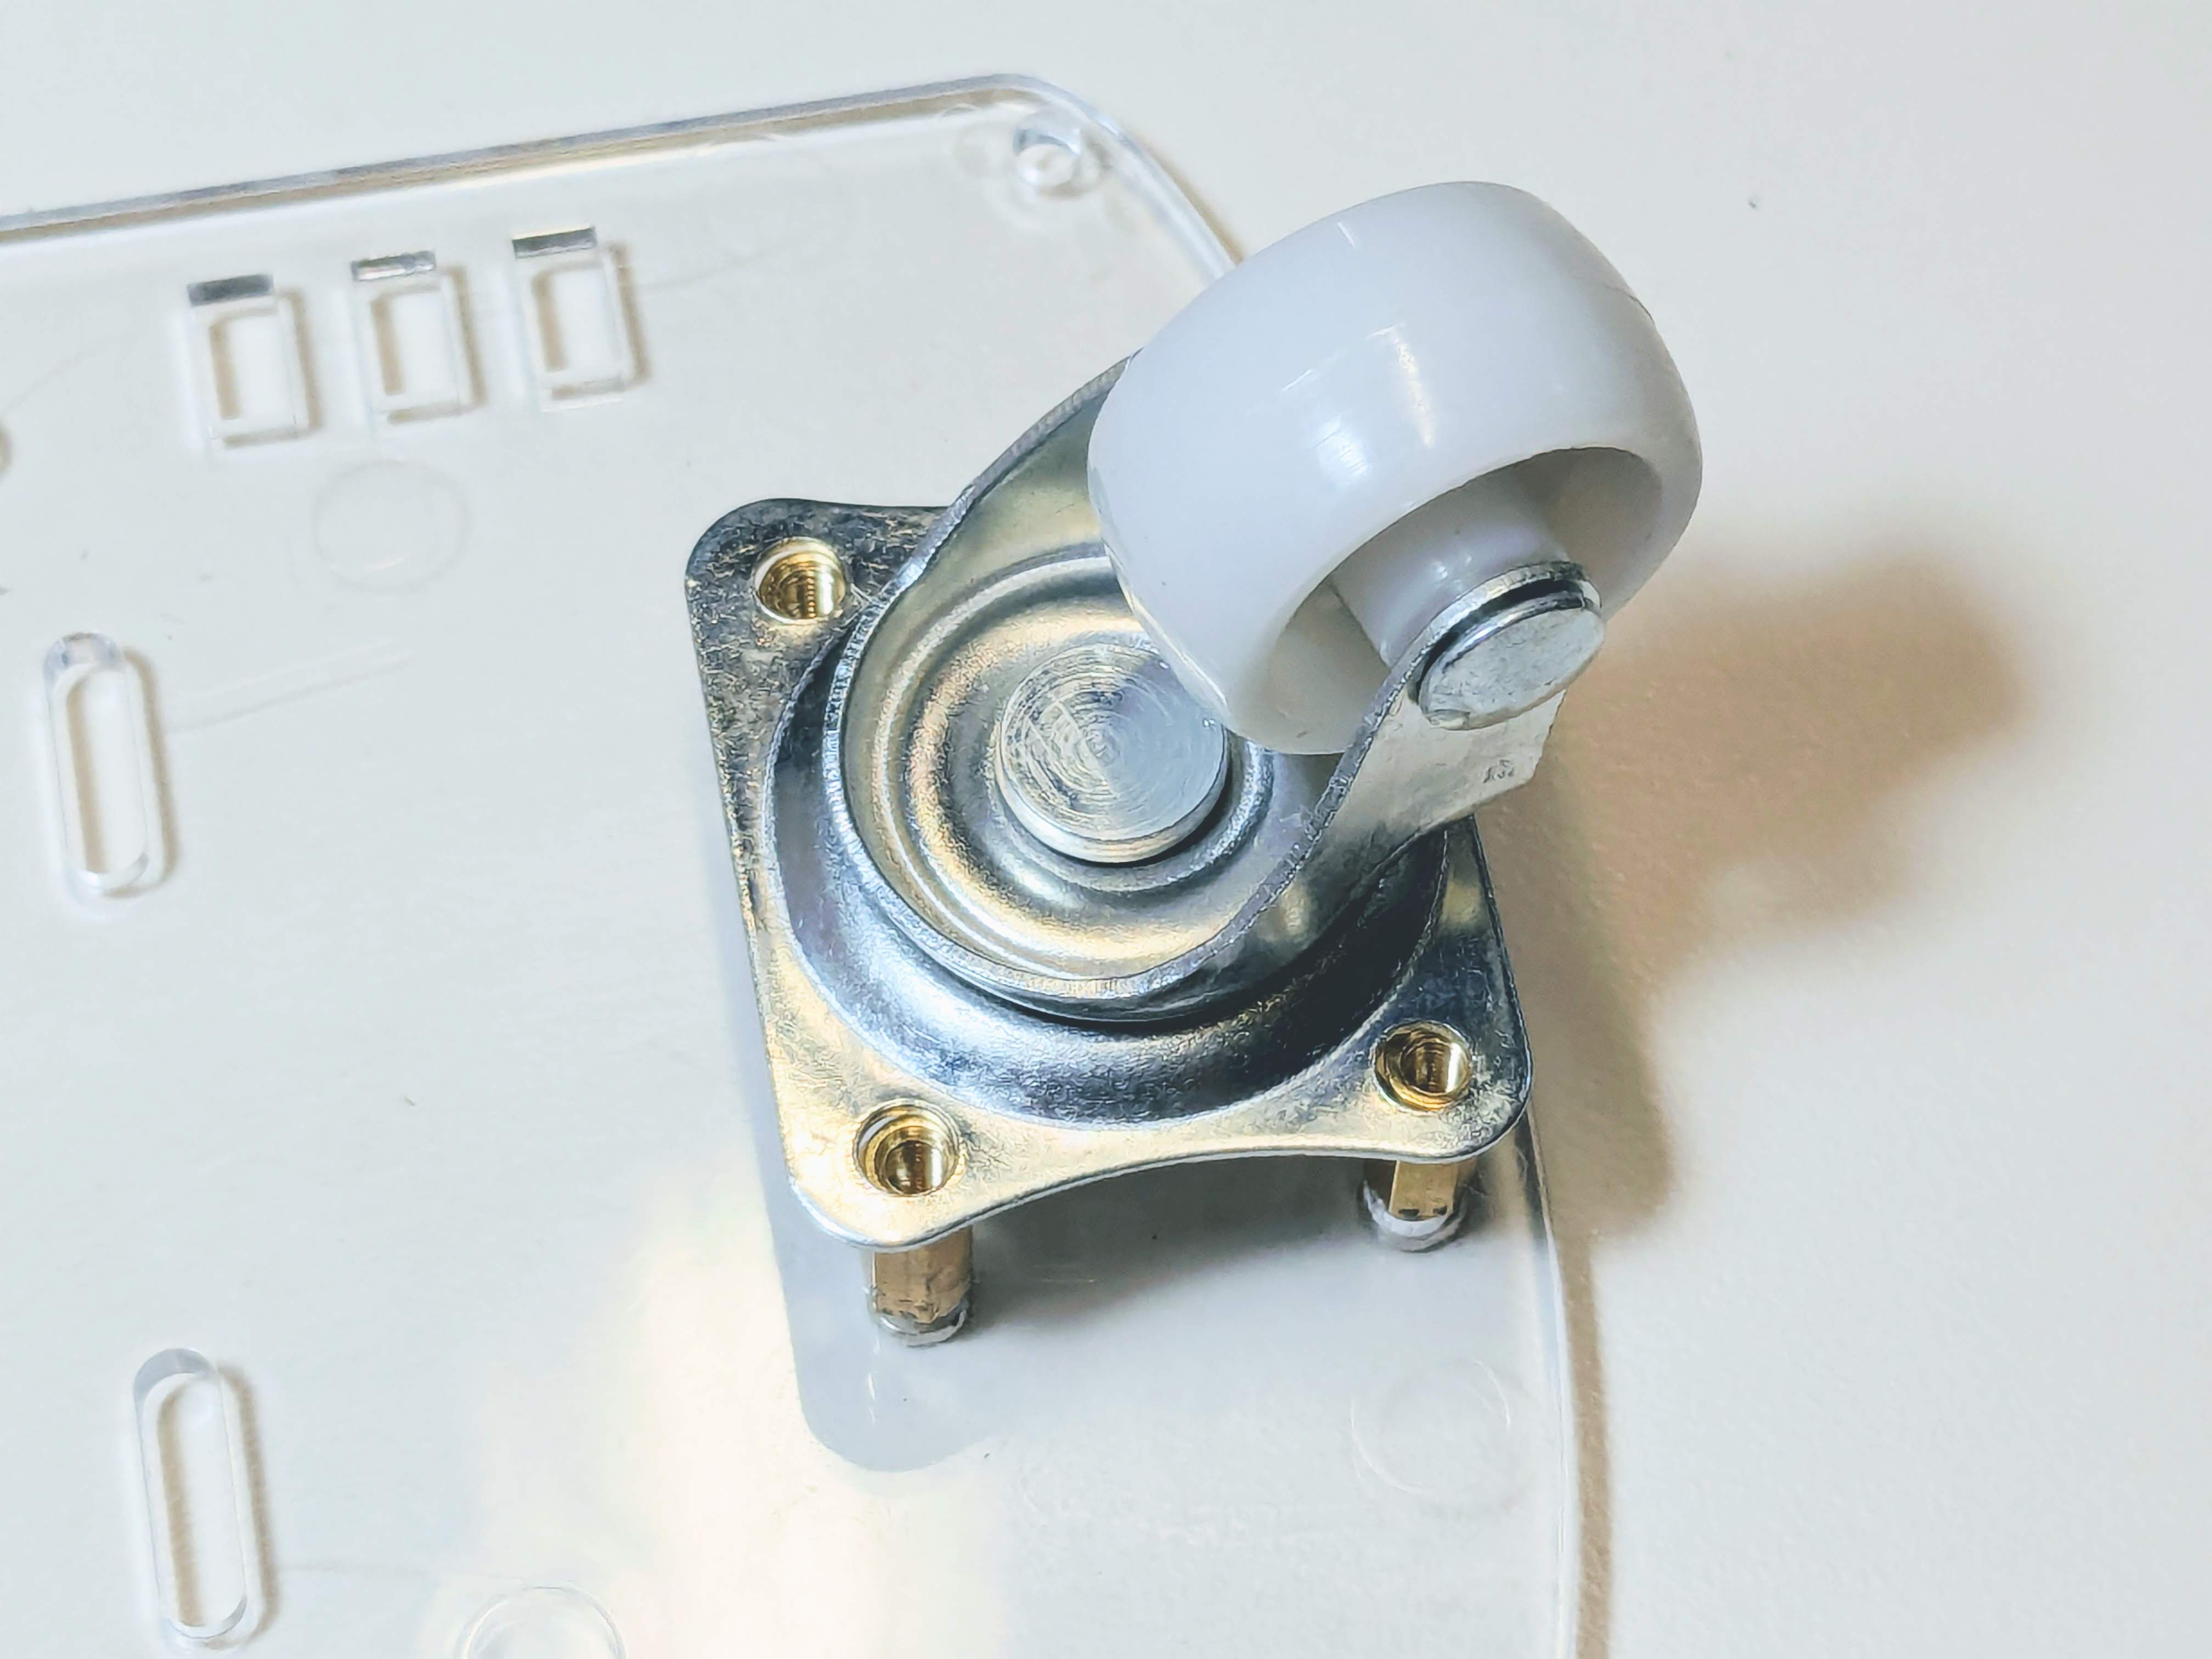
1. Attach the caster wheel
Gather the parts below.
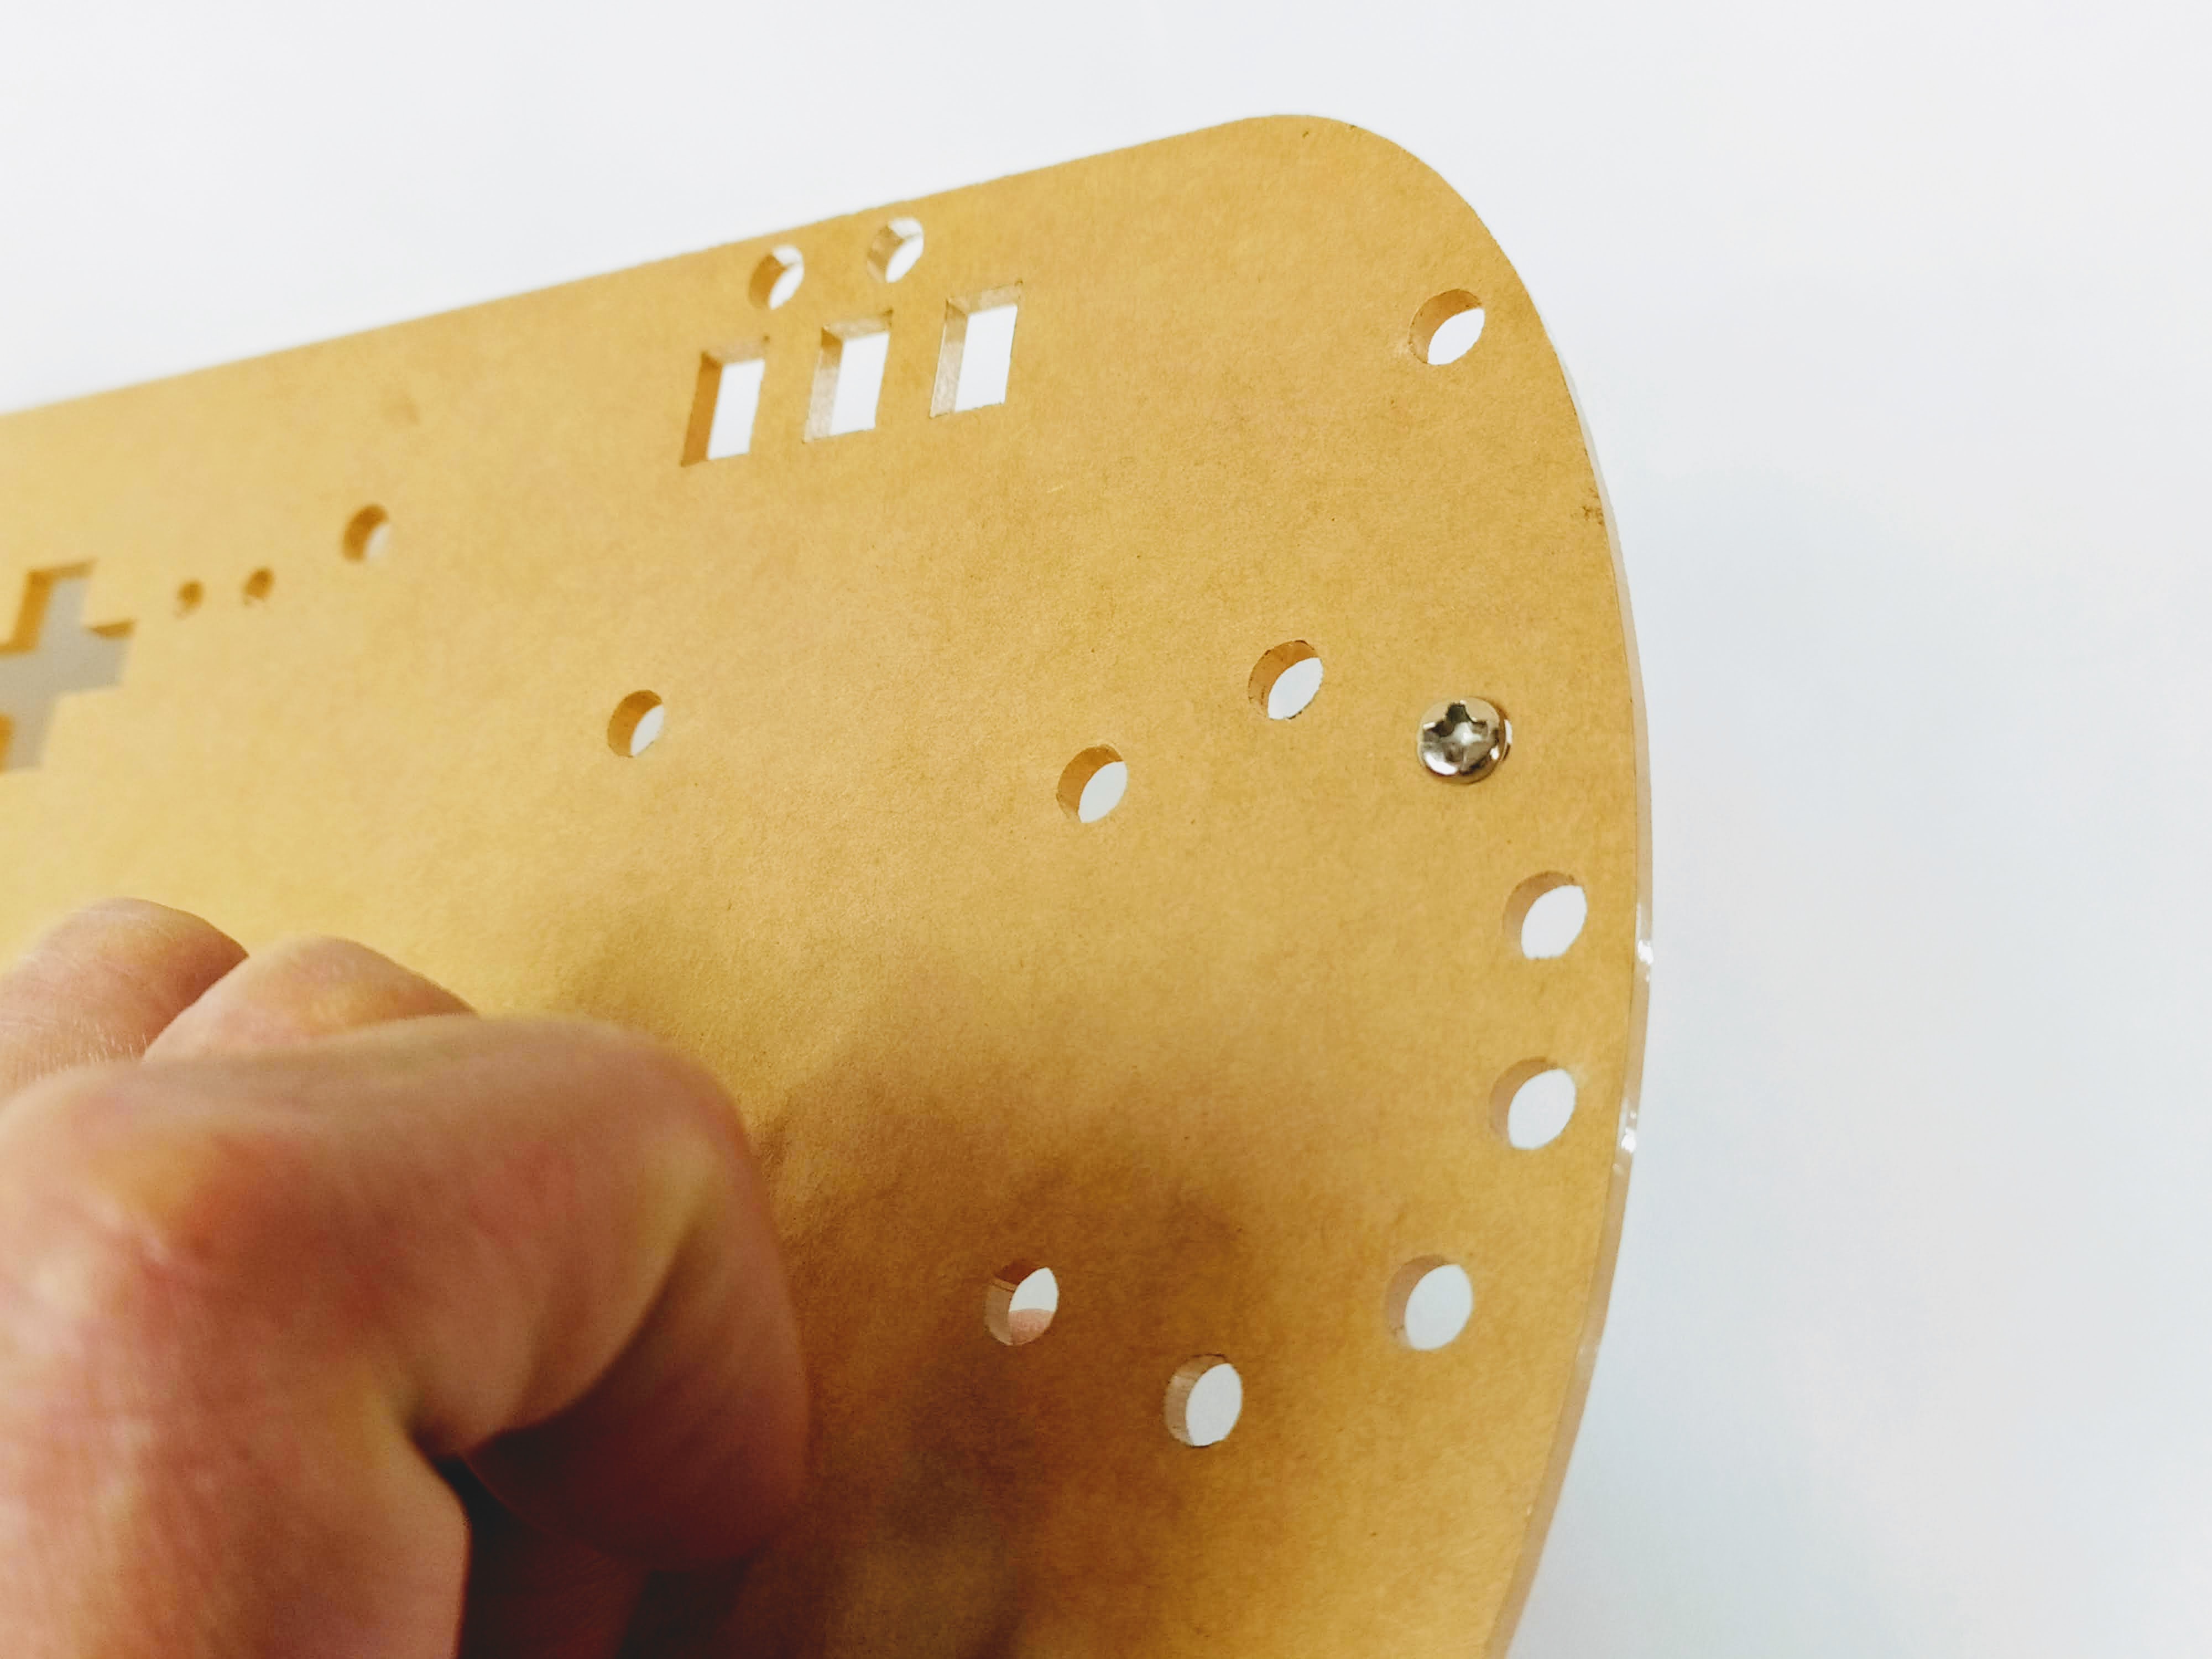
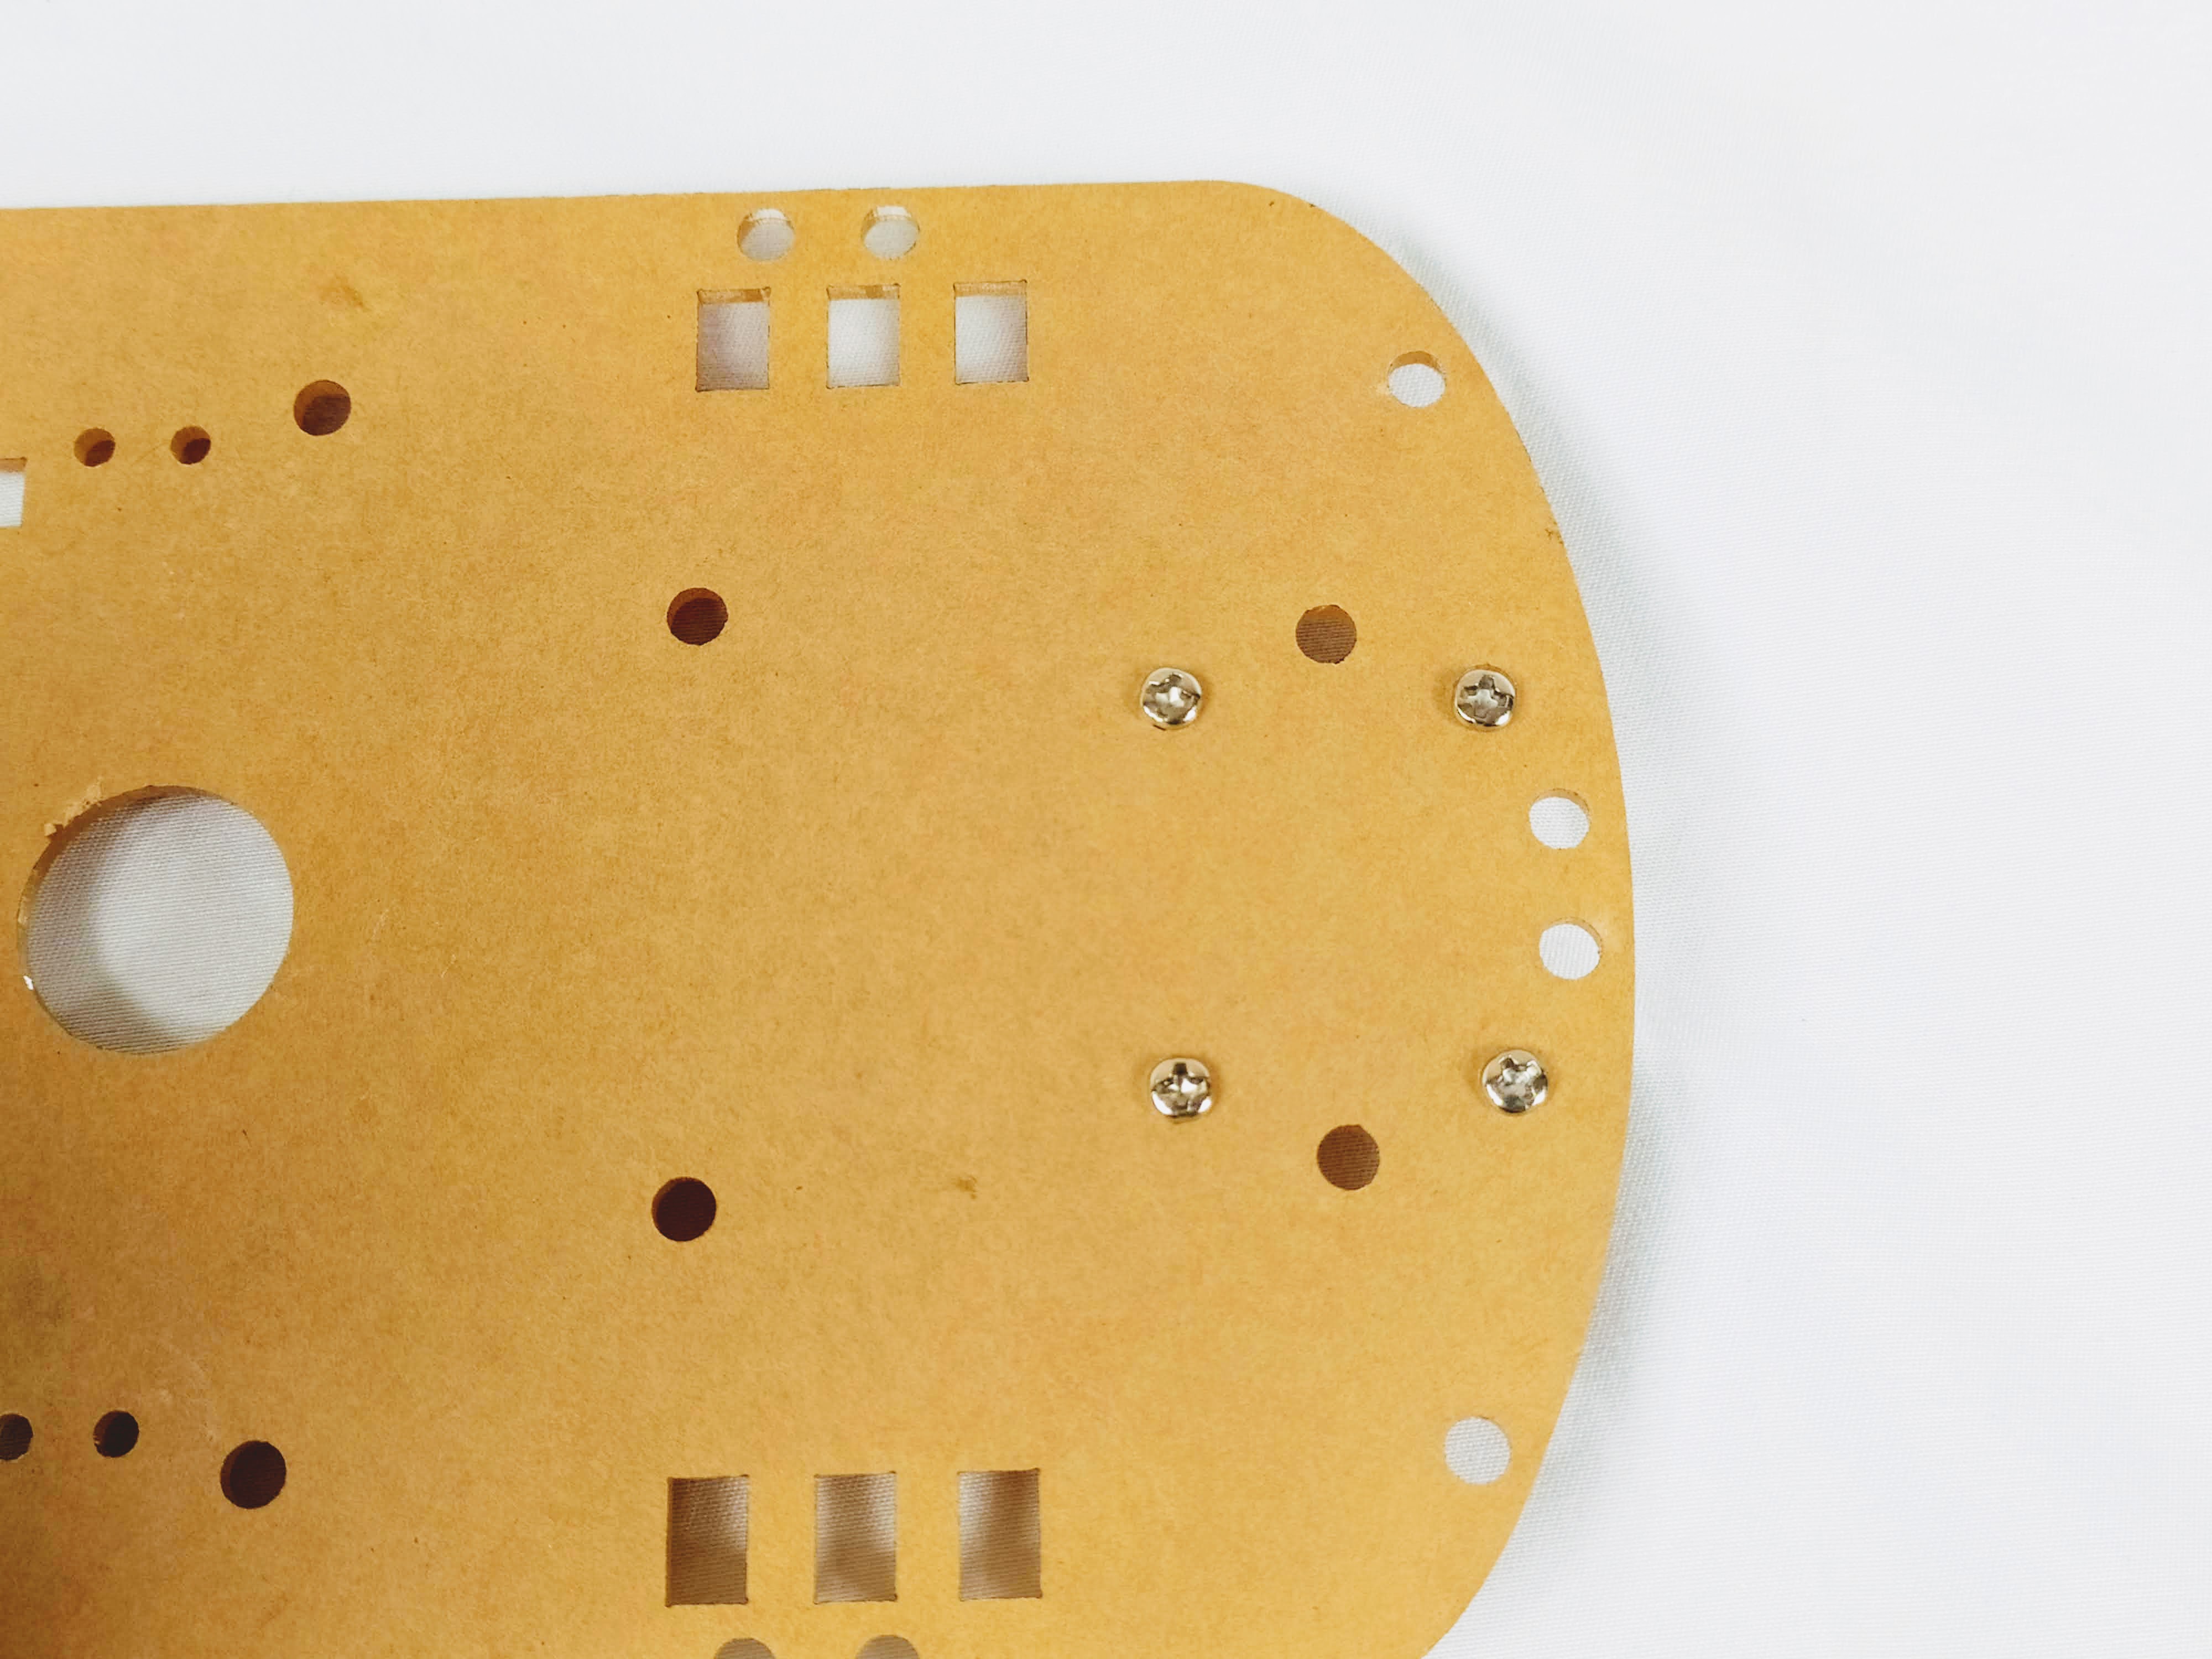
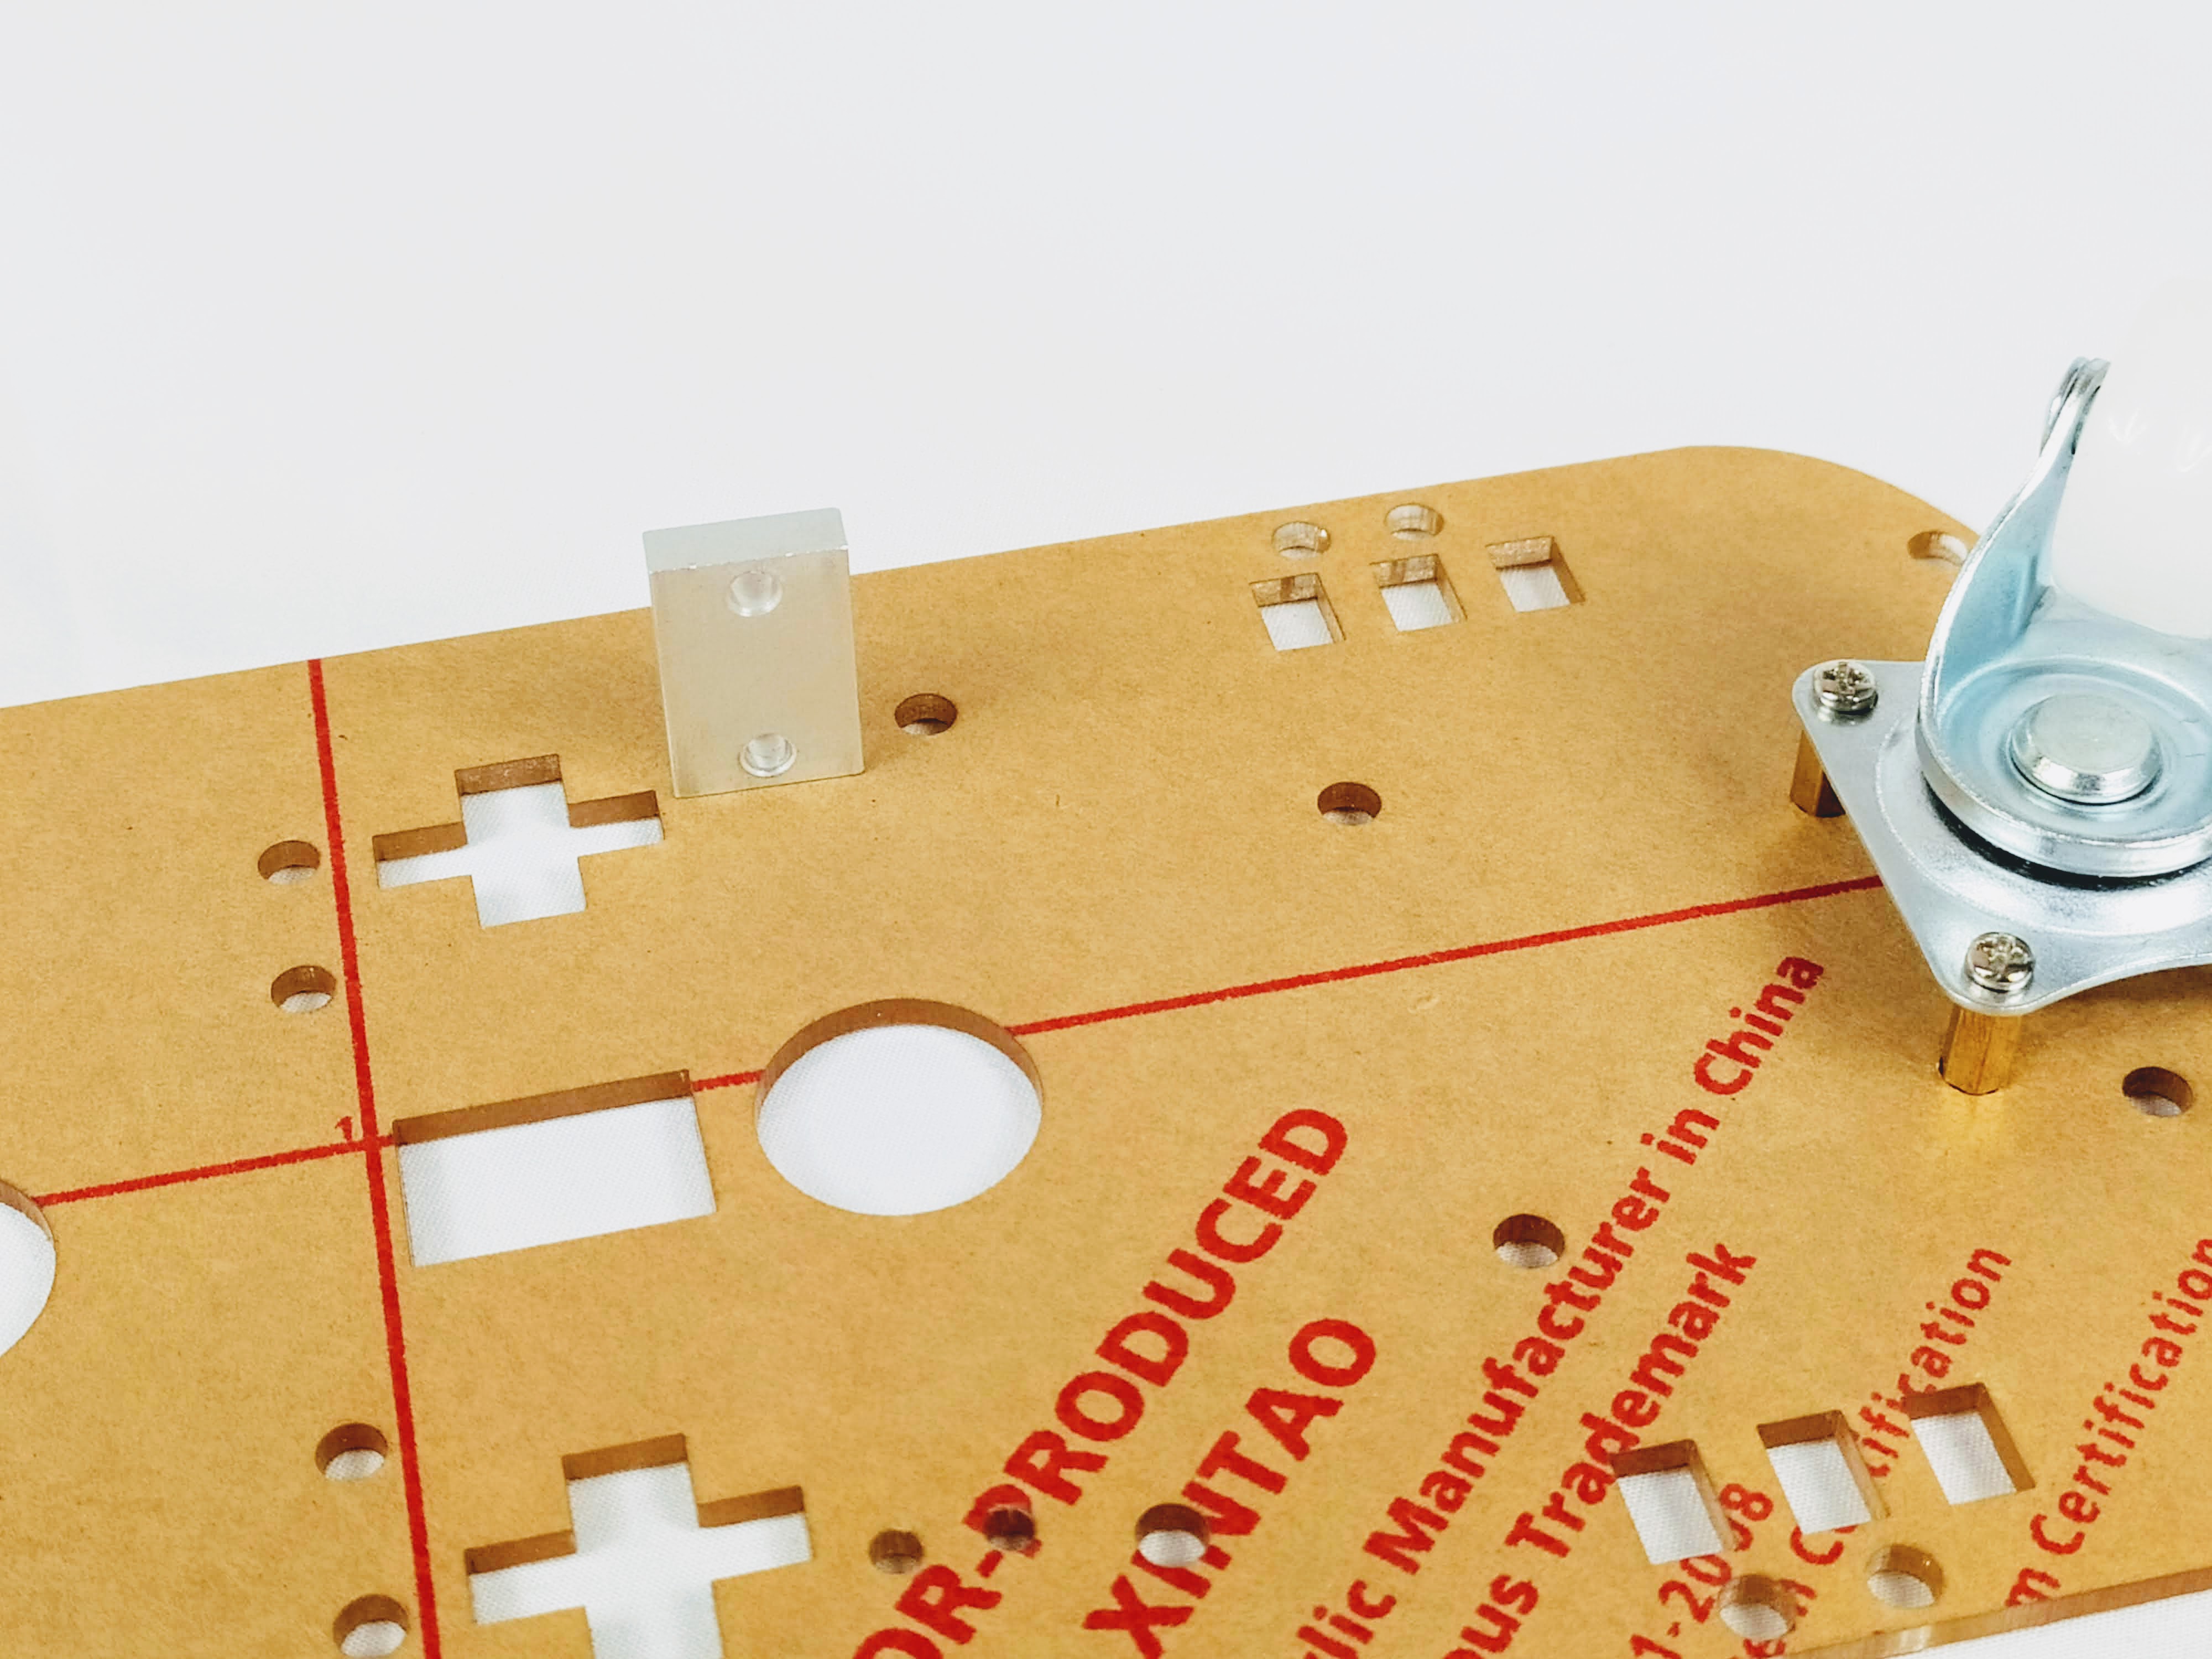
Note: Newer versions of the chassis do not come with sticky paper that you need to peel off - they will be clear. Mounting holes on the newer chassis are slightly different. Additional notes below.
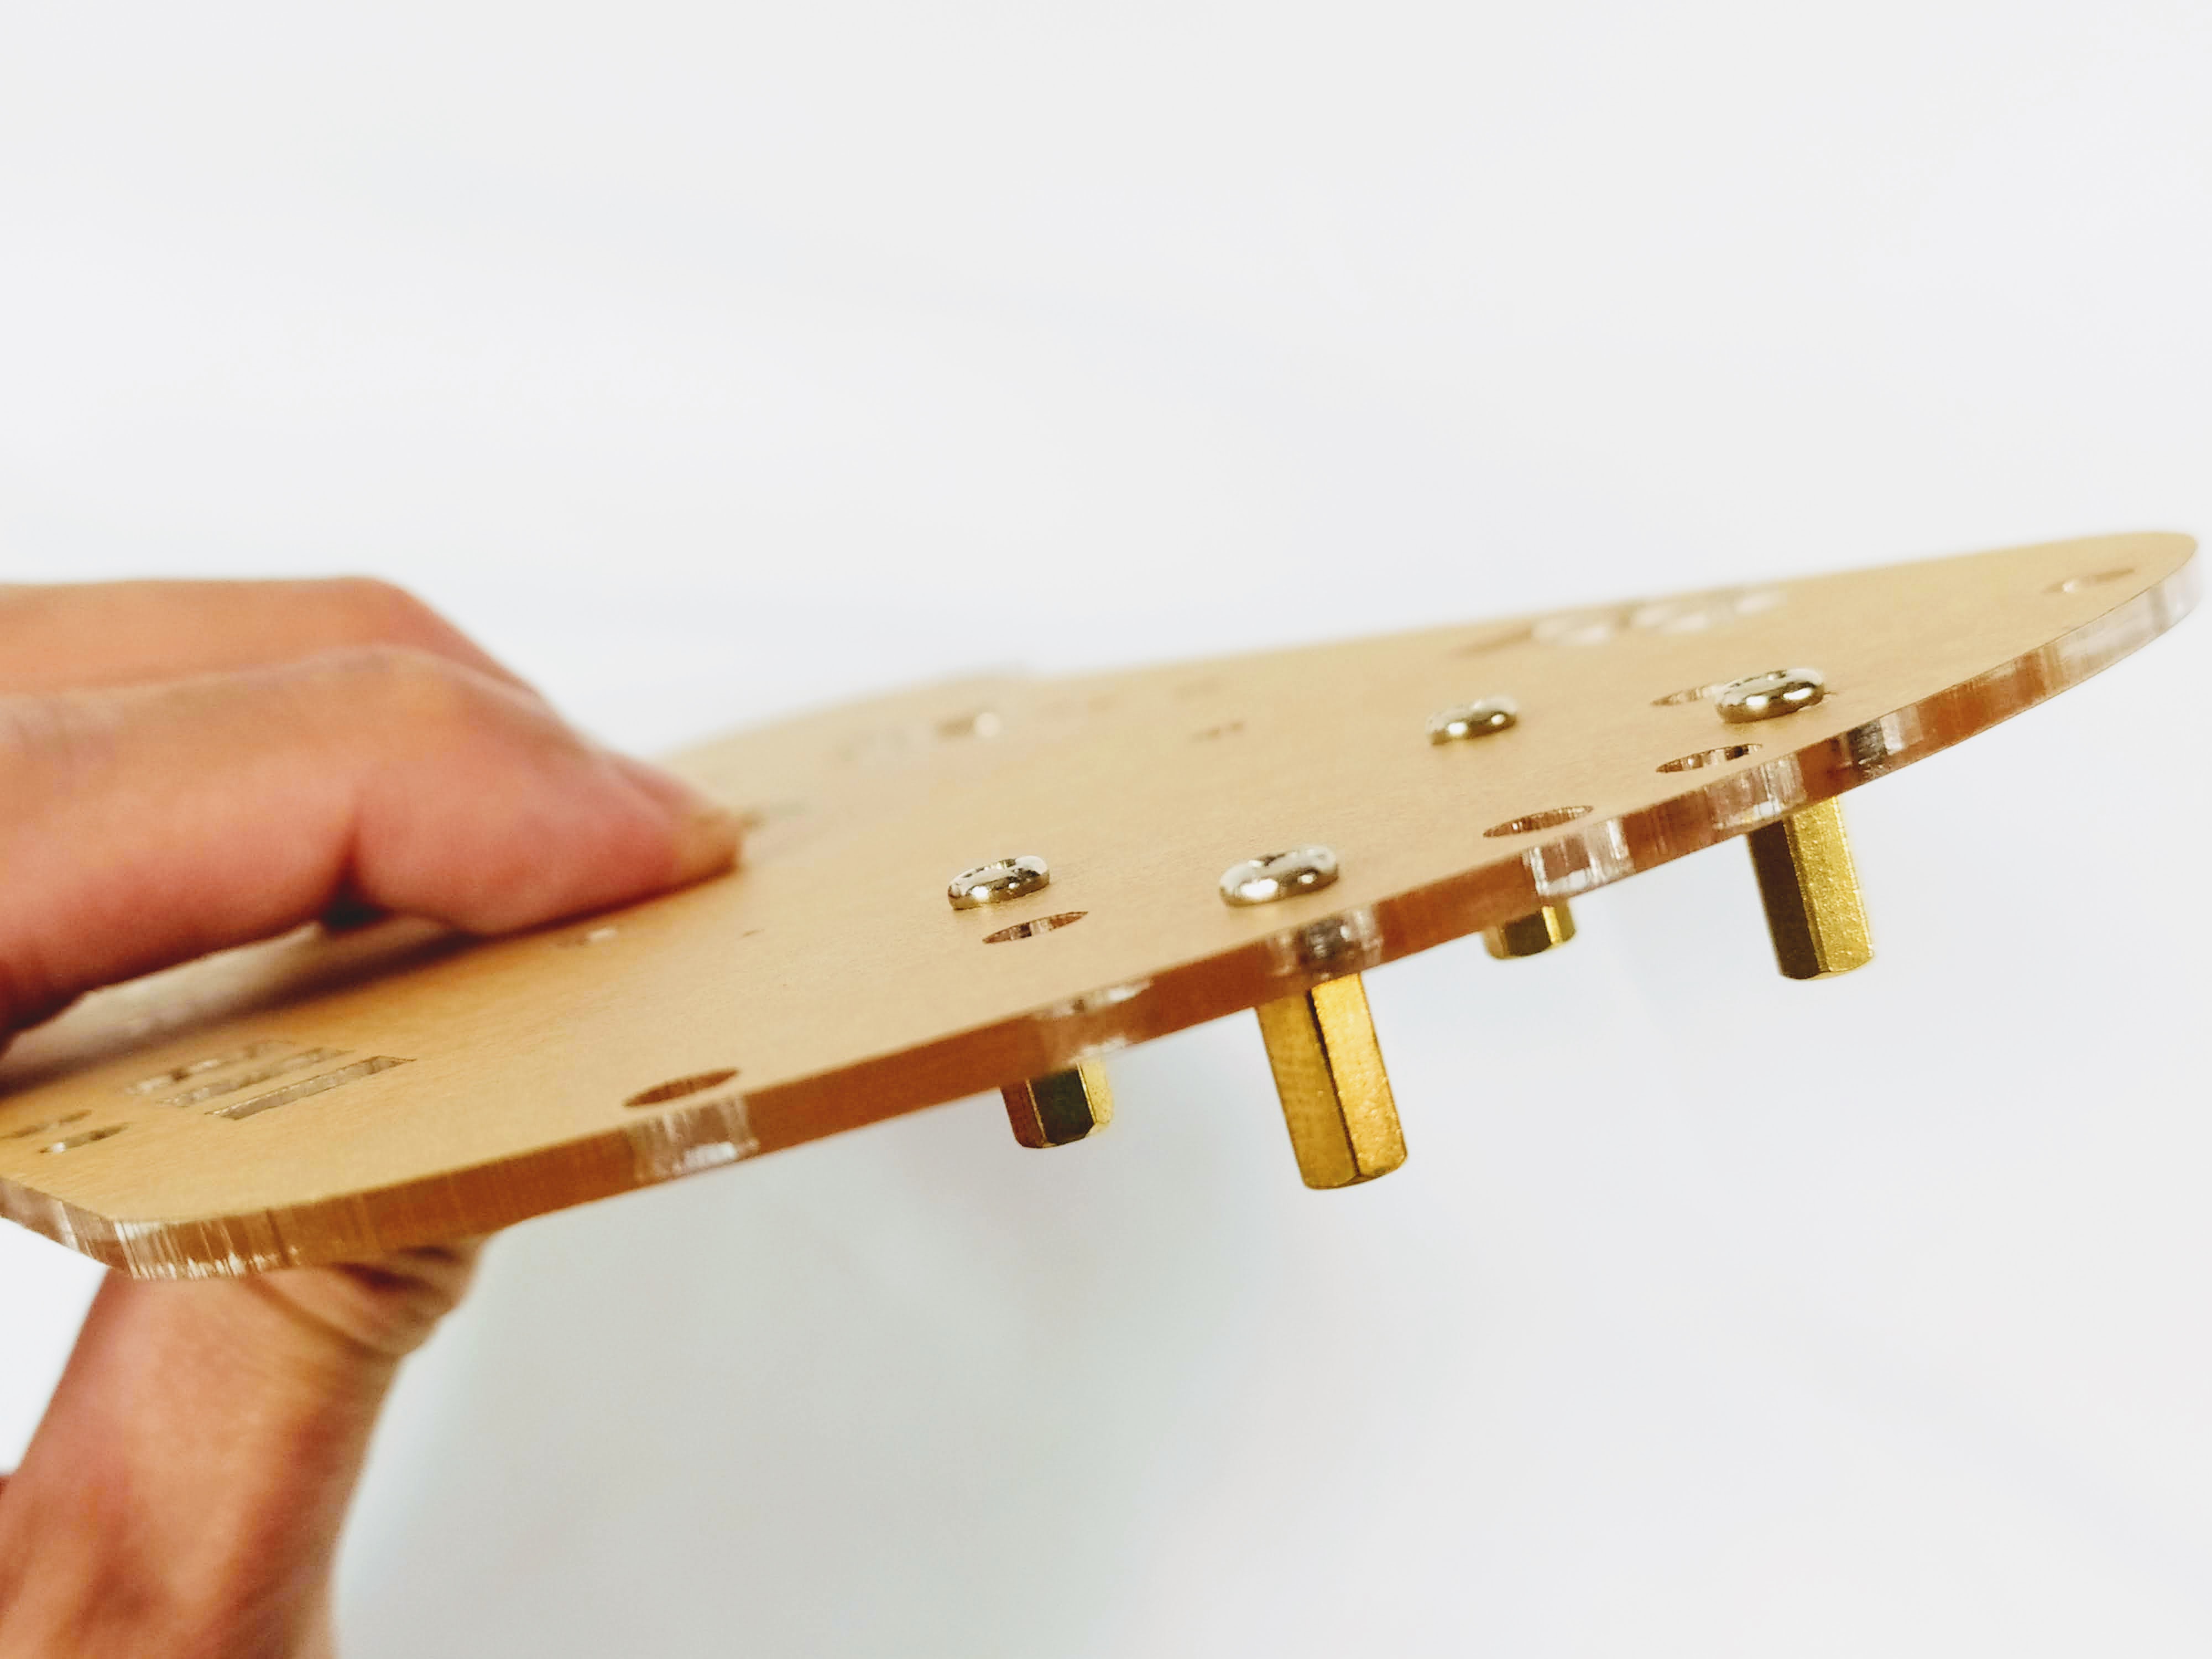
Fasten the 4 x pillars to the acrylic chassis using 4 x short screws. Fasten each one by one following the pictures below.
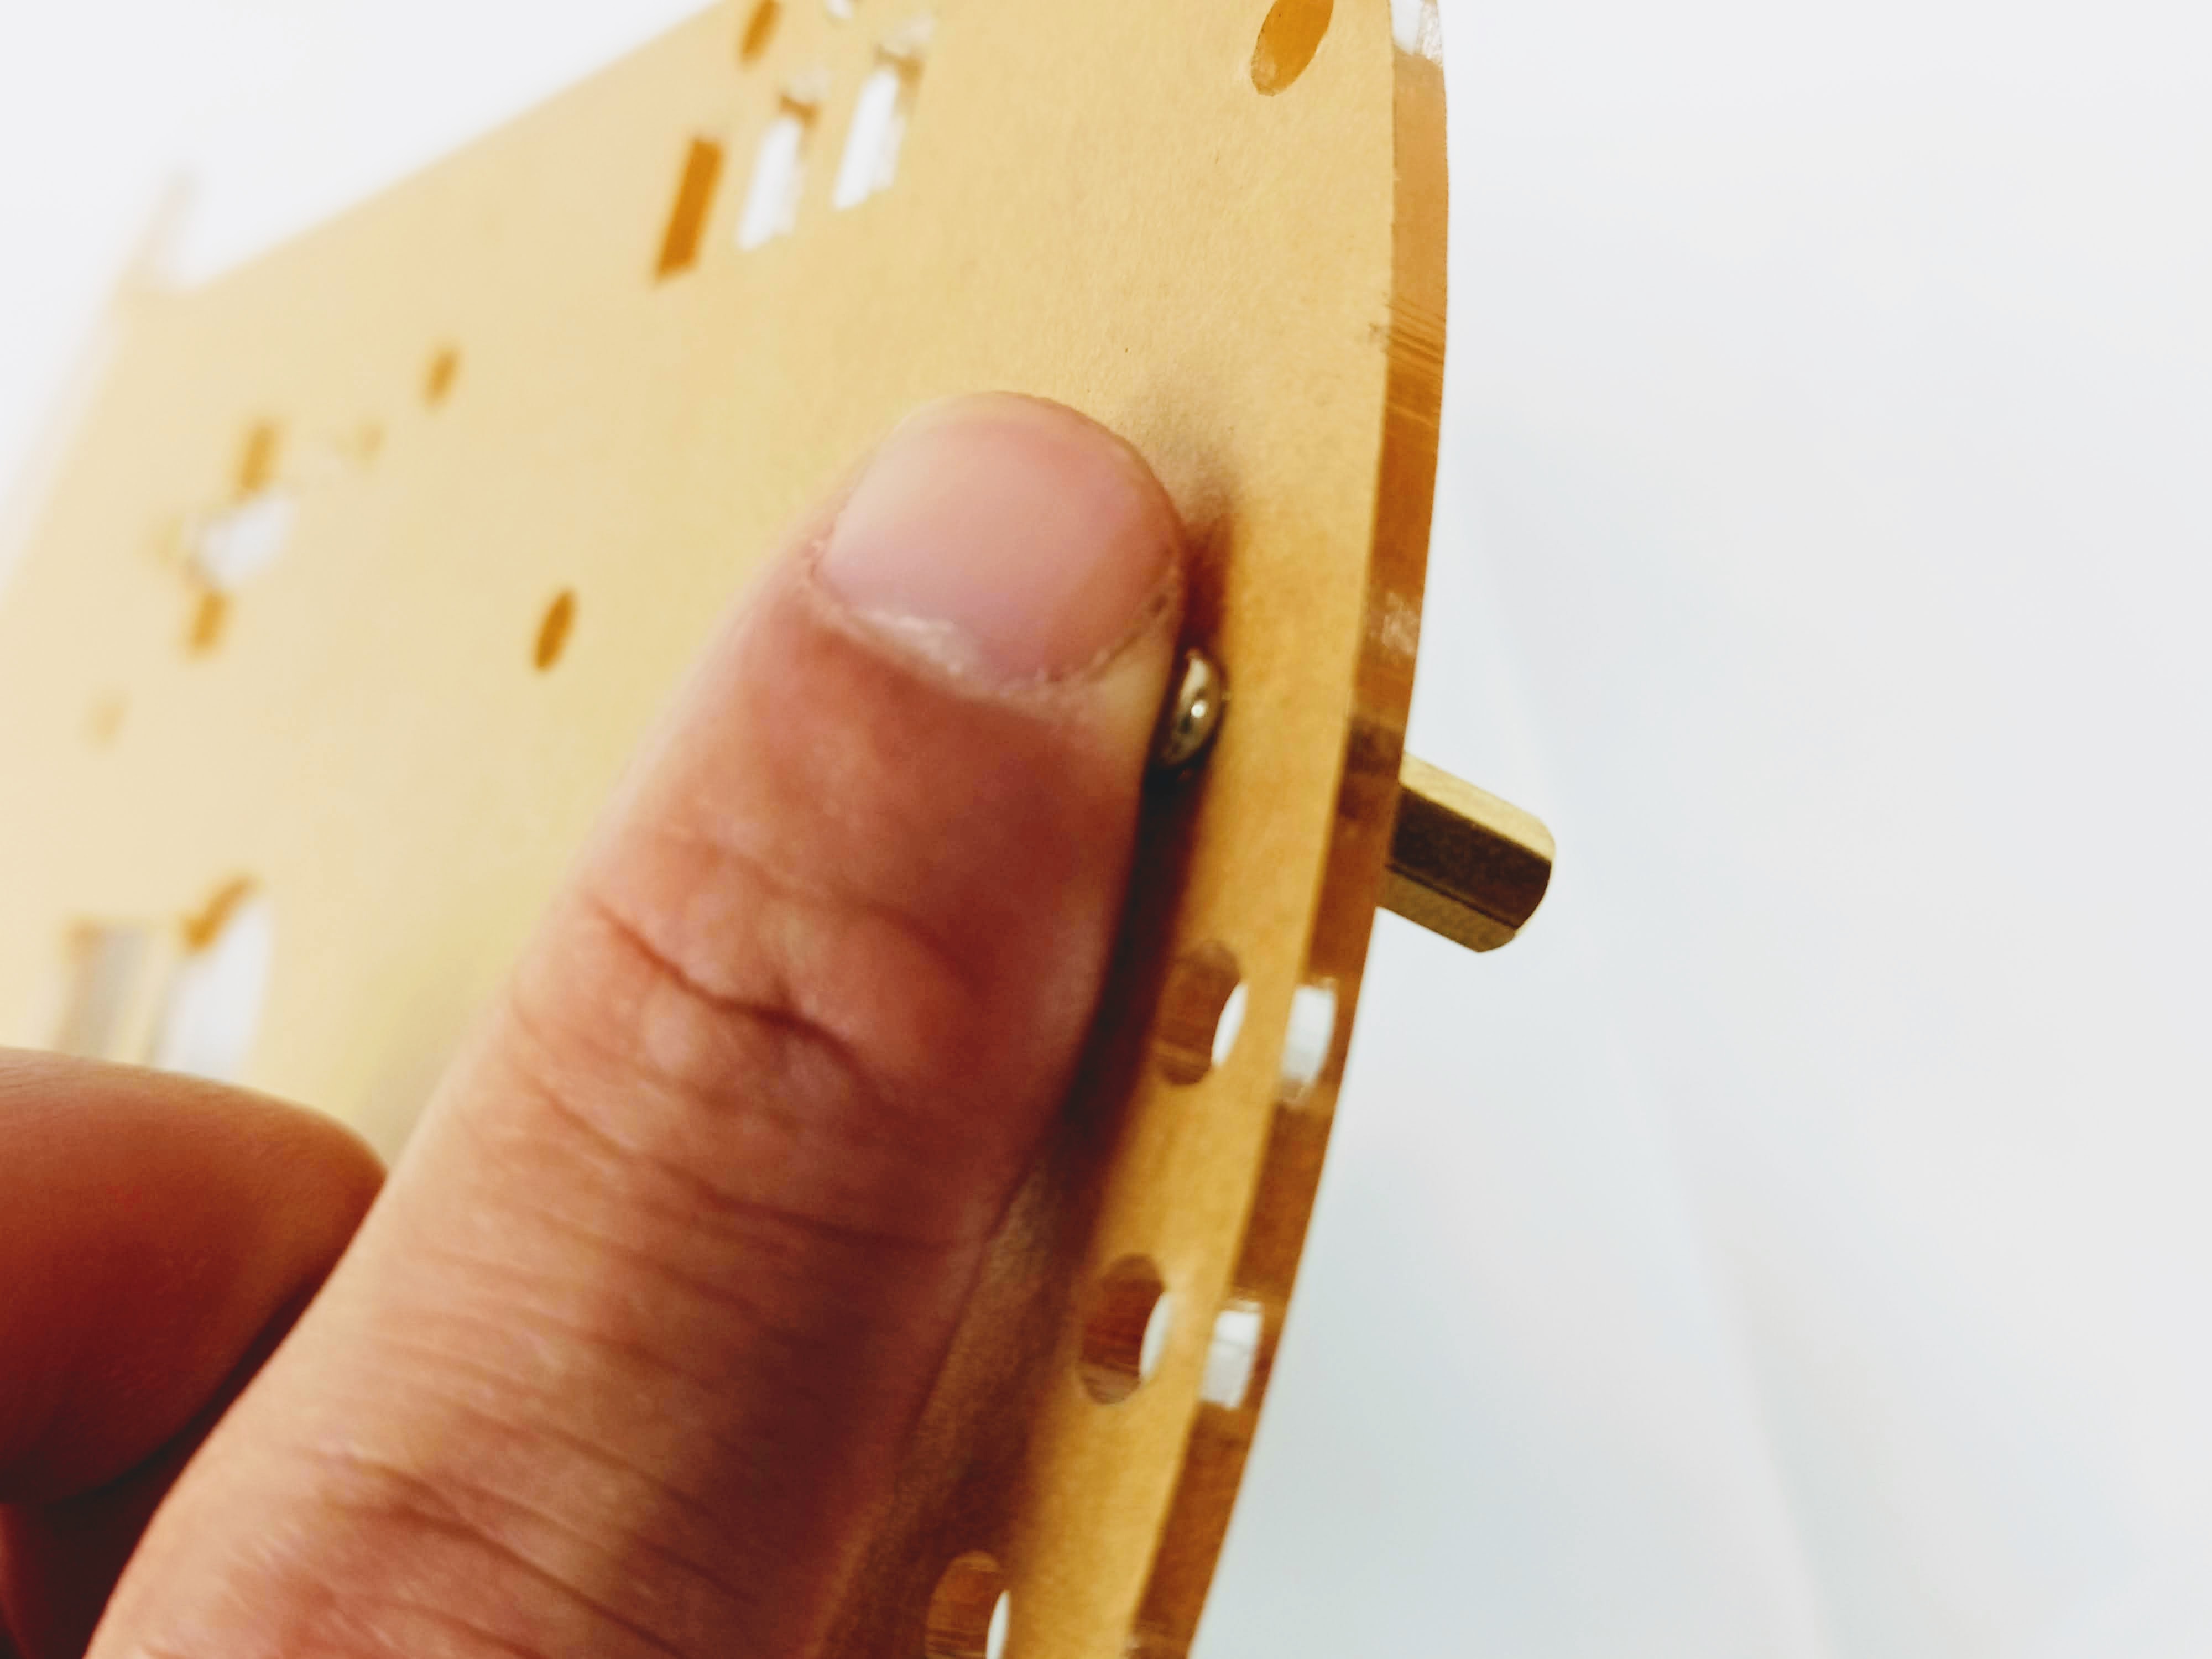
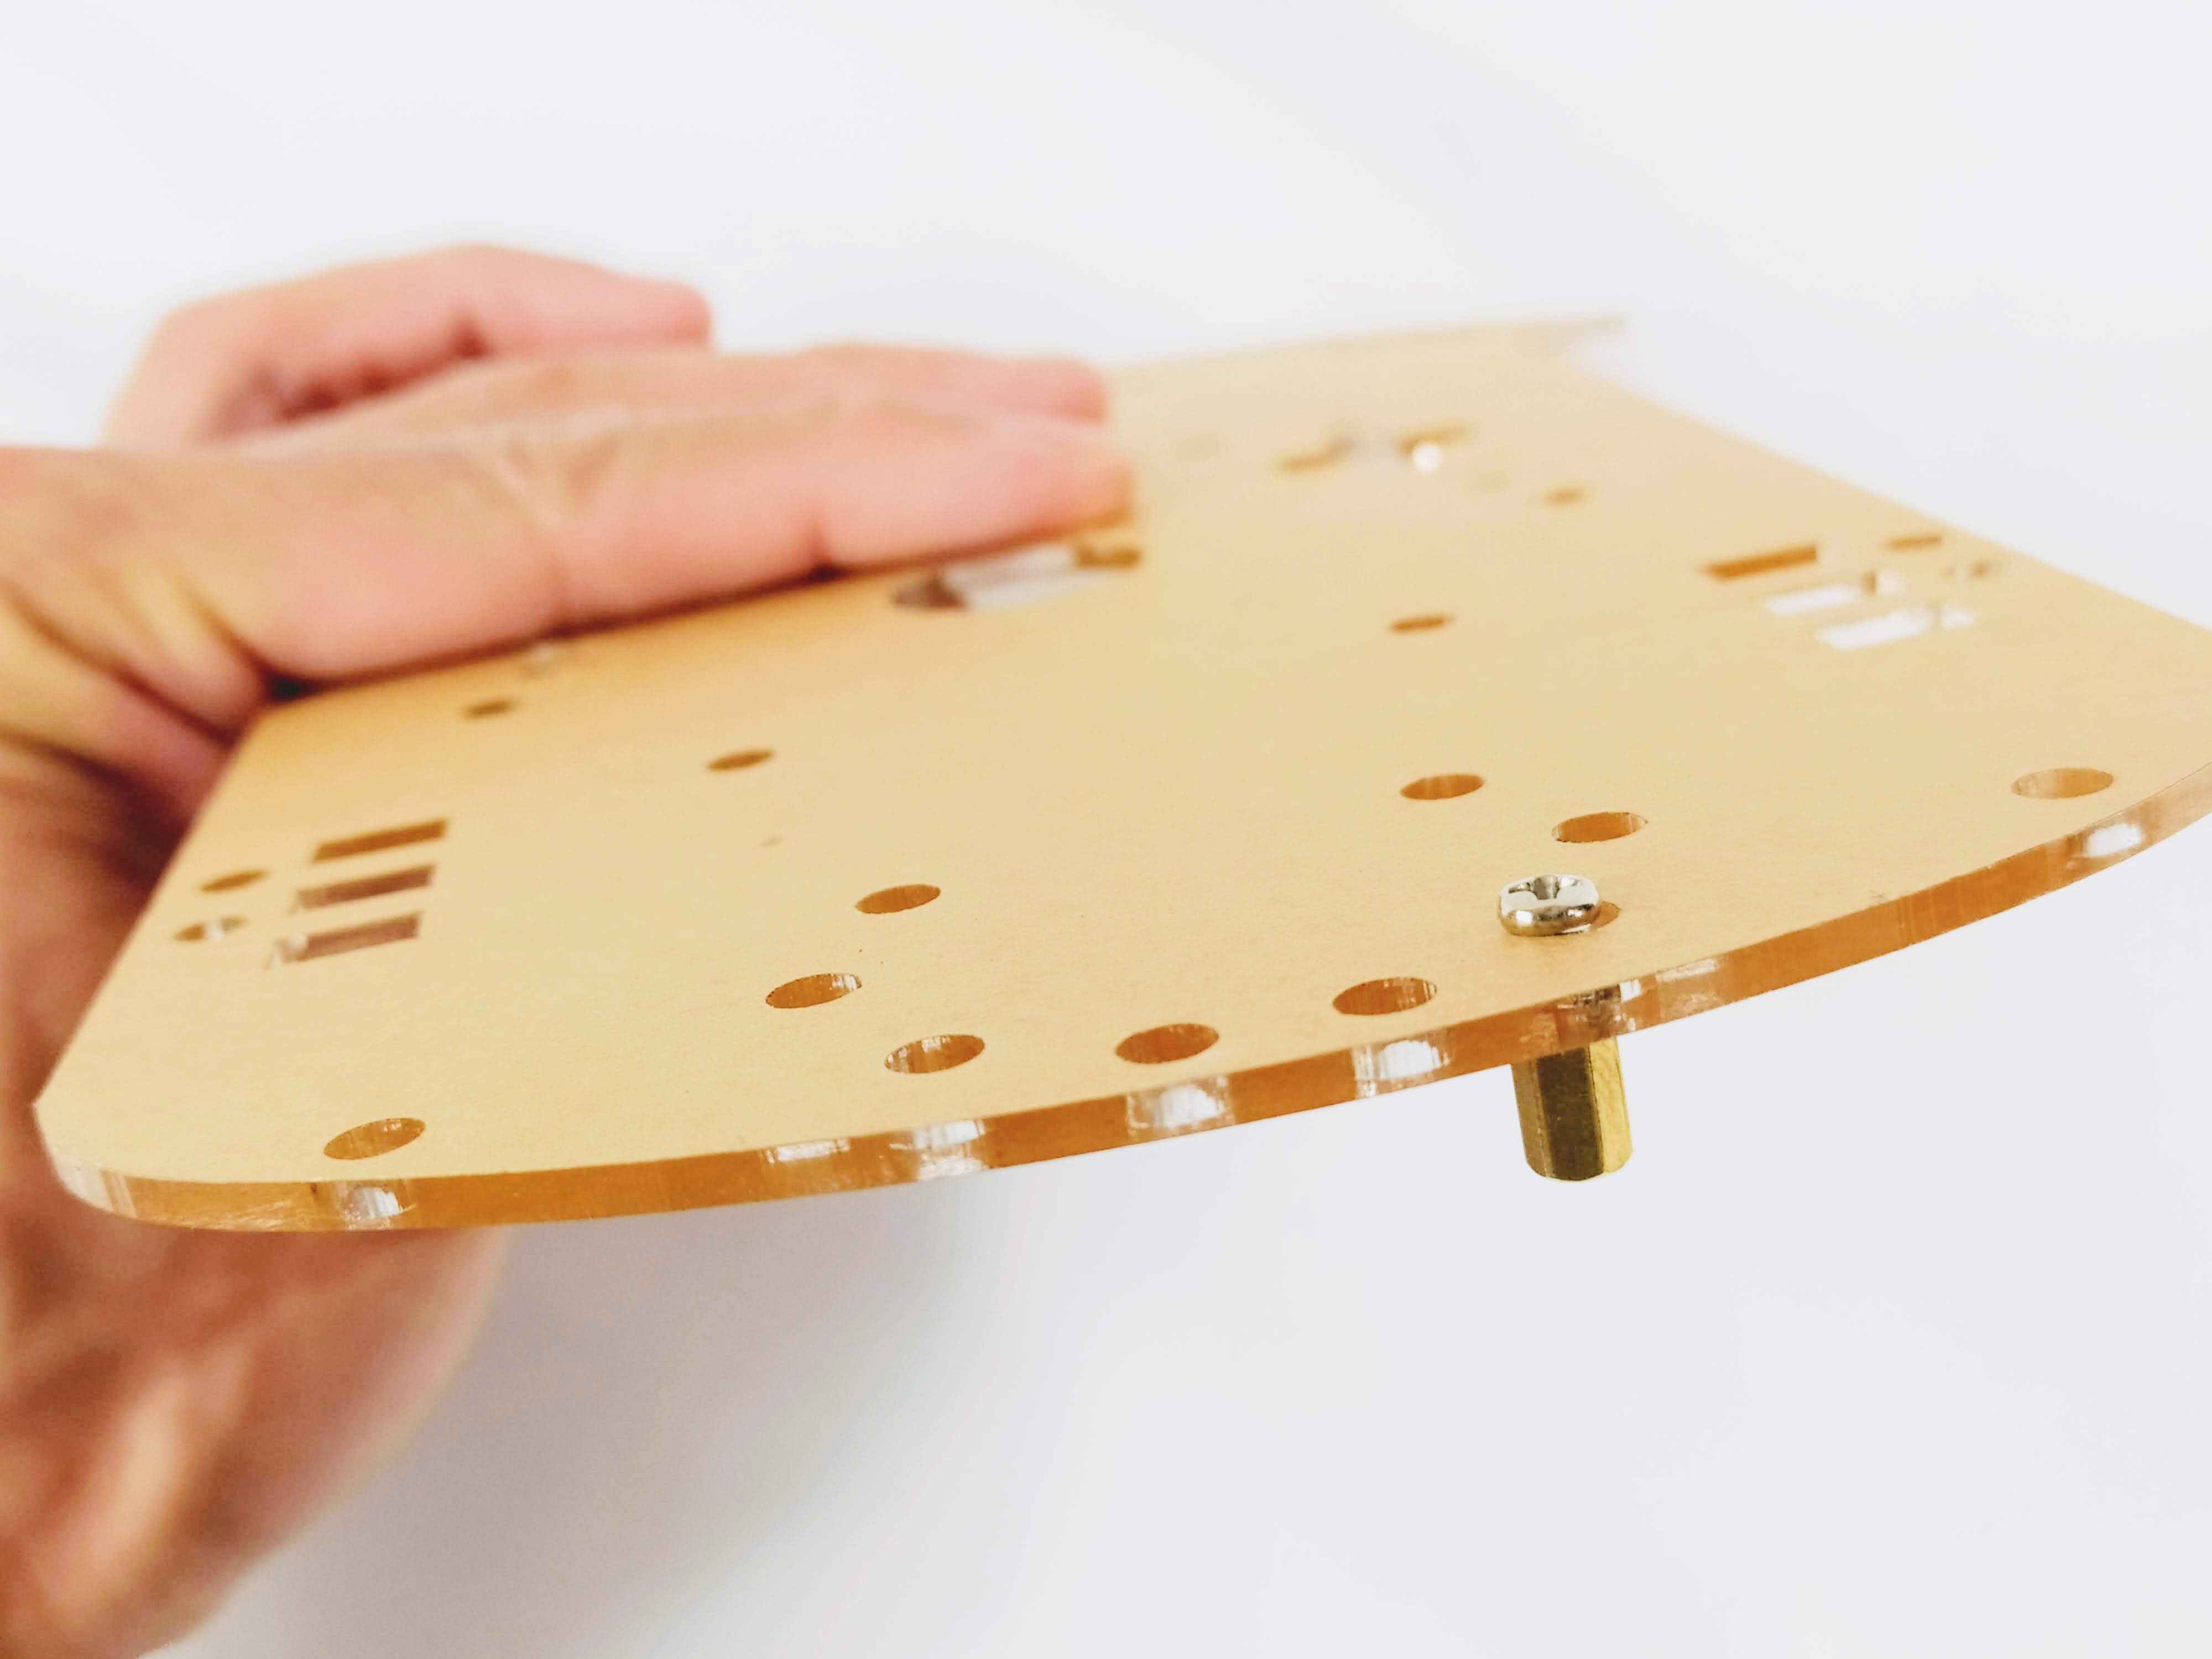
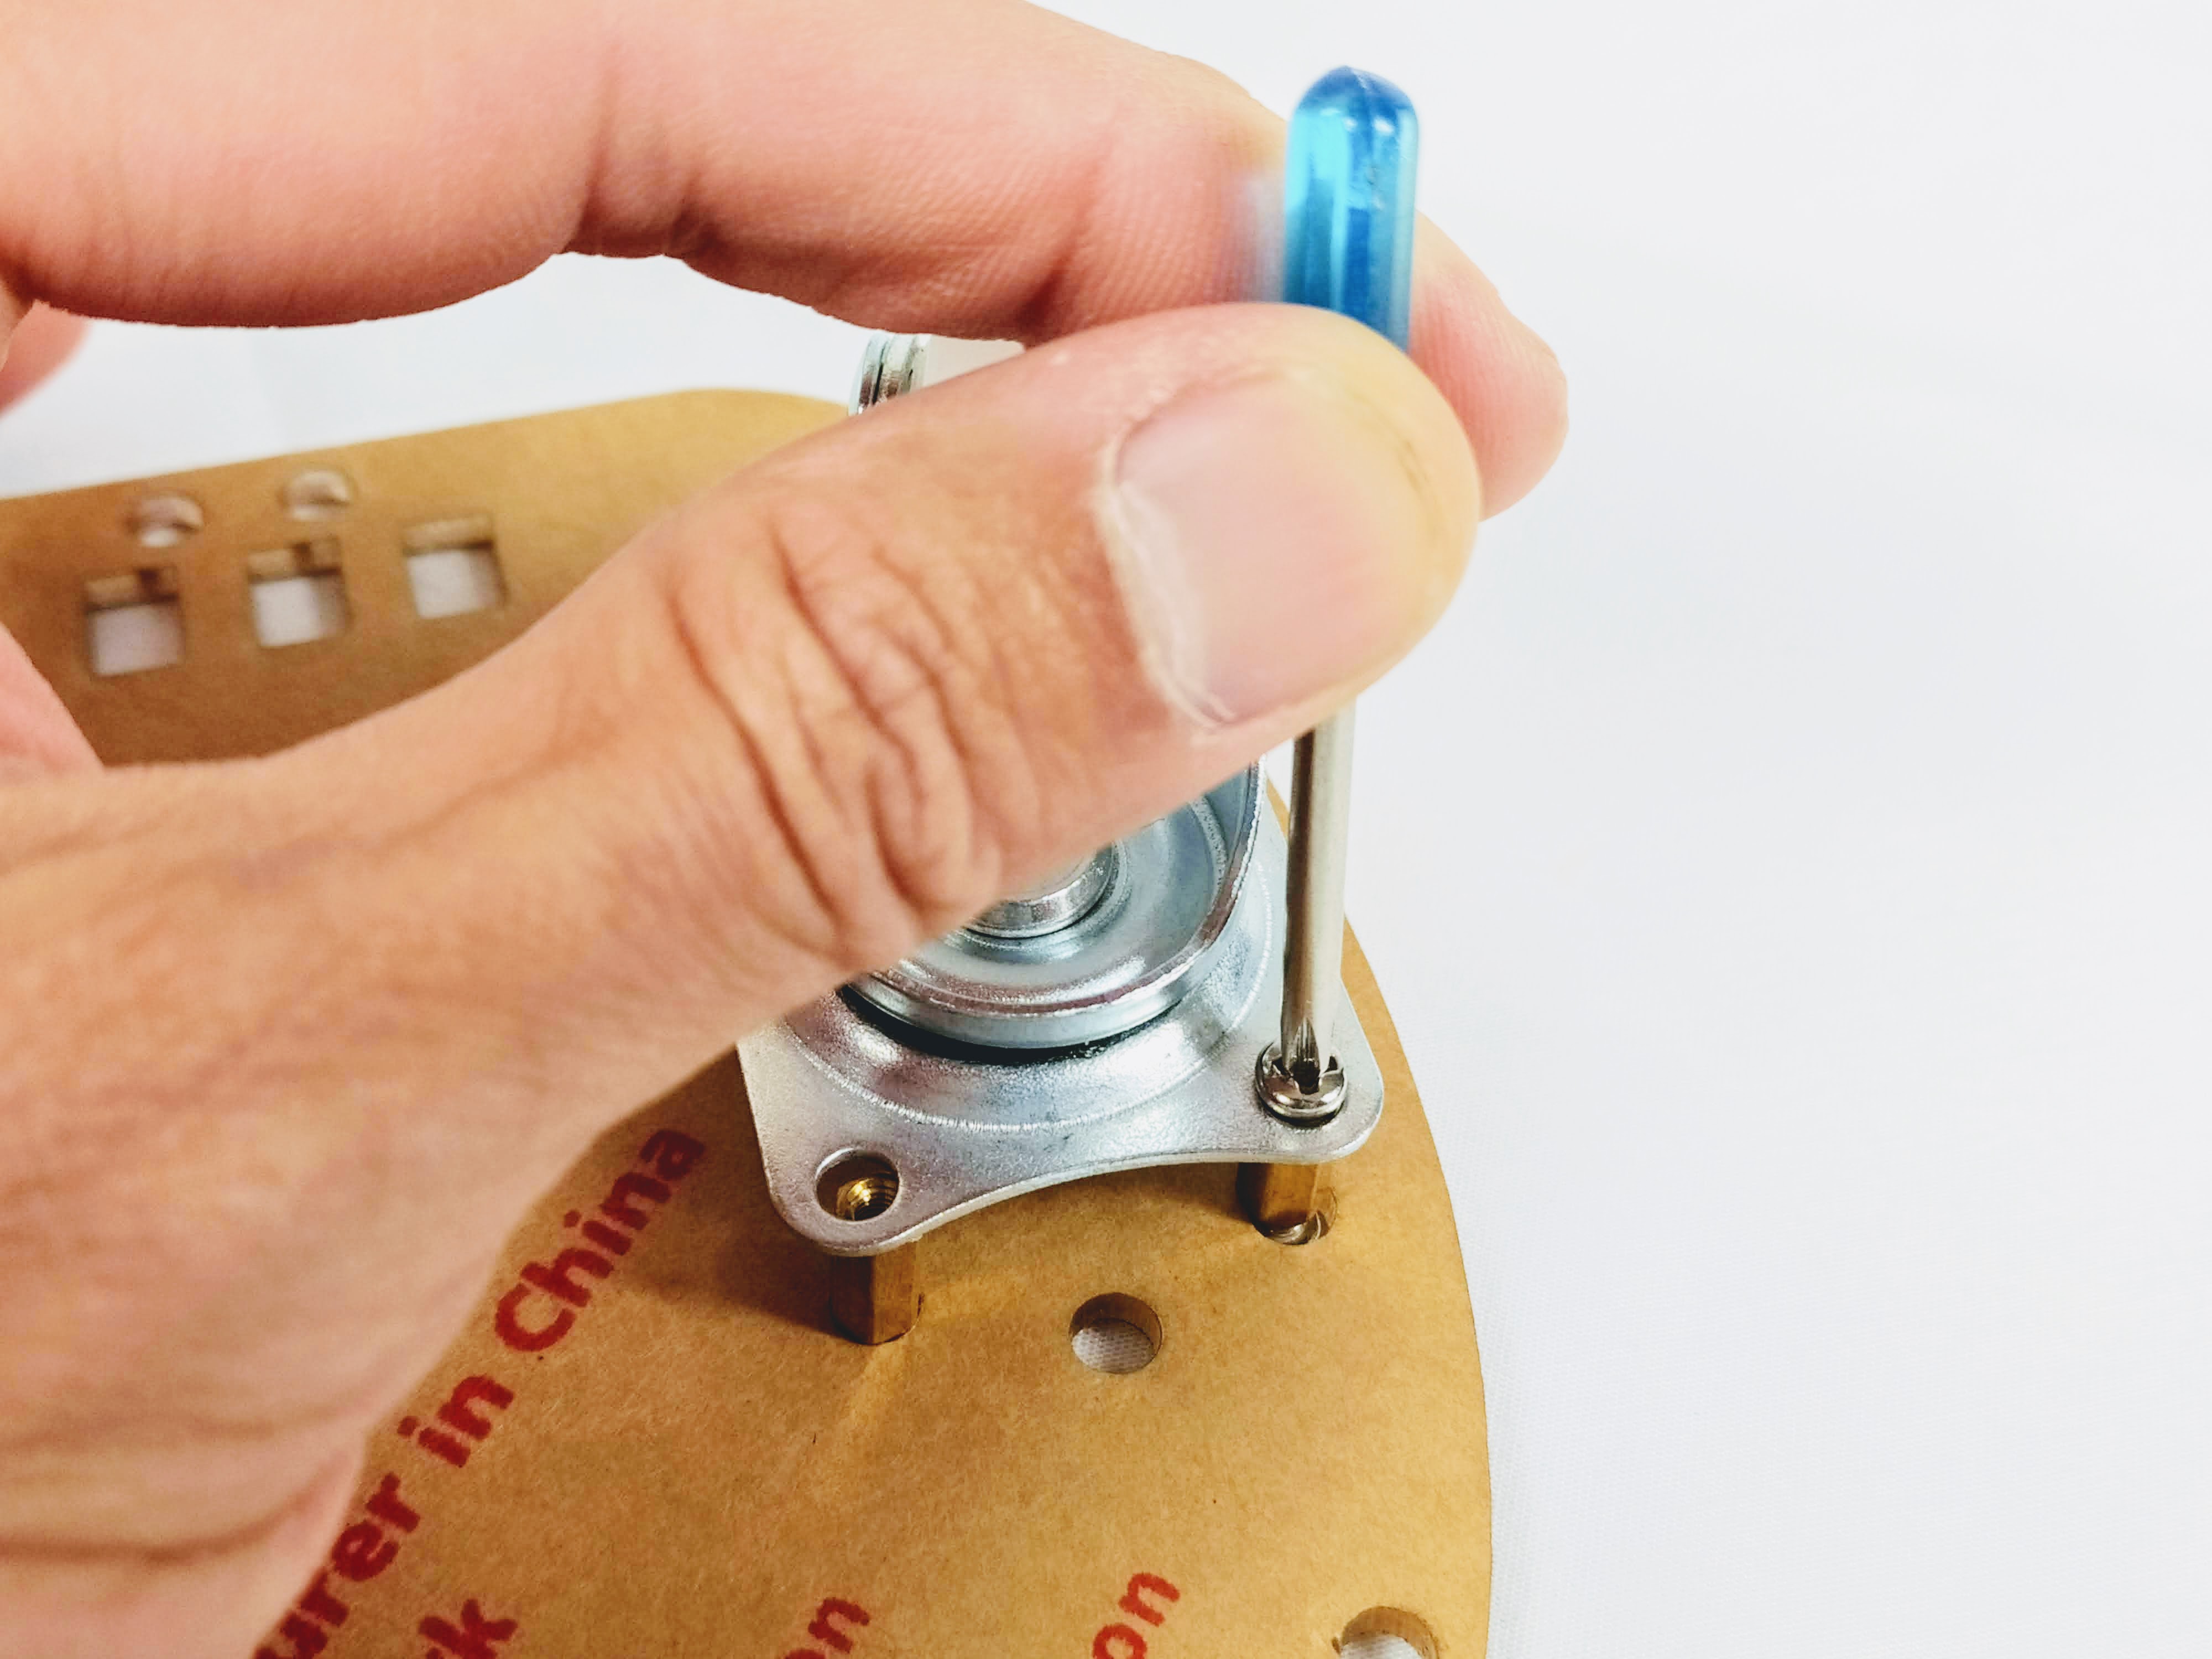
Flip the chassis over and fasten the caster wheel onto the pillars by lining up the holes and using 4 x short screws.

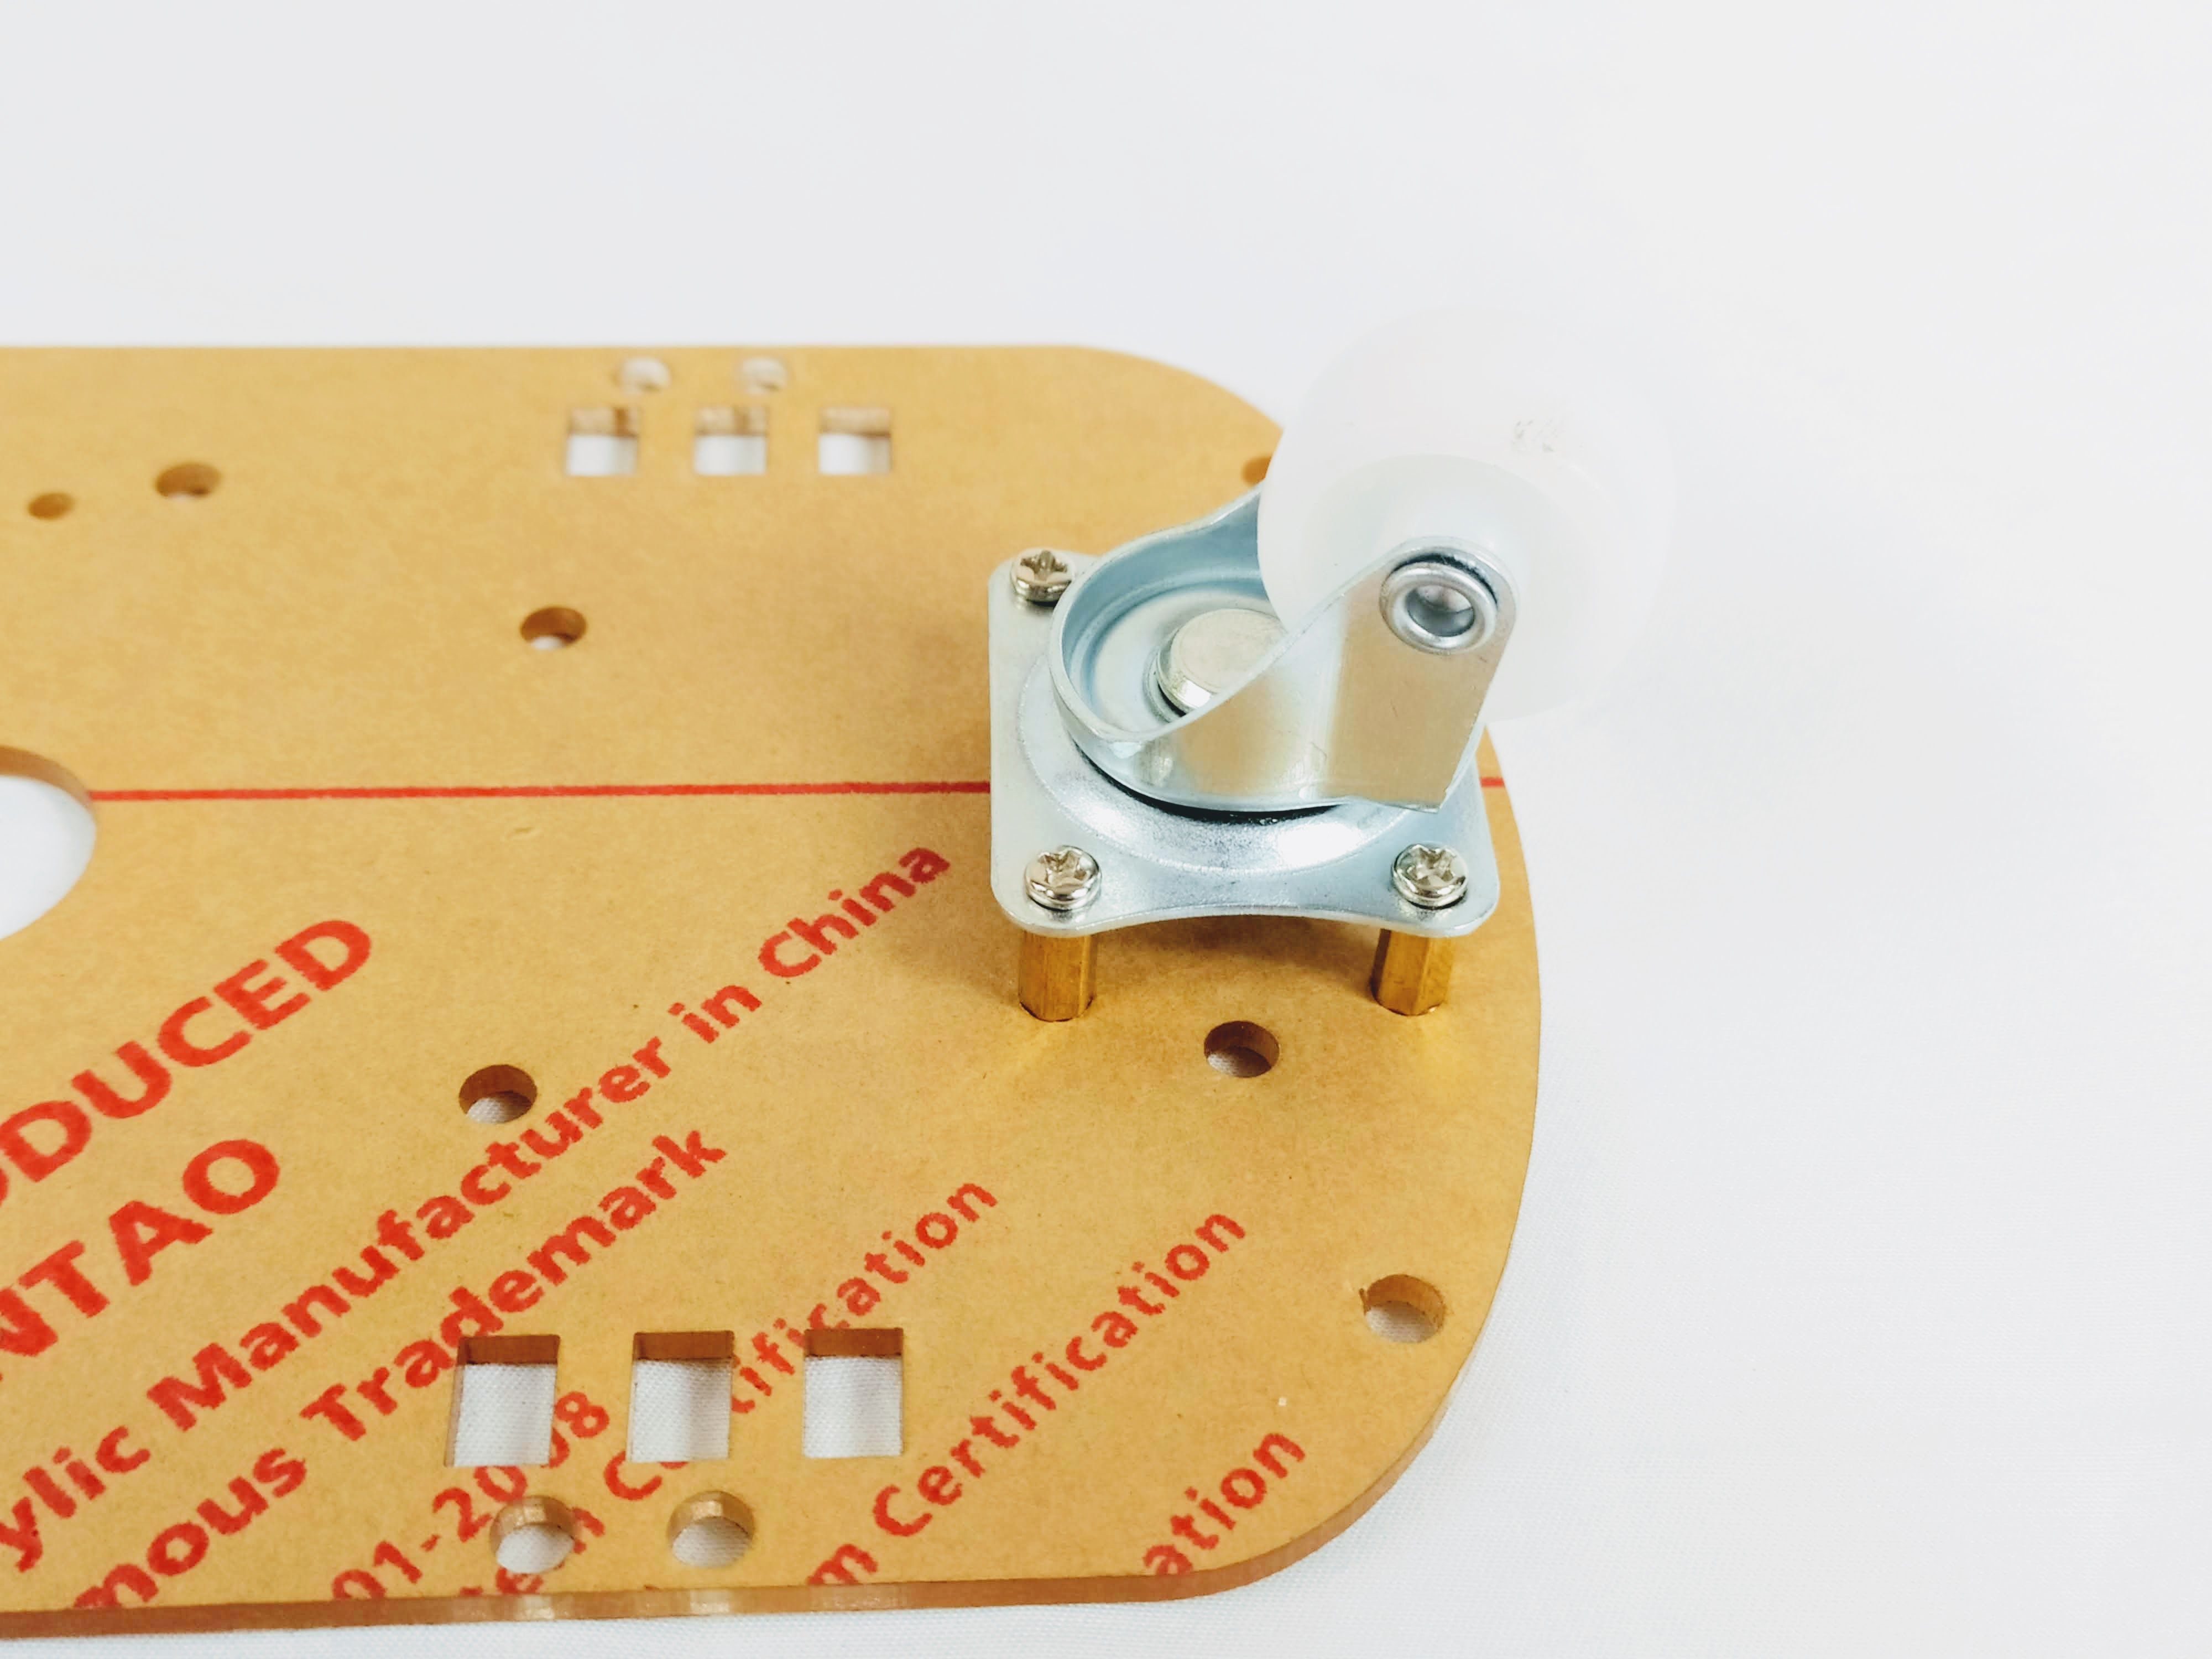
Note: Newer versions of the chassis are clear and do not have extra unused holes for mounting the caster wheel. Image below.
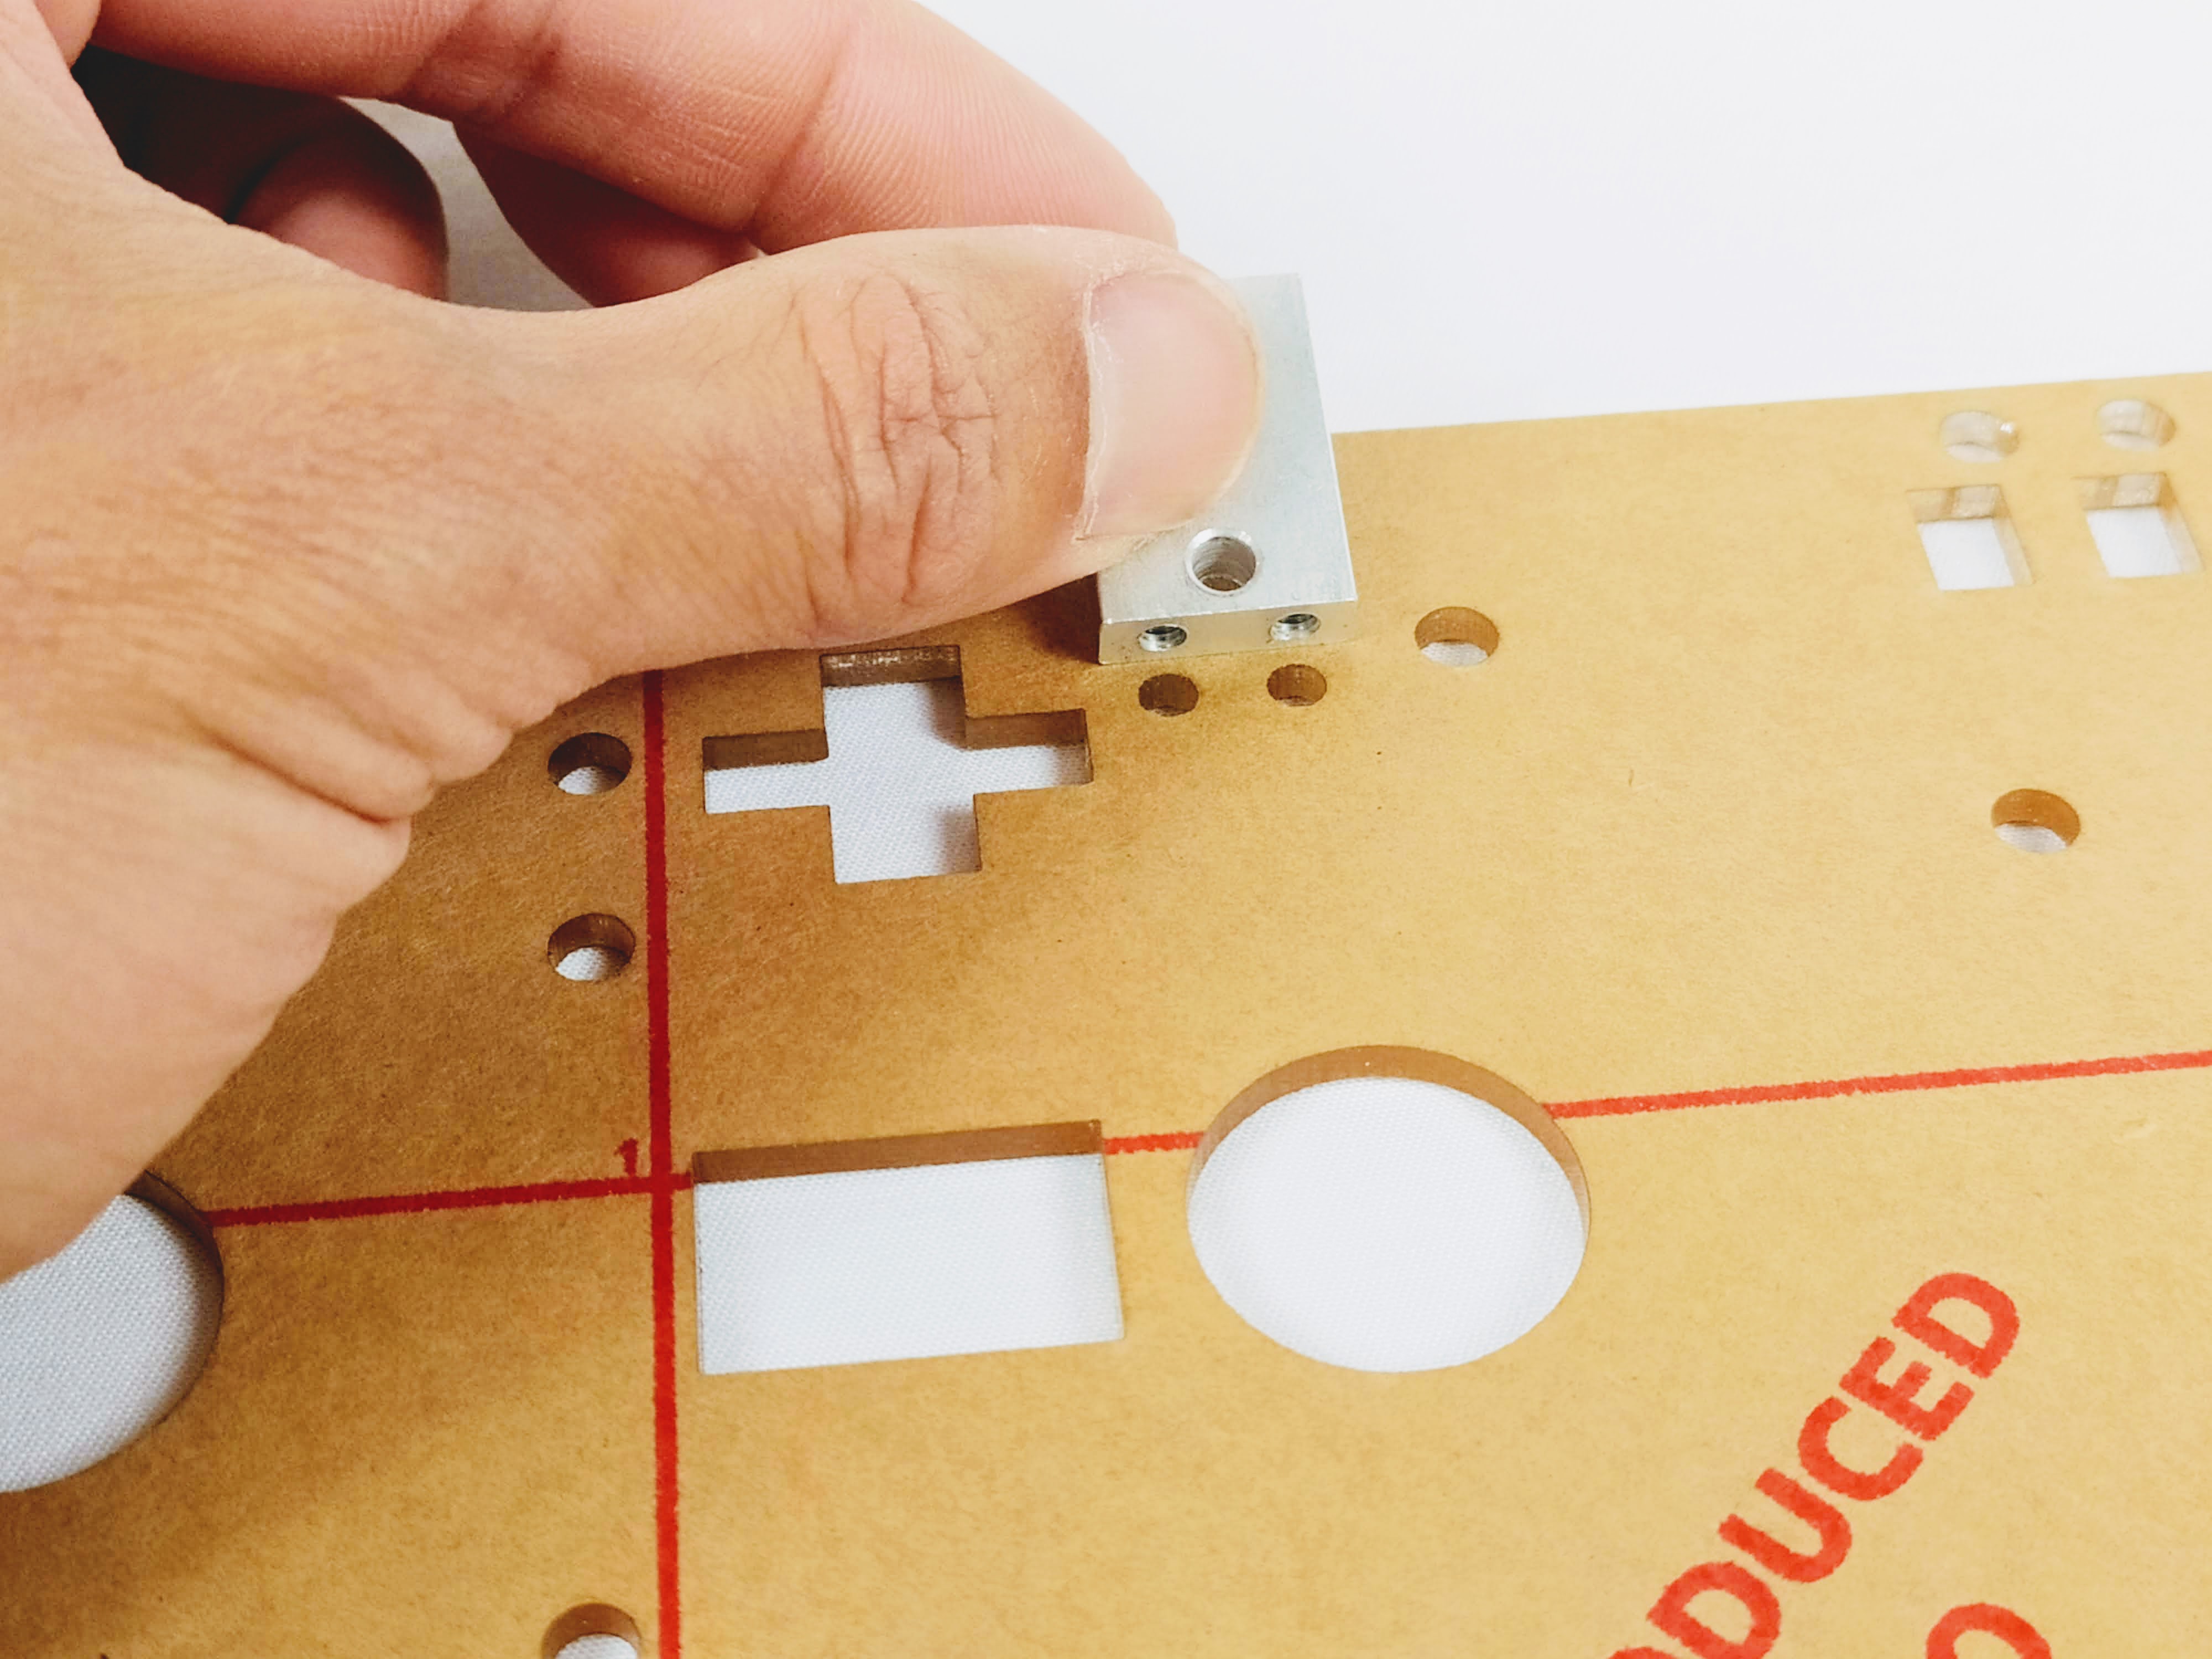
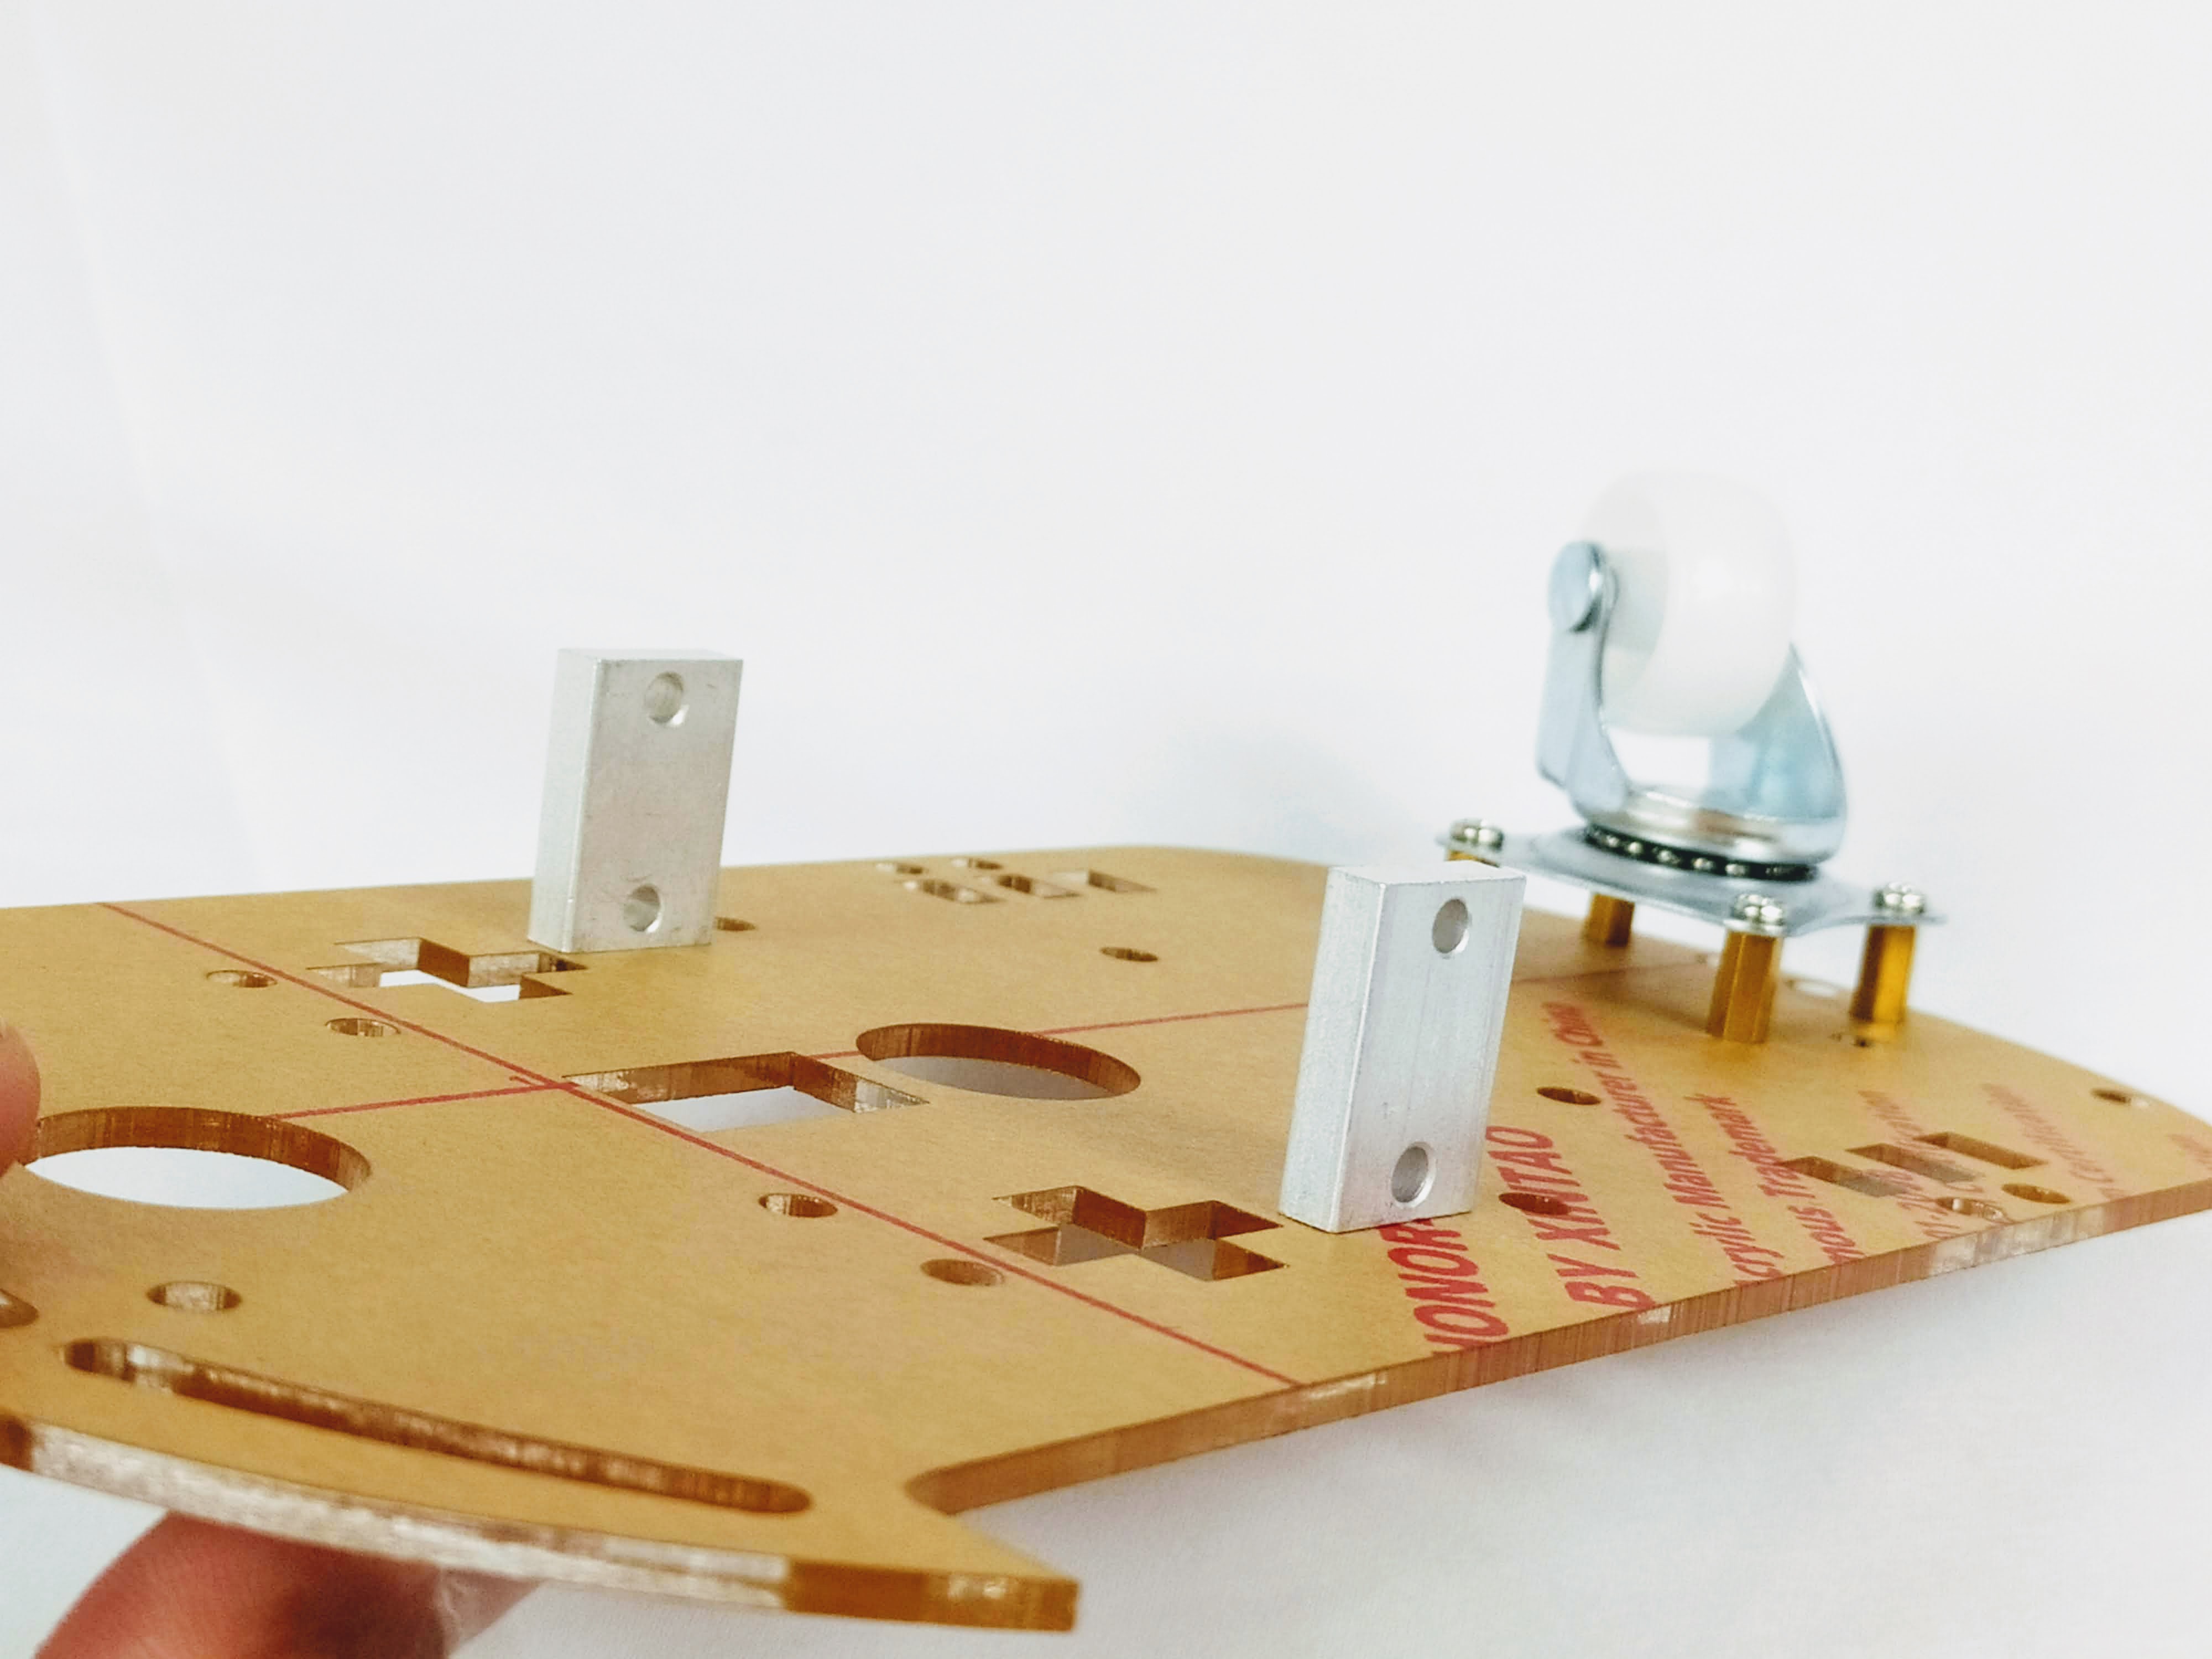
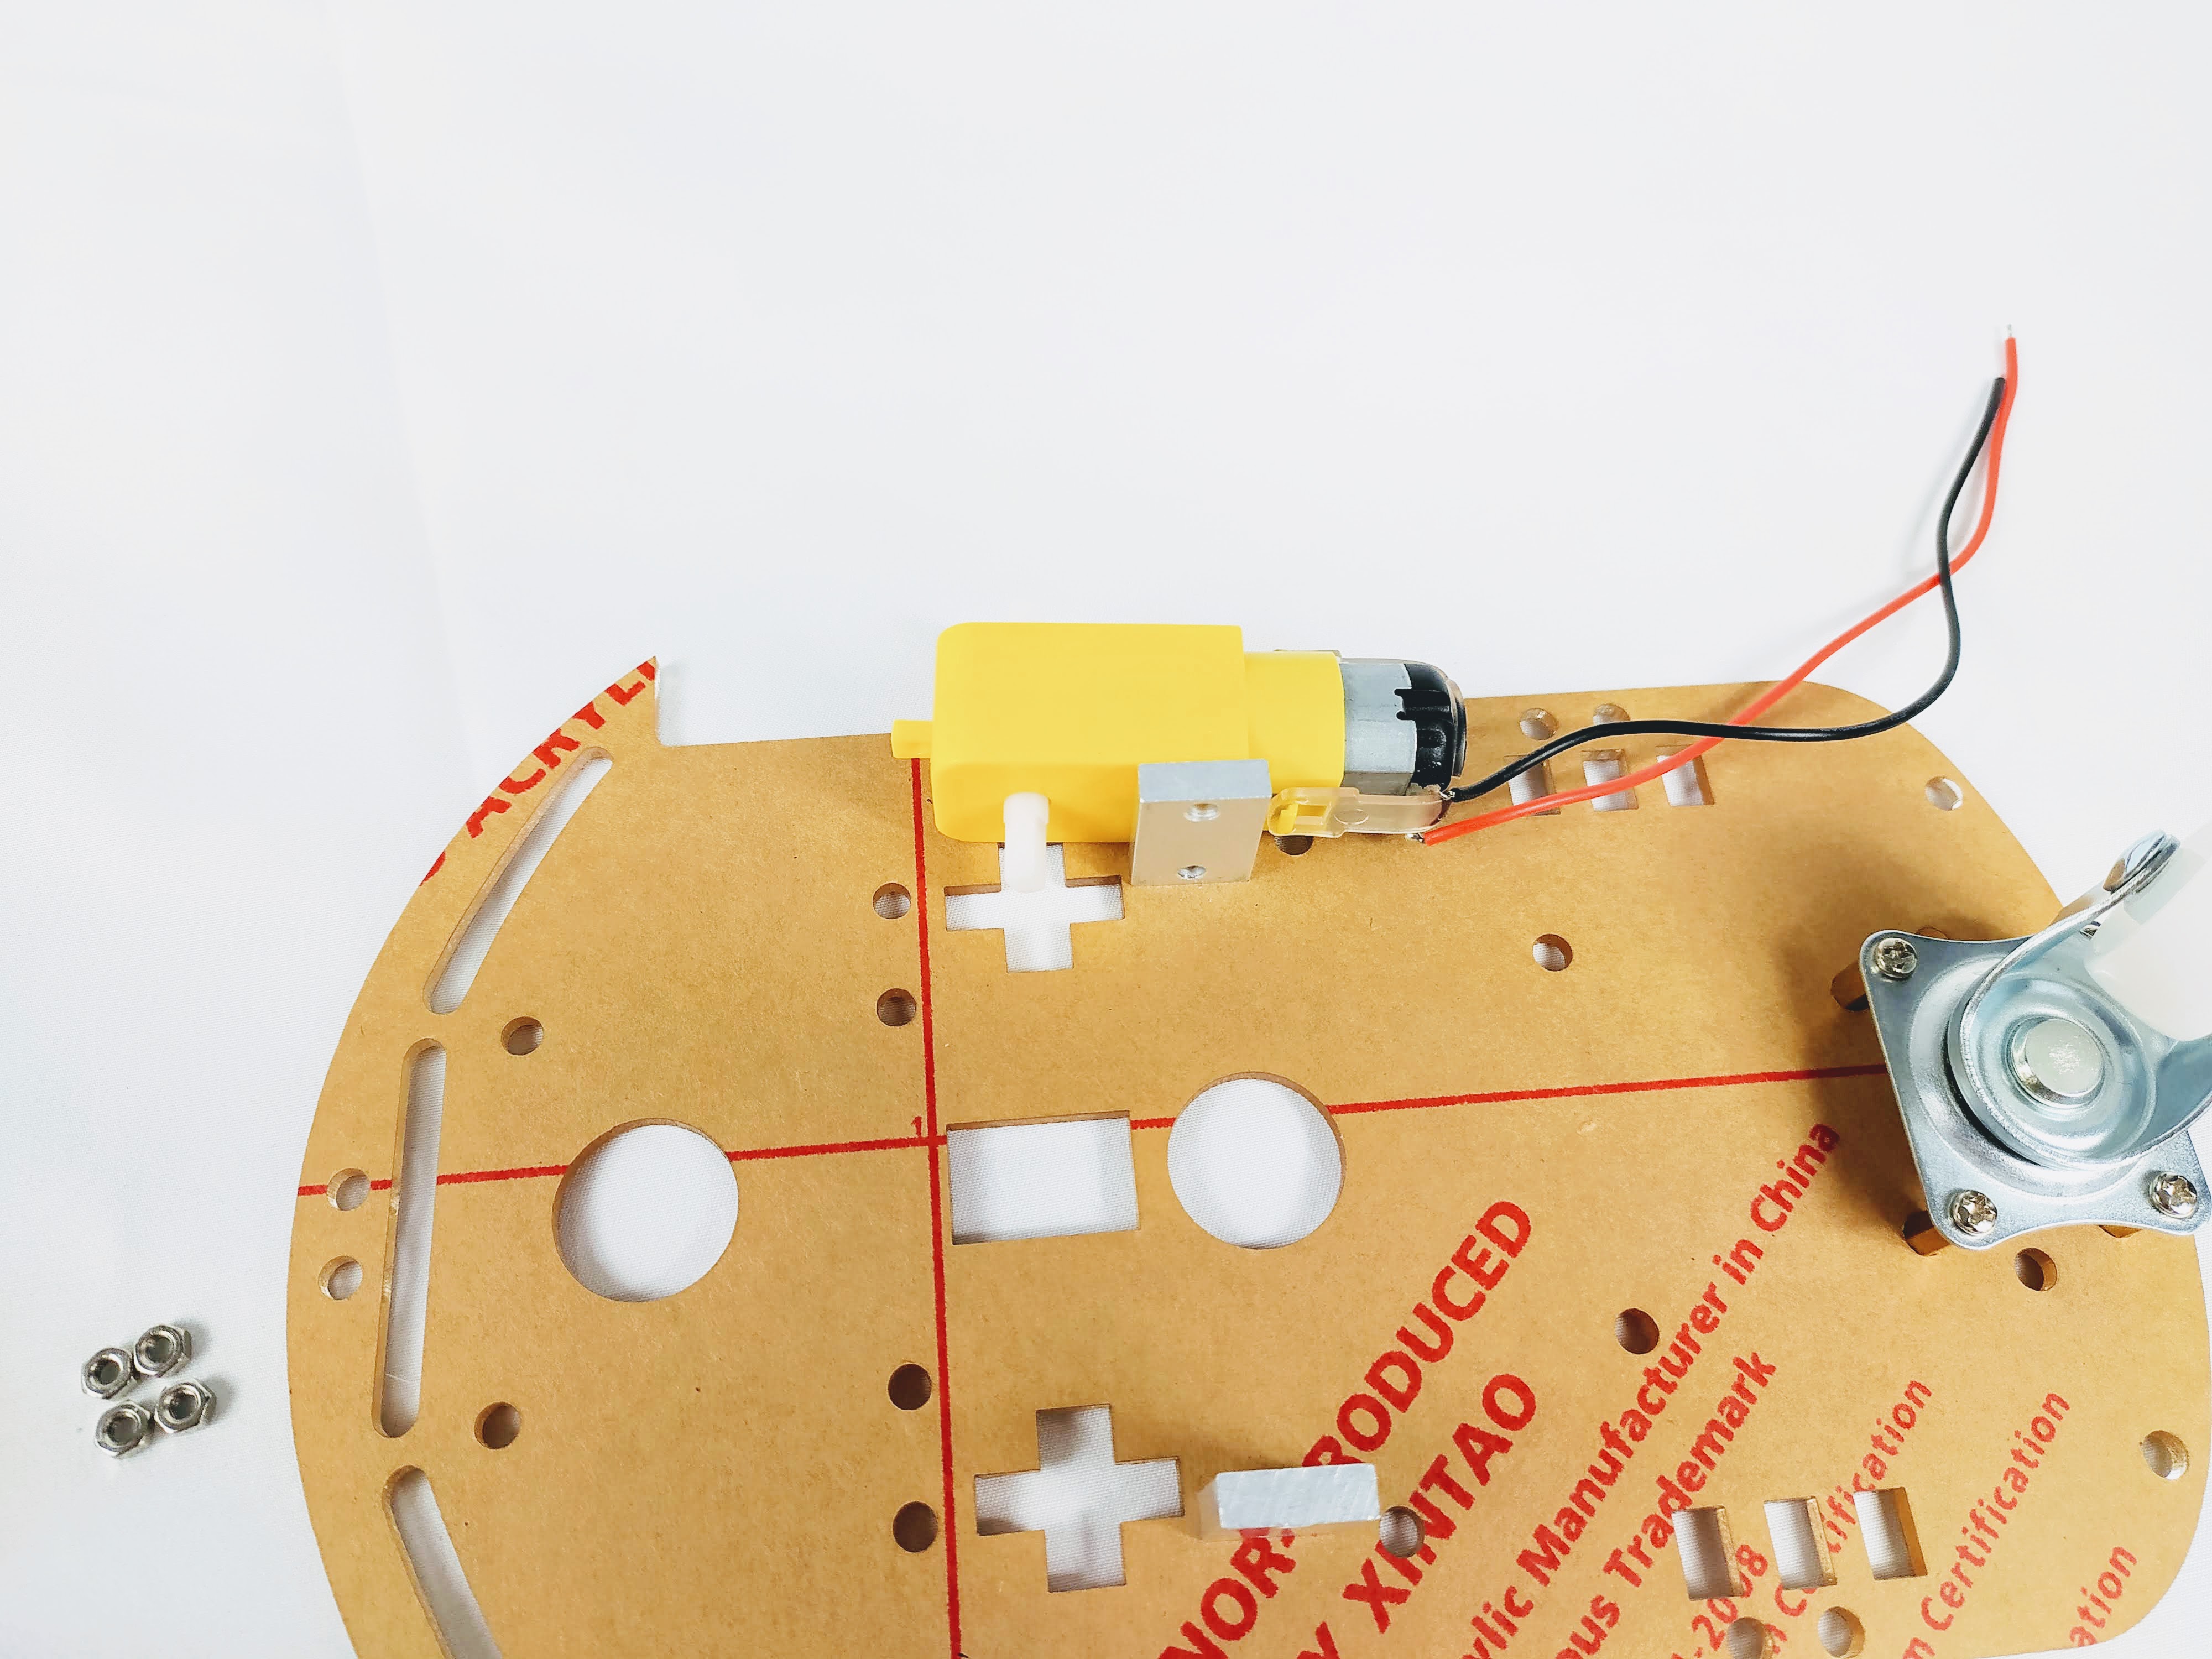
2. Attach Motor Mounts
Gather the parts below.

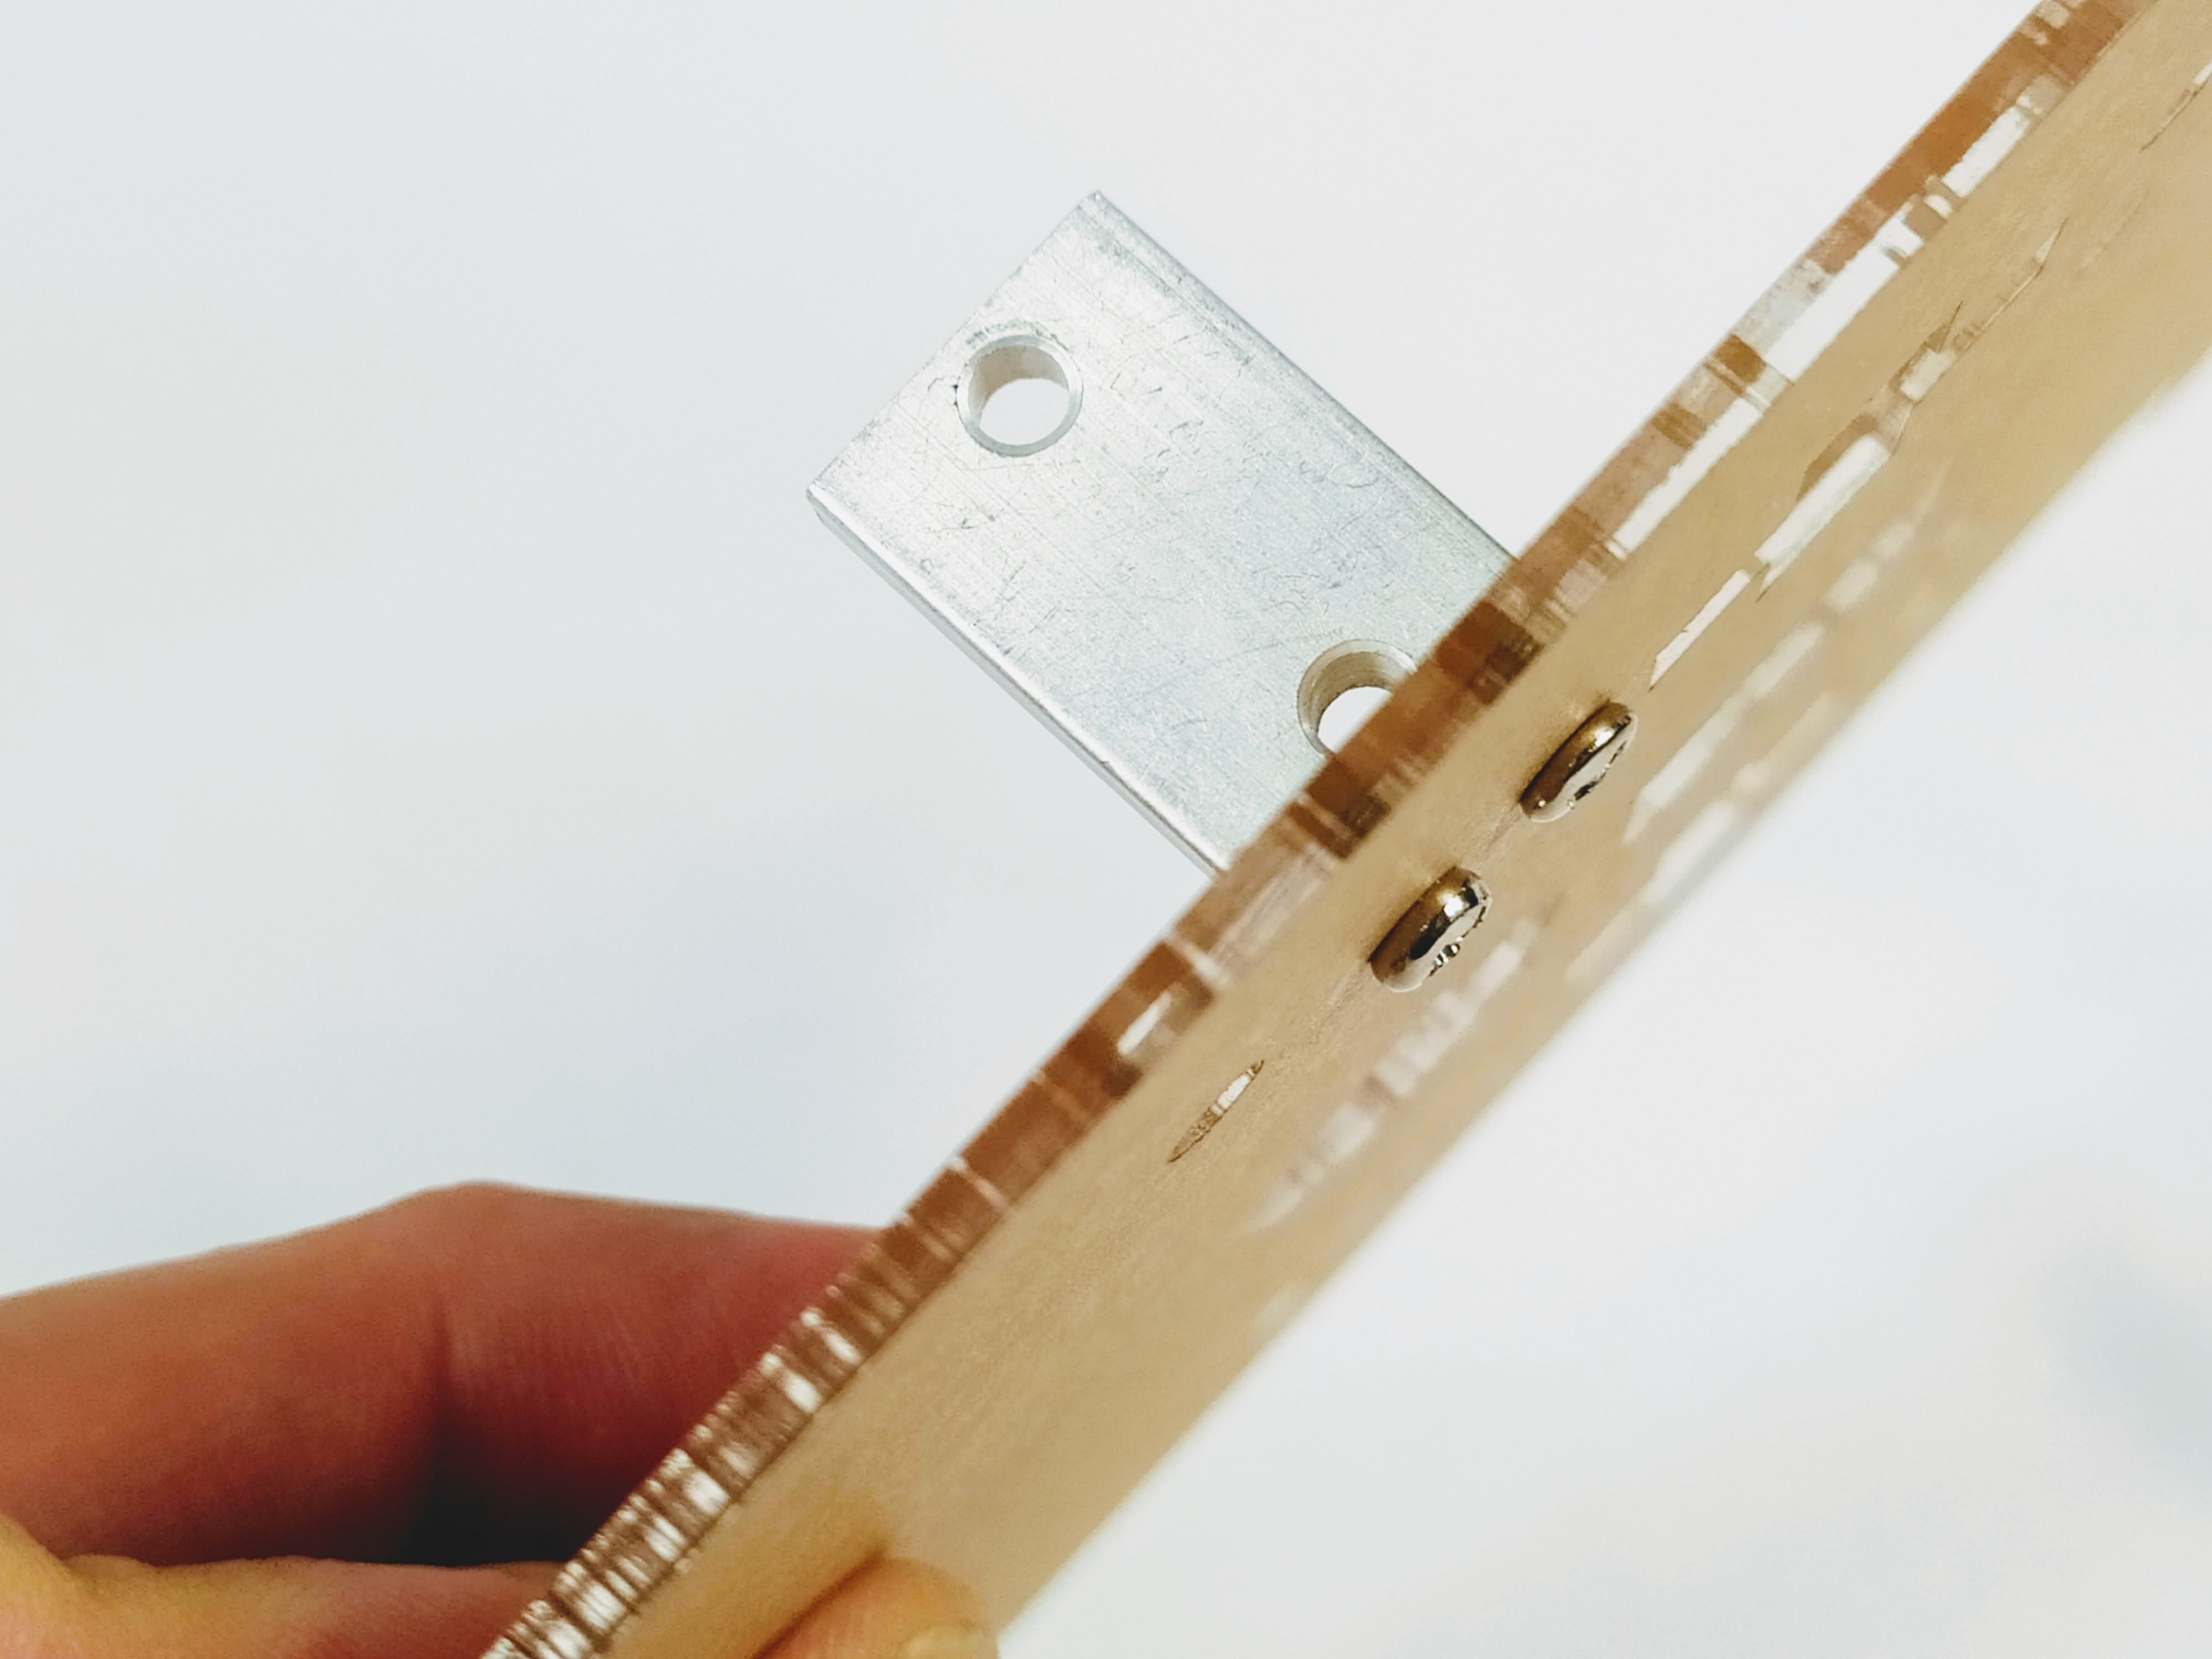
Turn the motor mounts and notice the 2 x holes on one of the side. Screws will be inserted into these holes to fasten them to your chassis.

Fasten one of the motor mounts using 2 x short screws.
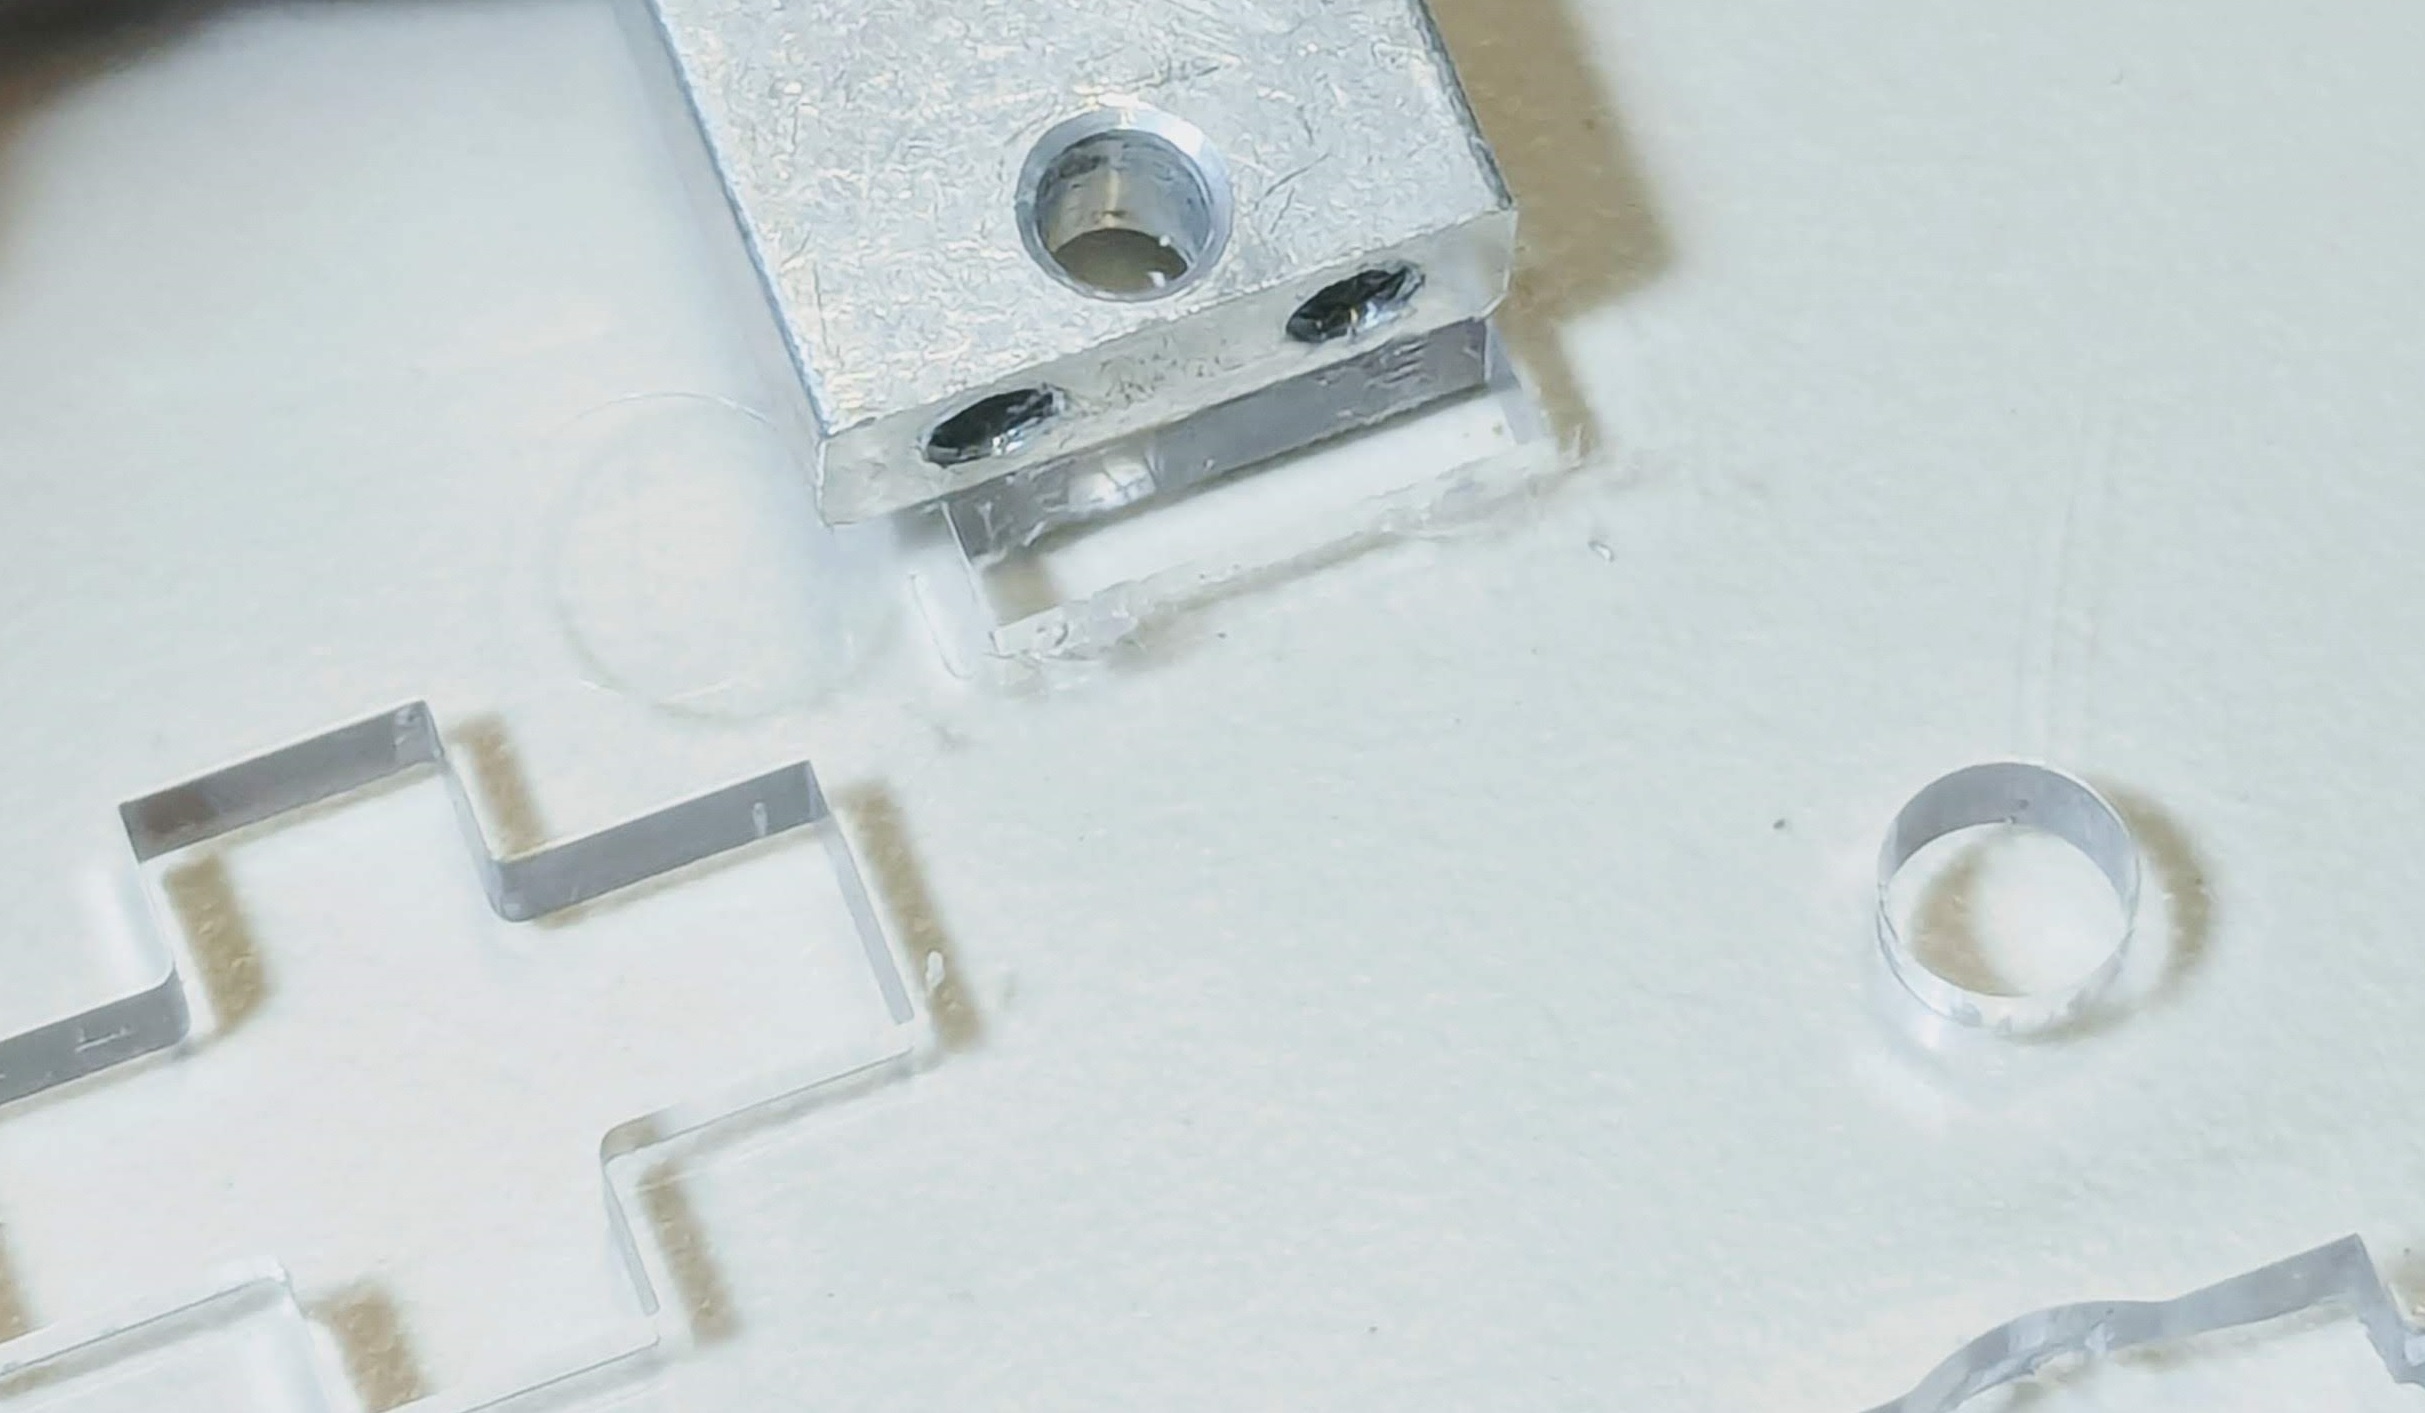
Note: Newer versions of the chassis are clear and do not have two dedicated holes for the screws. Instead, it is a single rectangular hole where you put both screws. See image below.
Repeat for the other motor mount
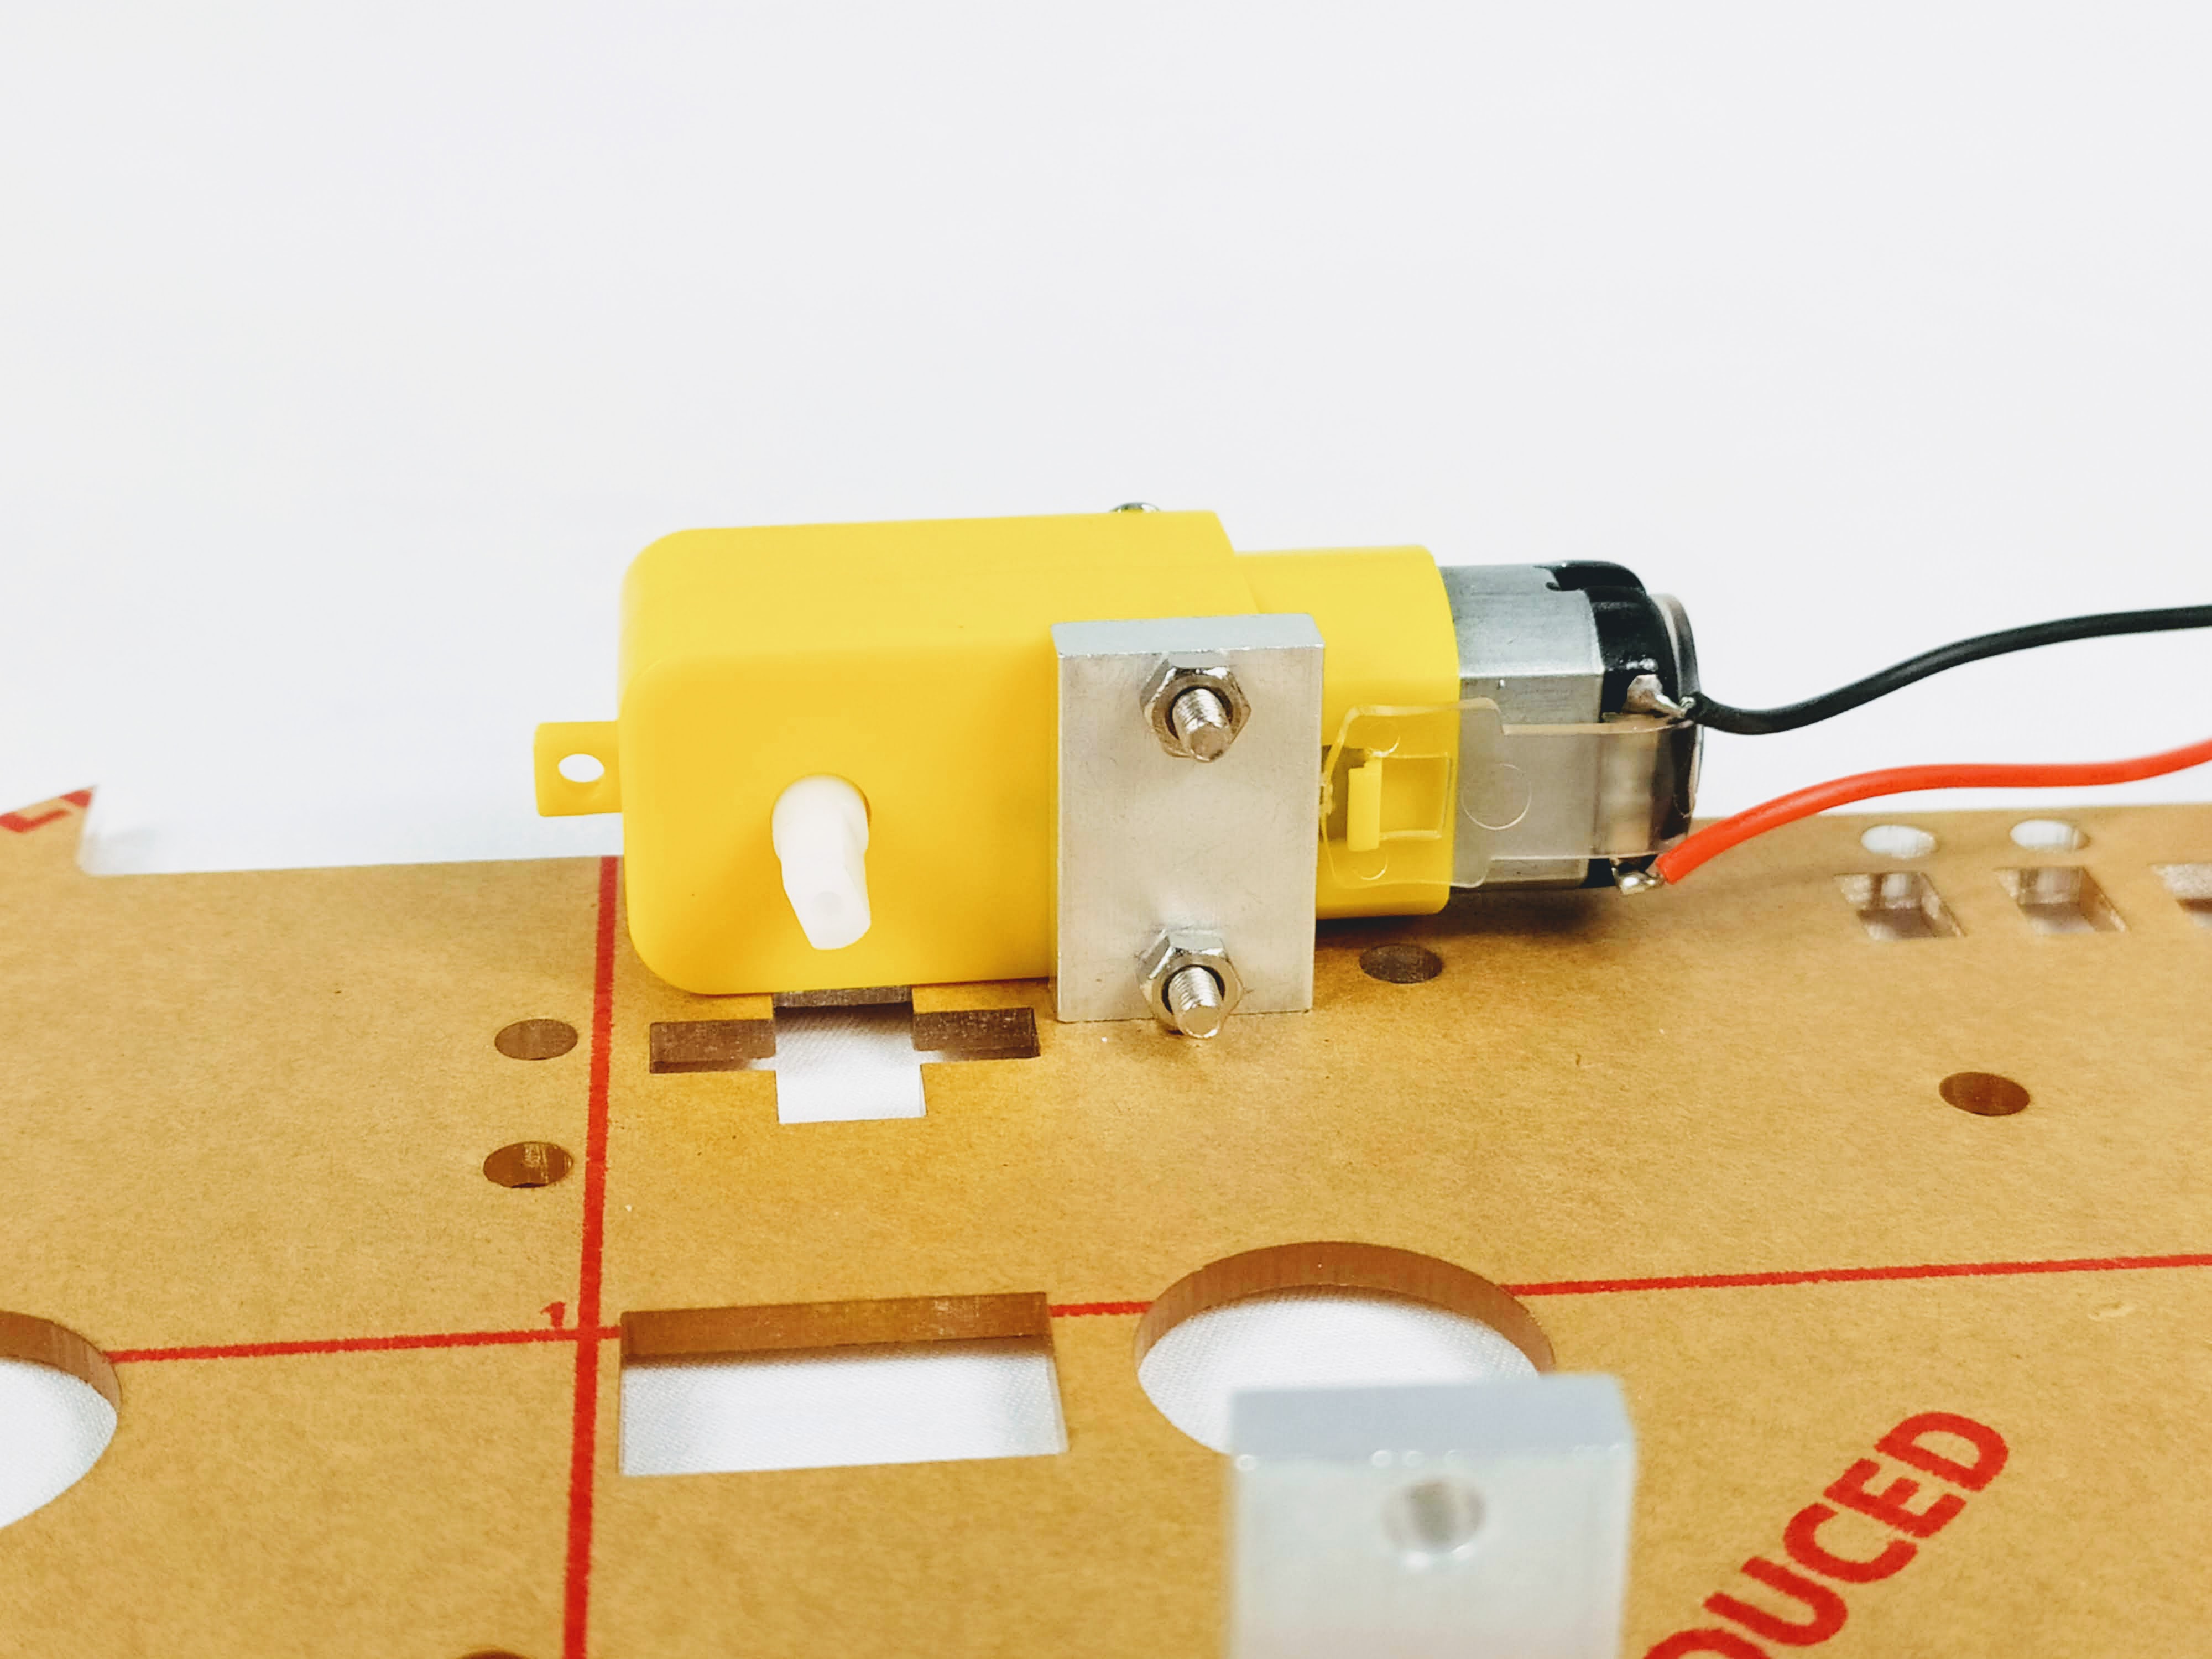
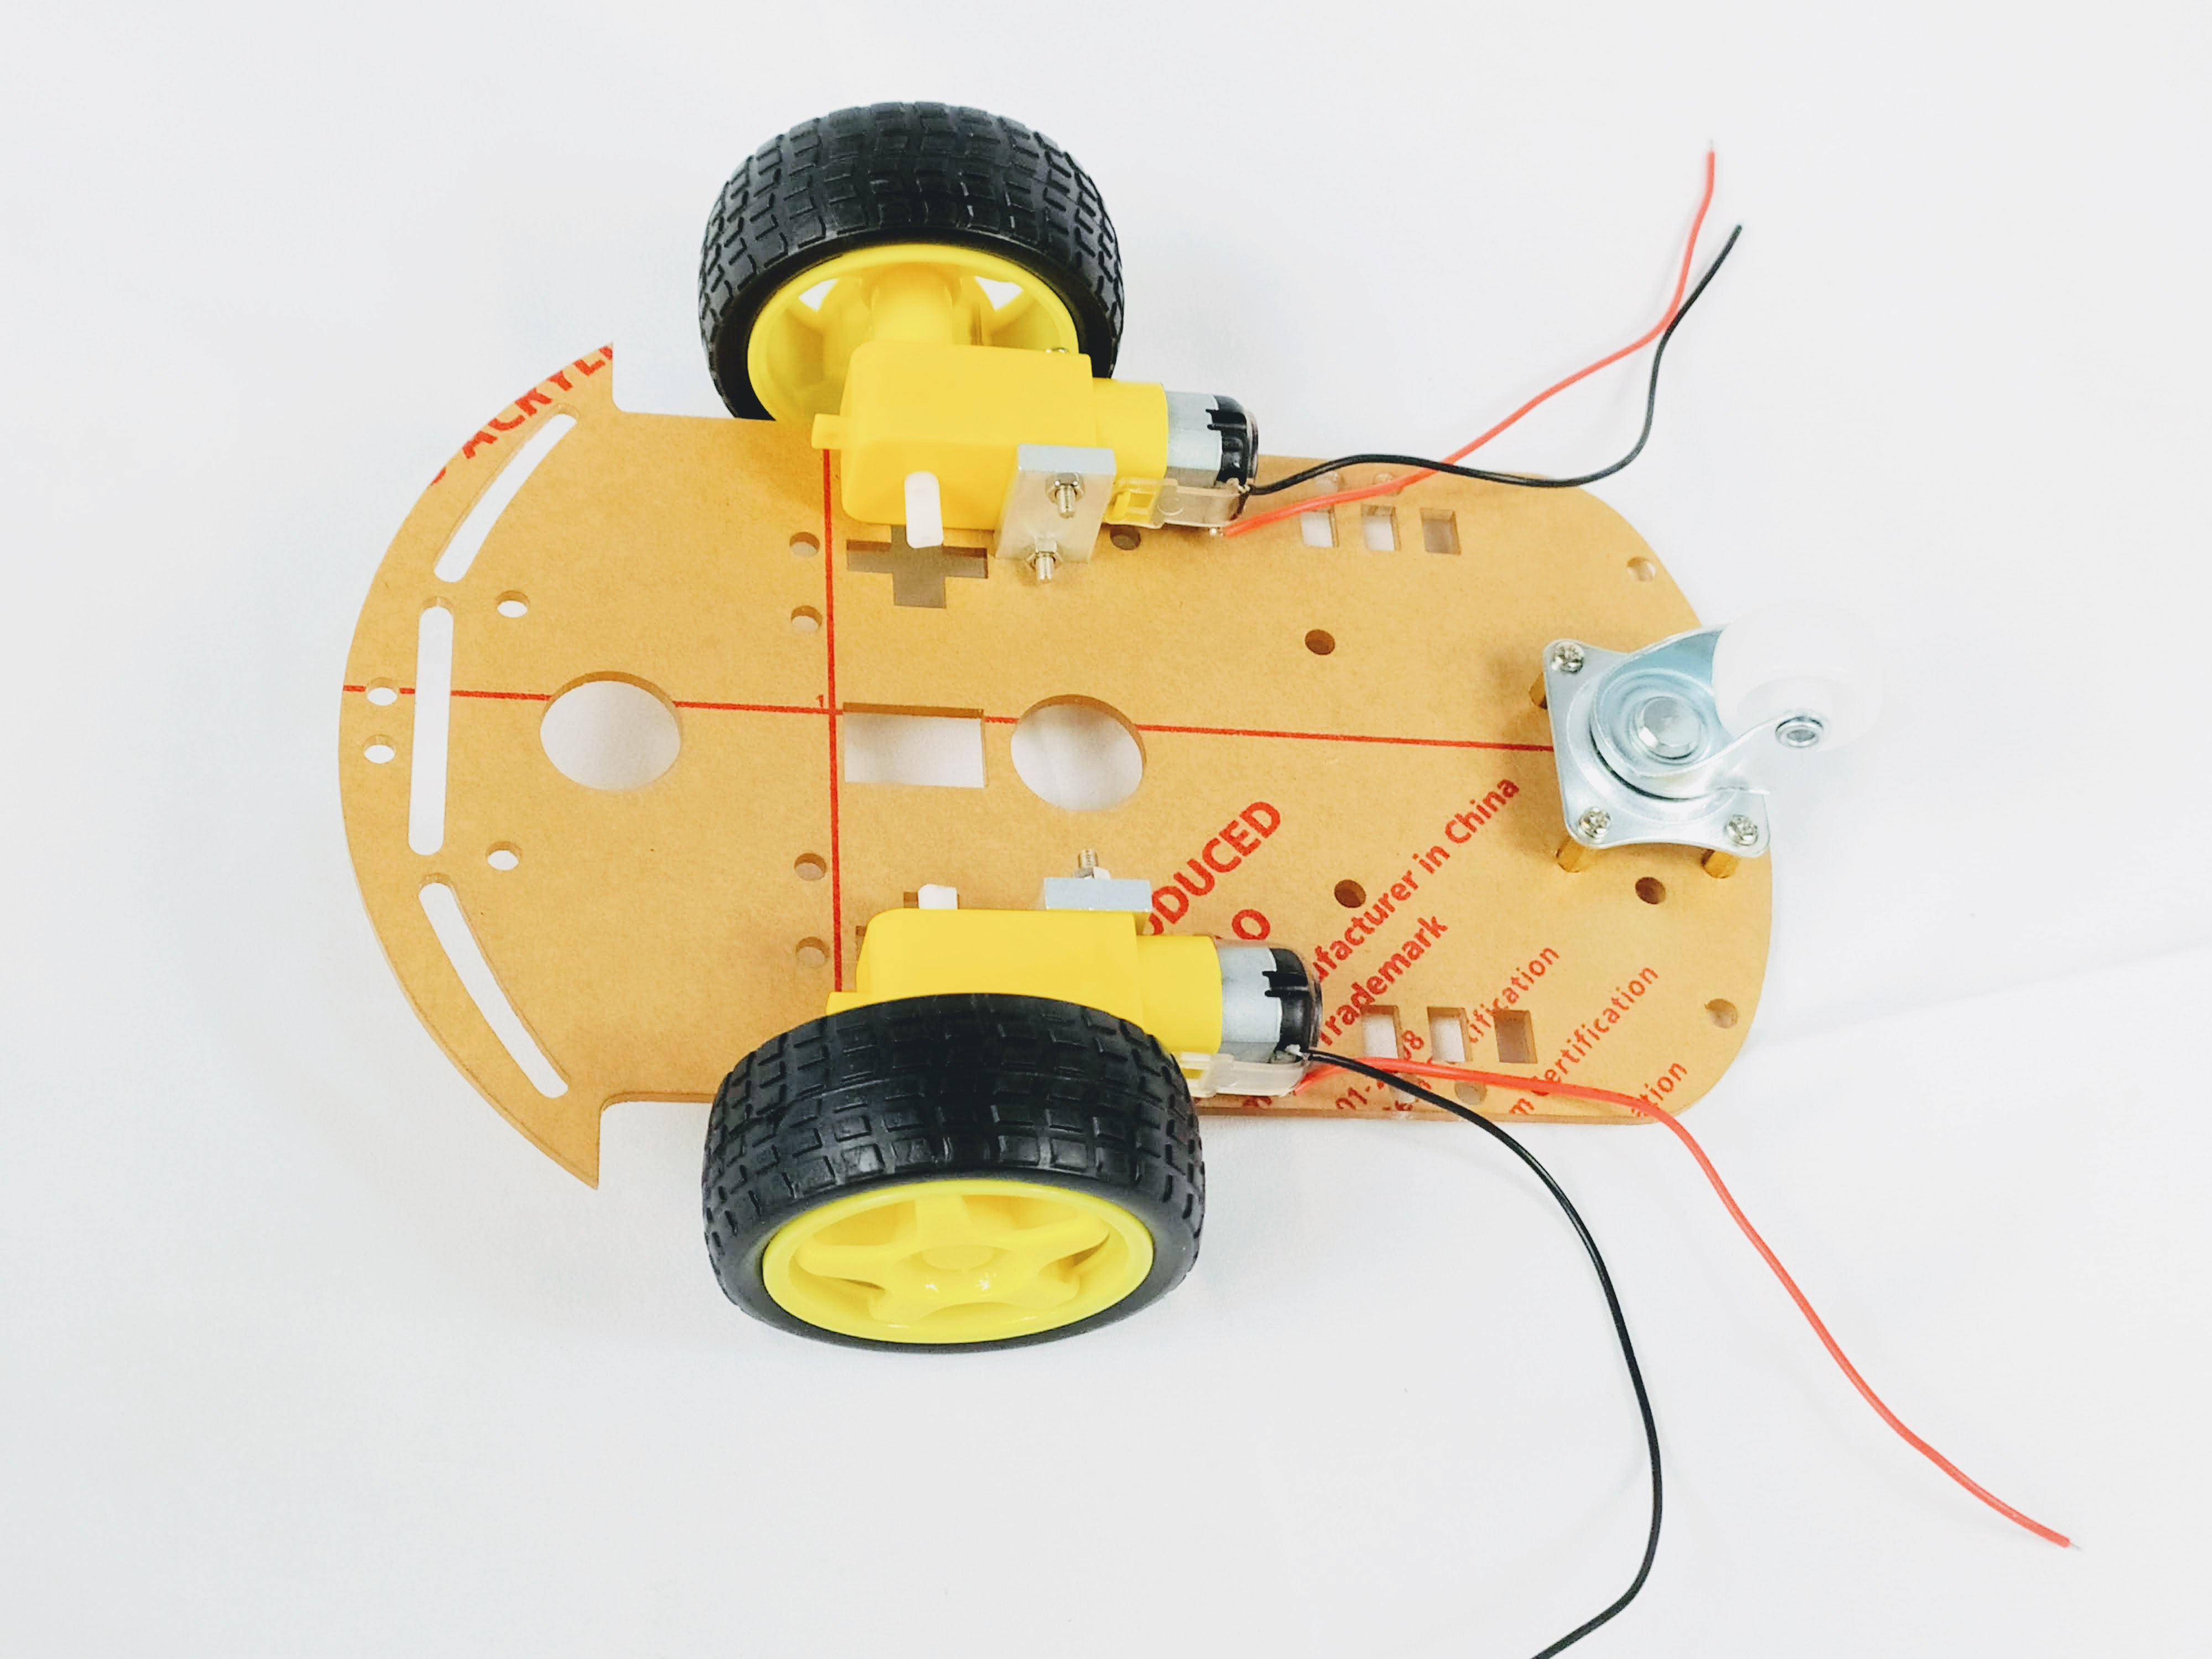
3. Attach Motors
Gather the parts below.
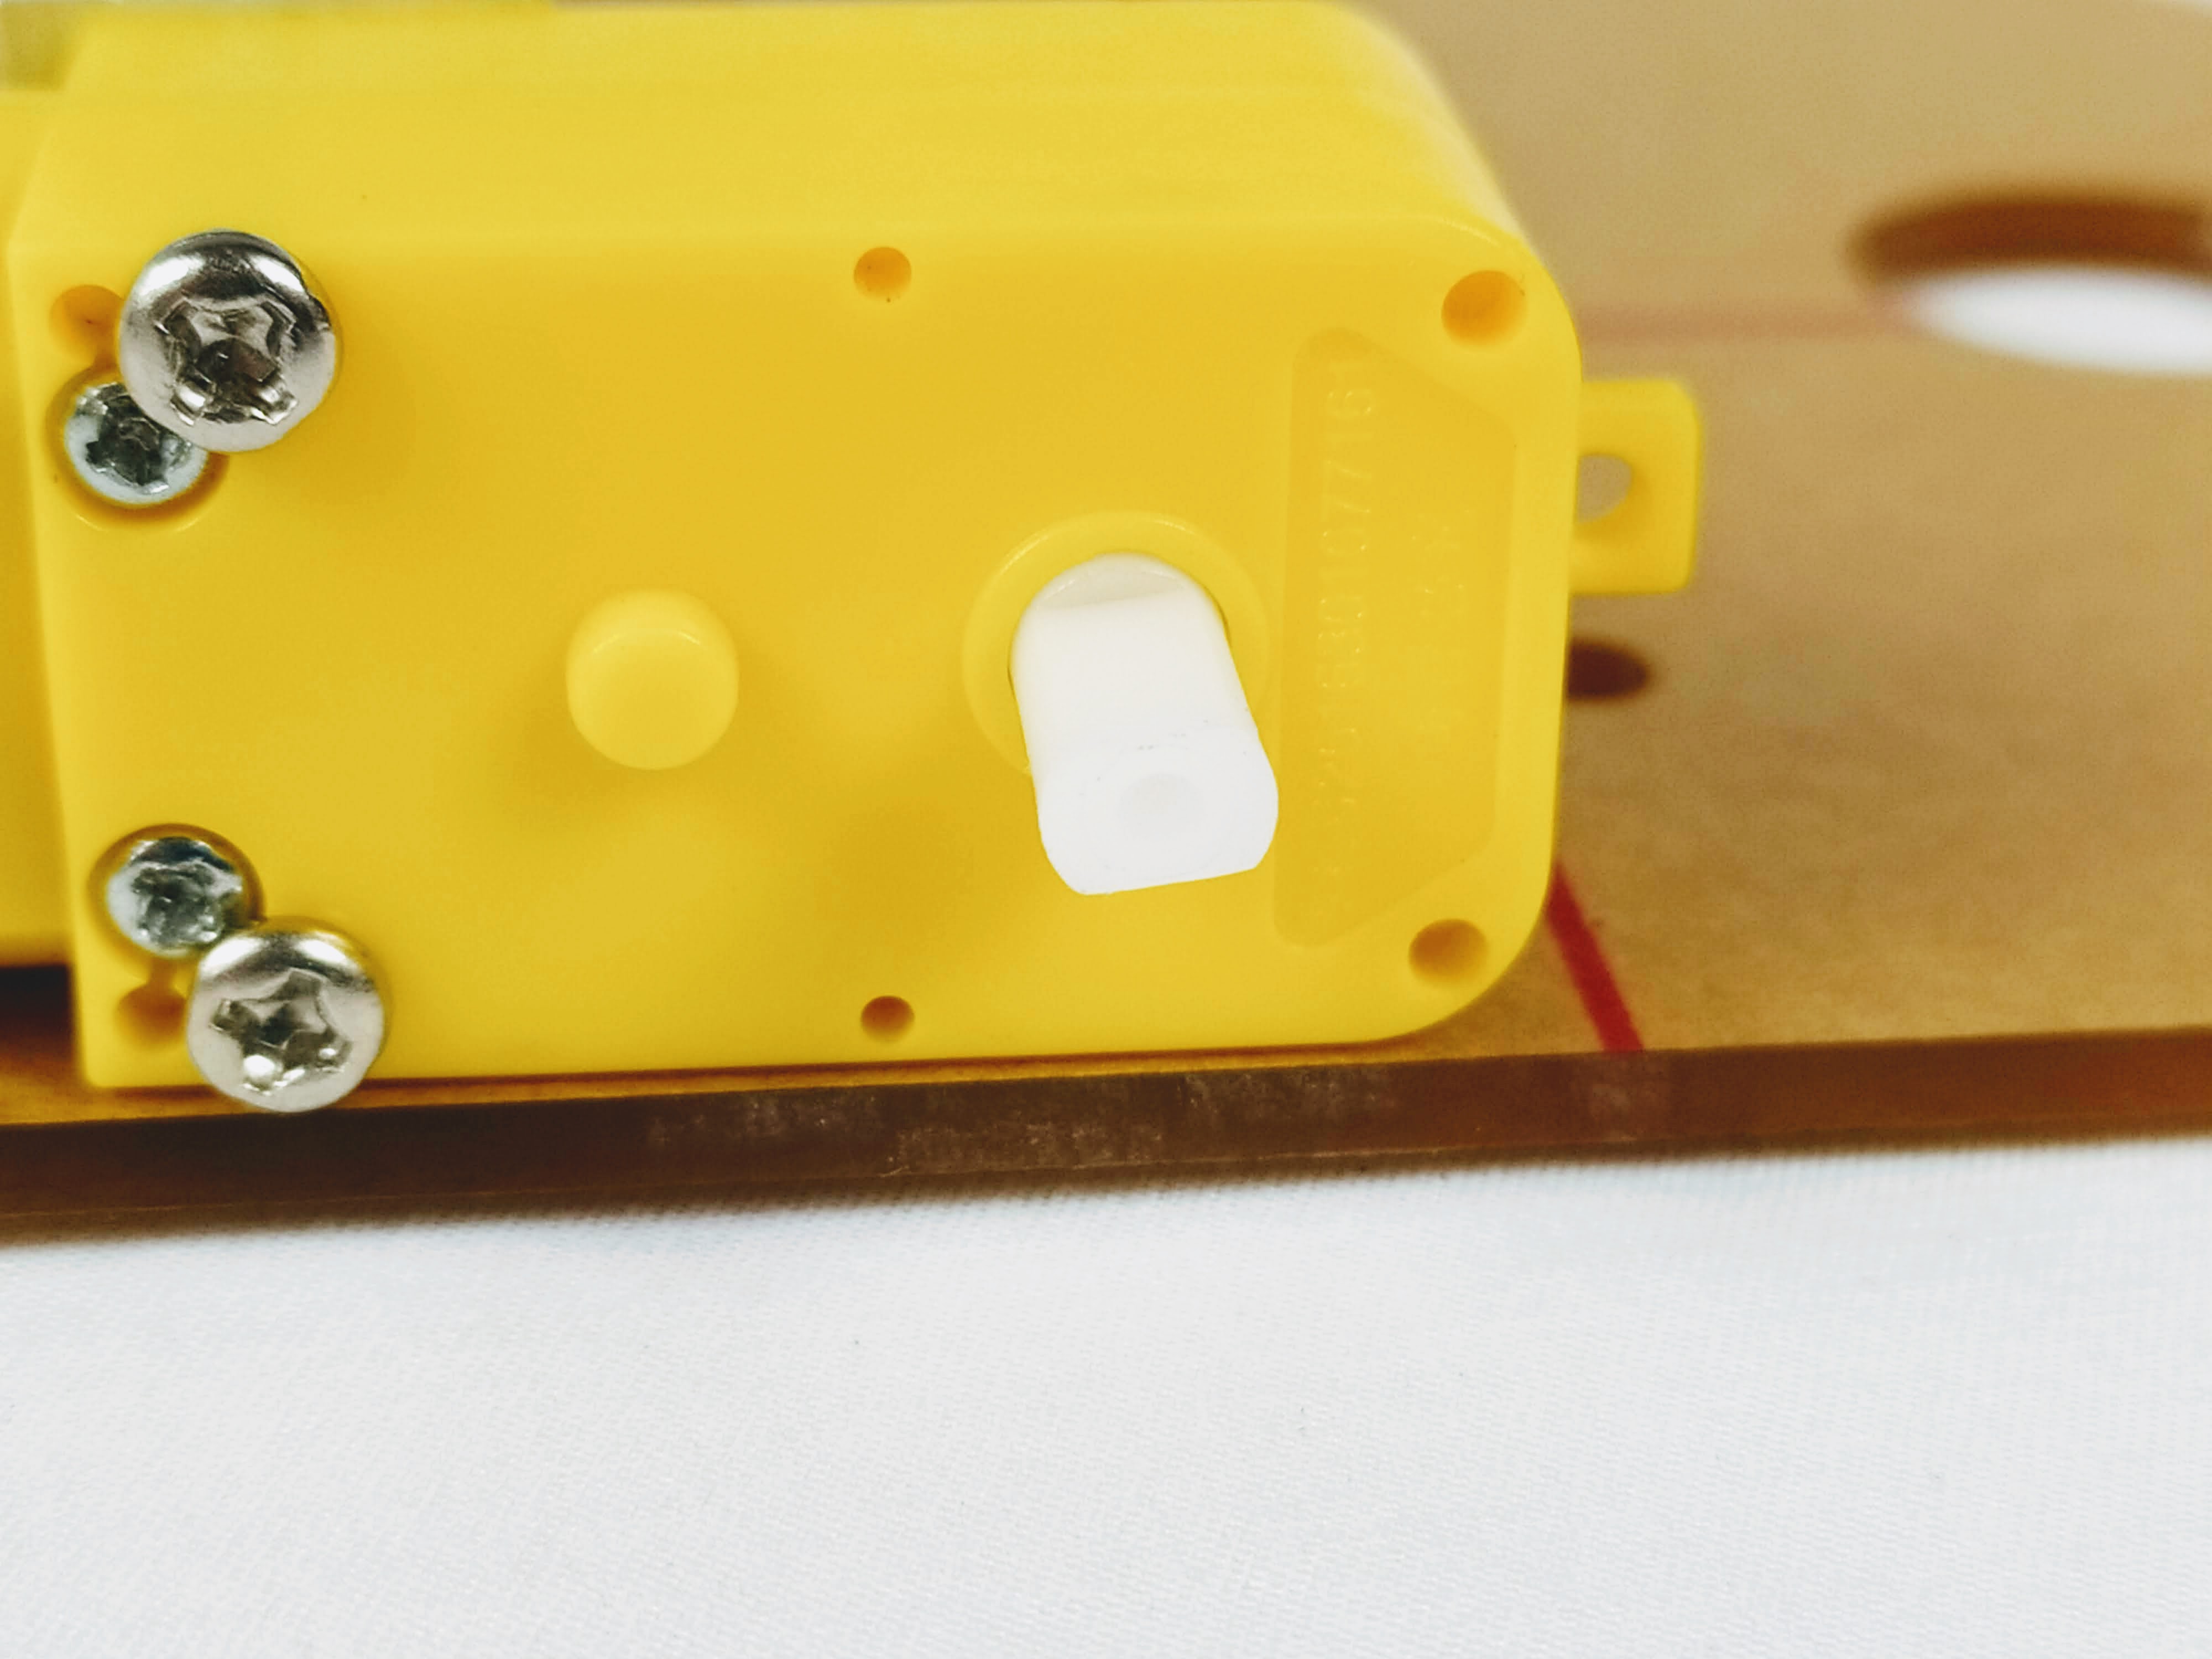
Line up the holes from one of the yellow motors with one of the motor mounts.
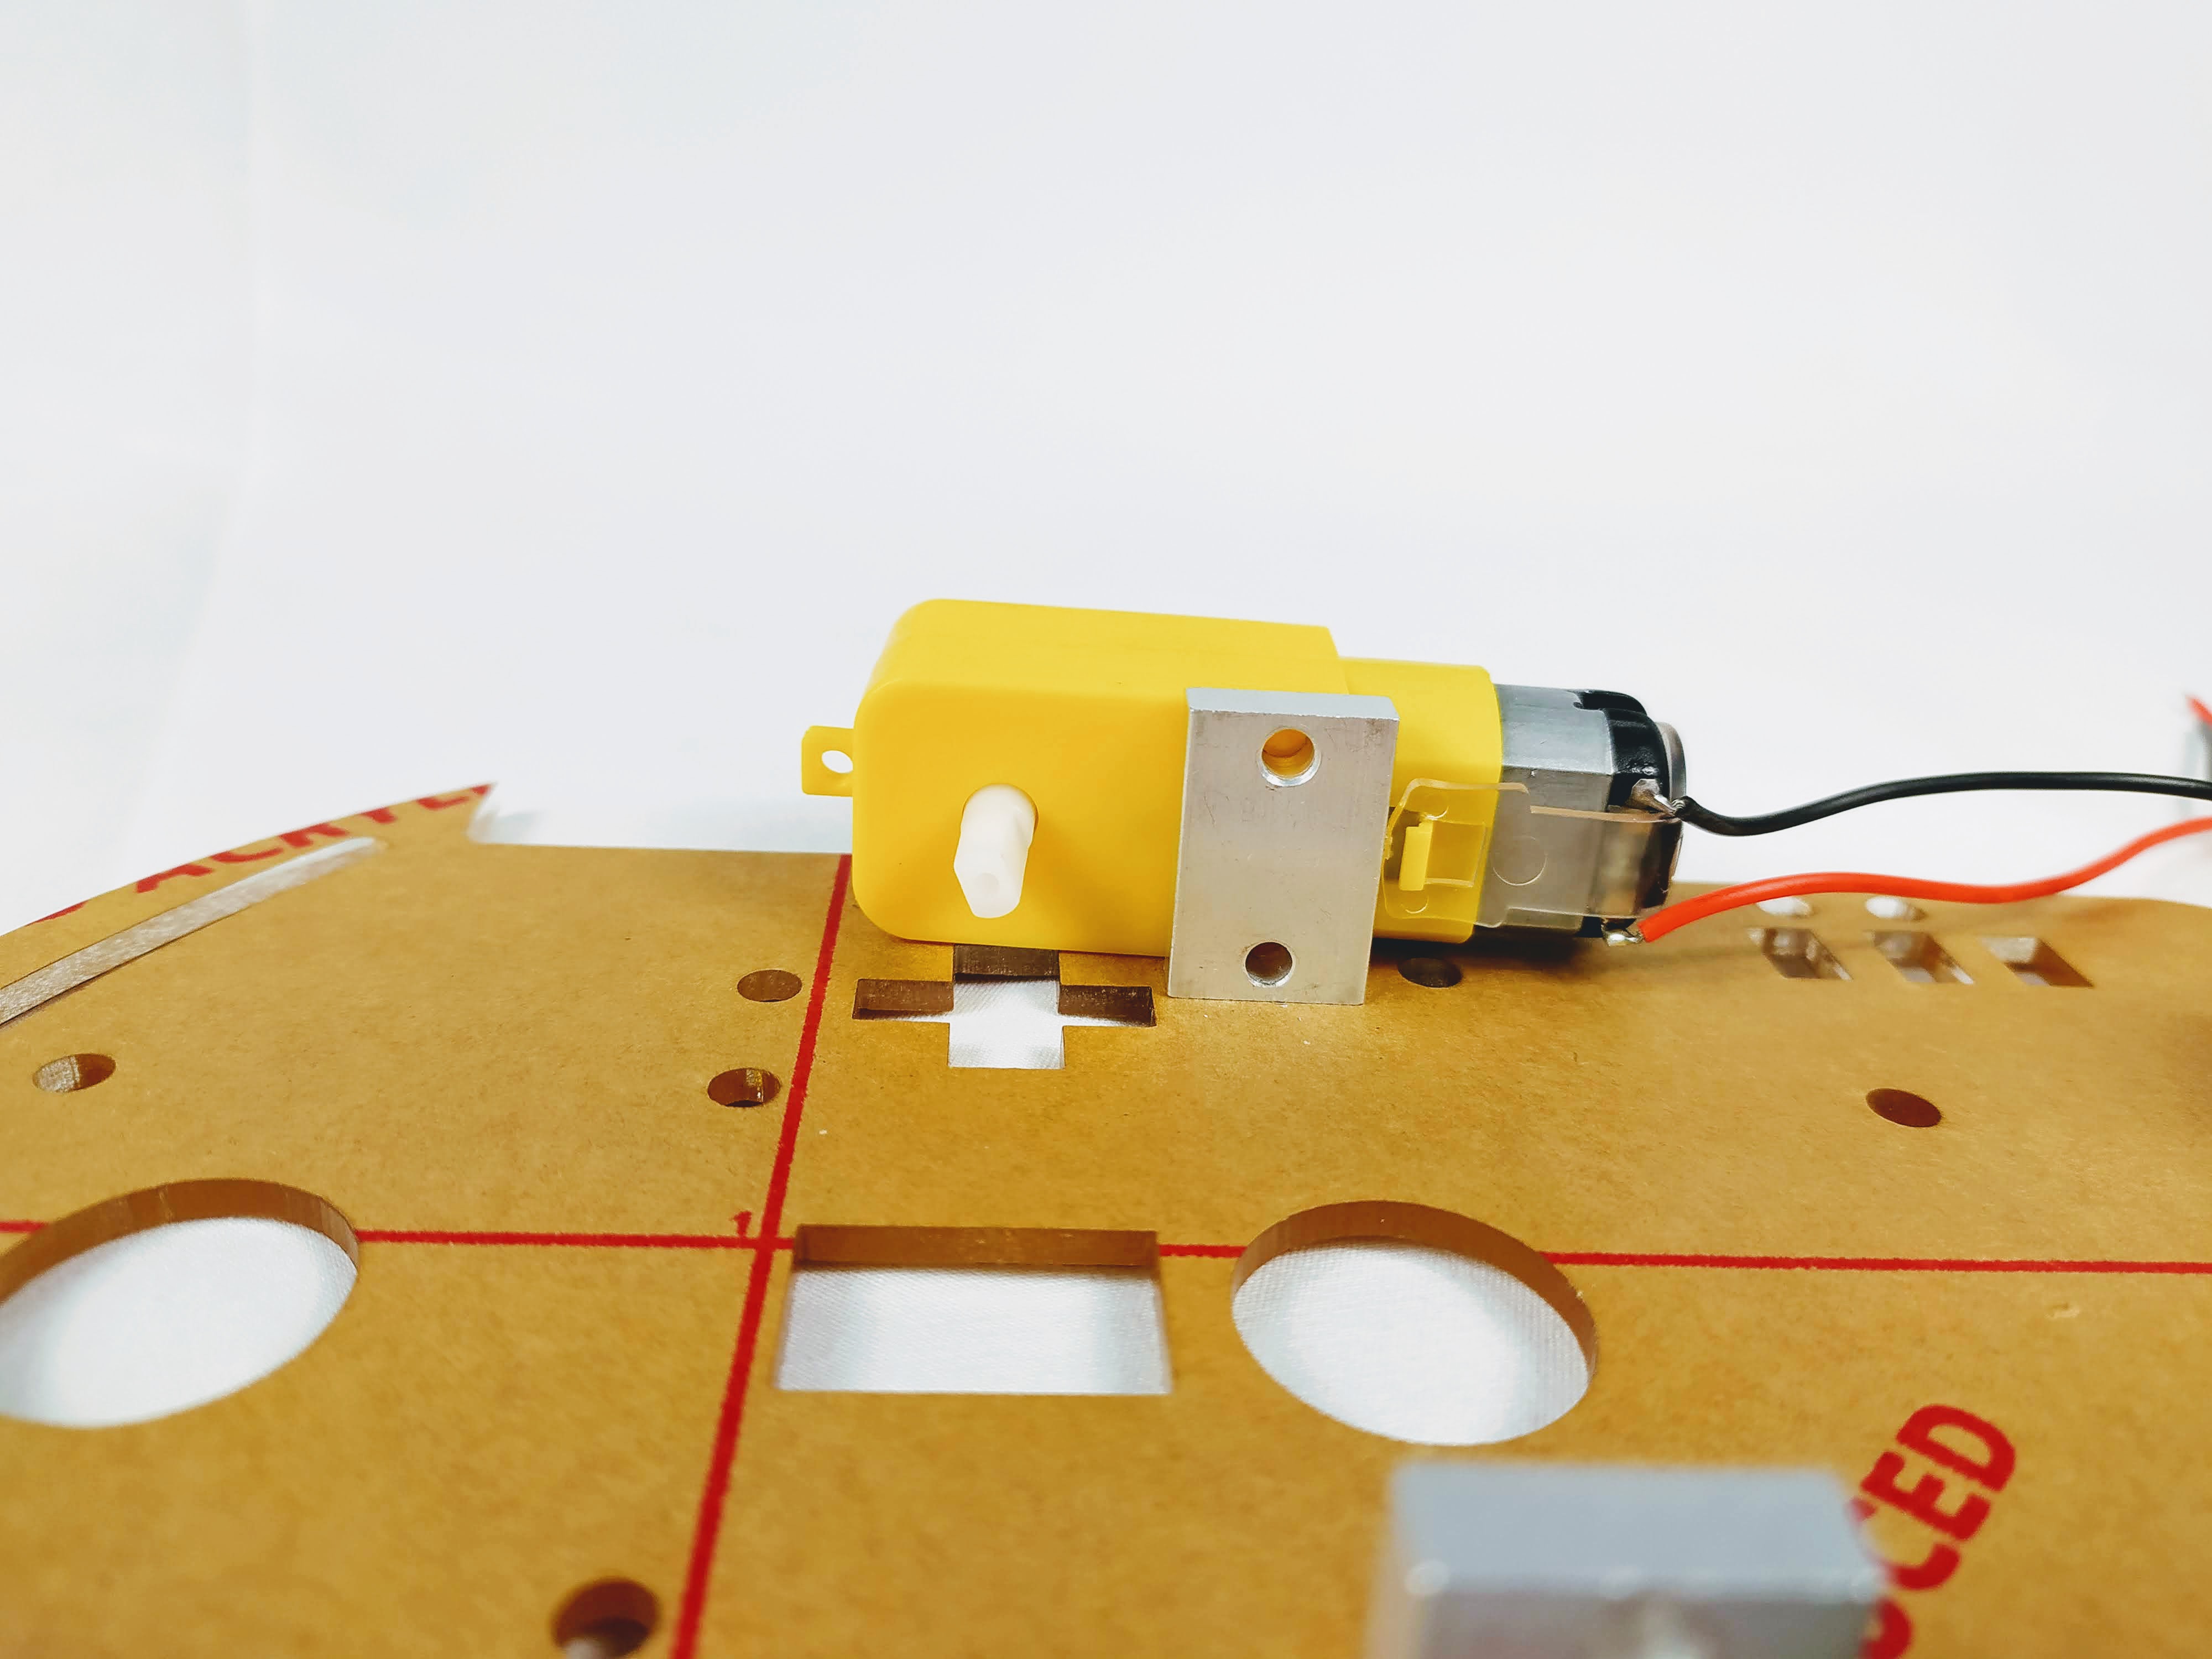
Use a long screw and matching nut to fasten the motor to the motor mount by using the bottom hole.
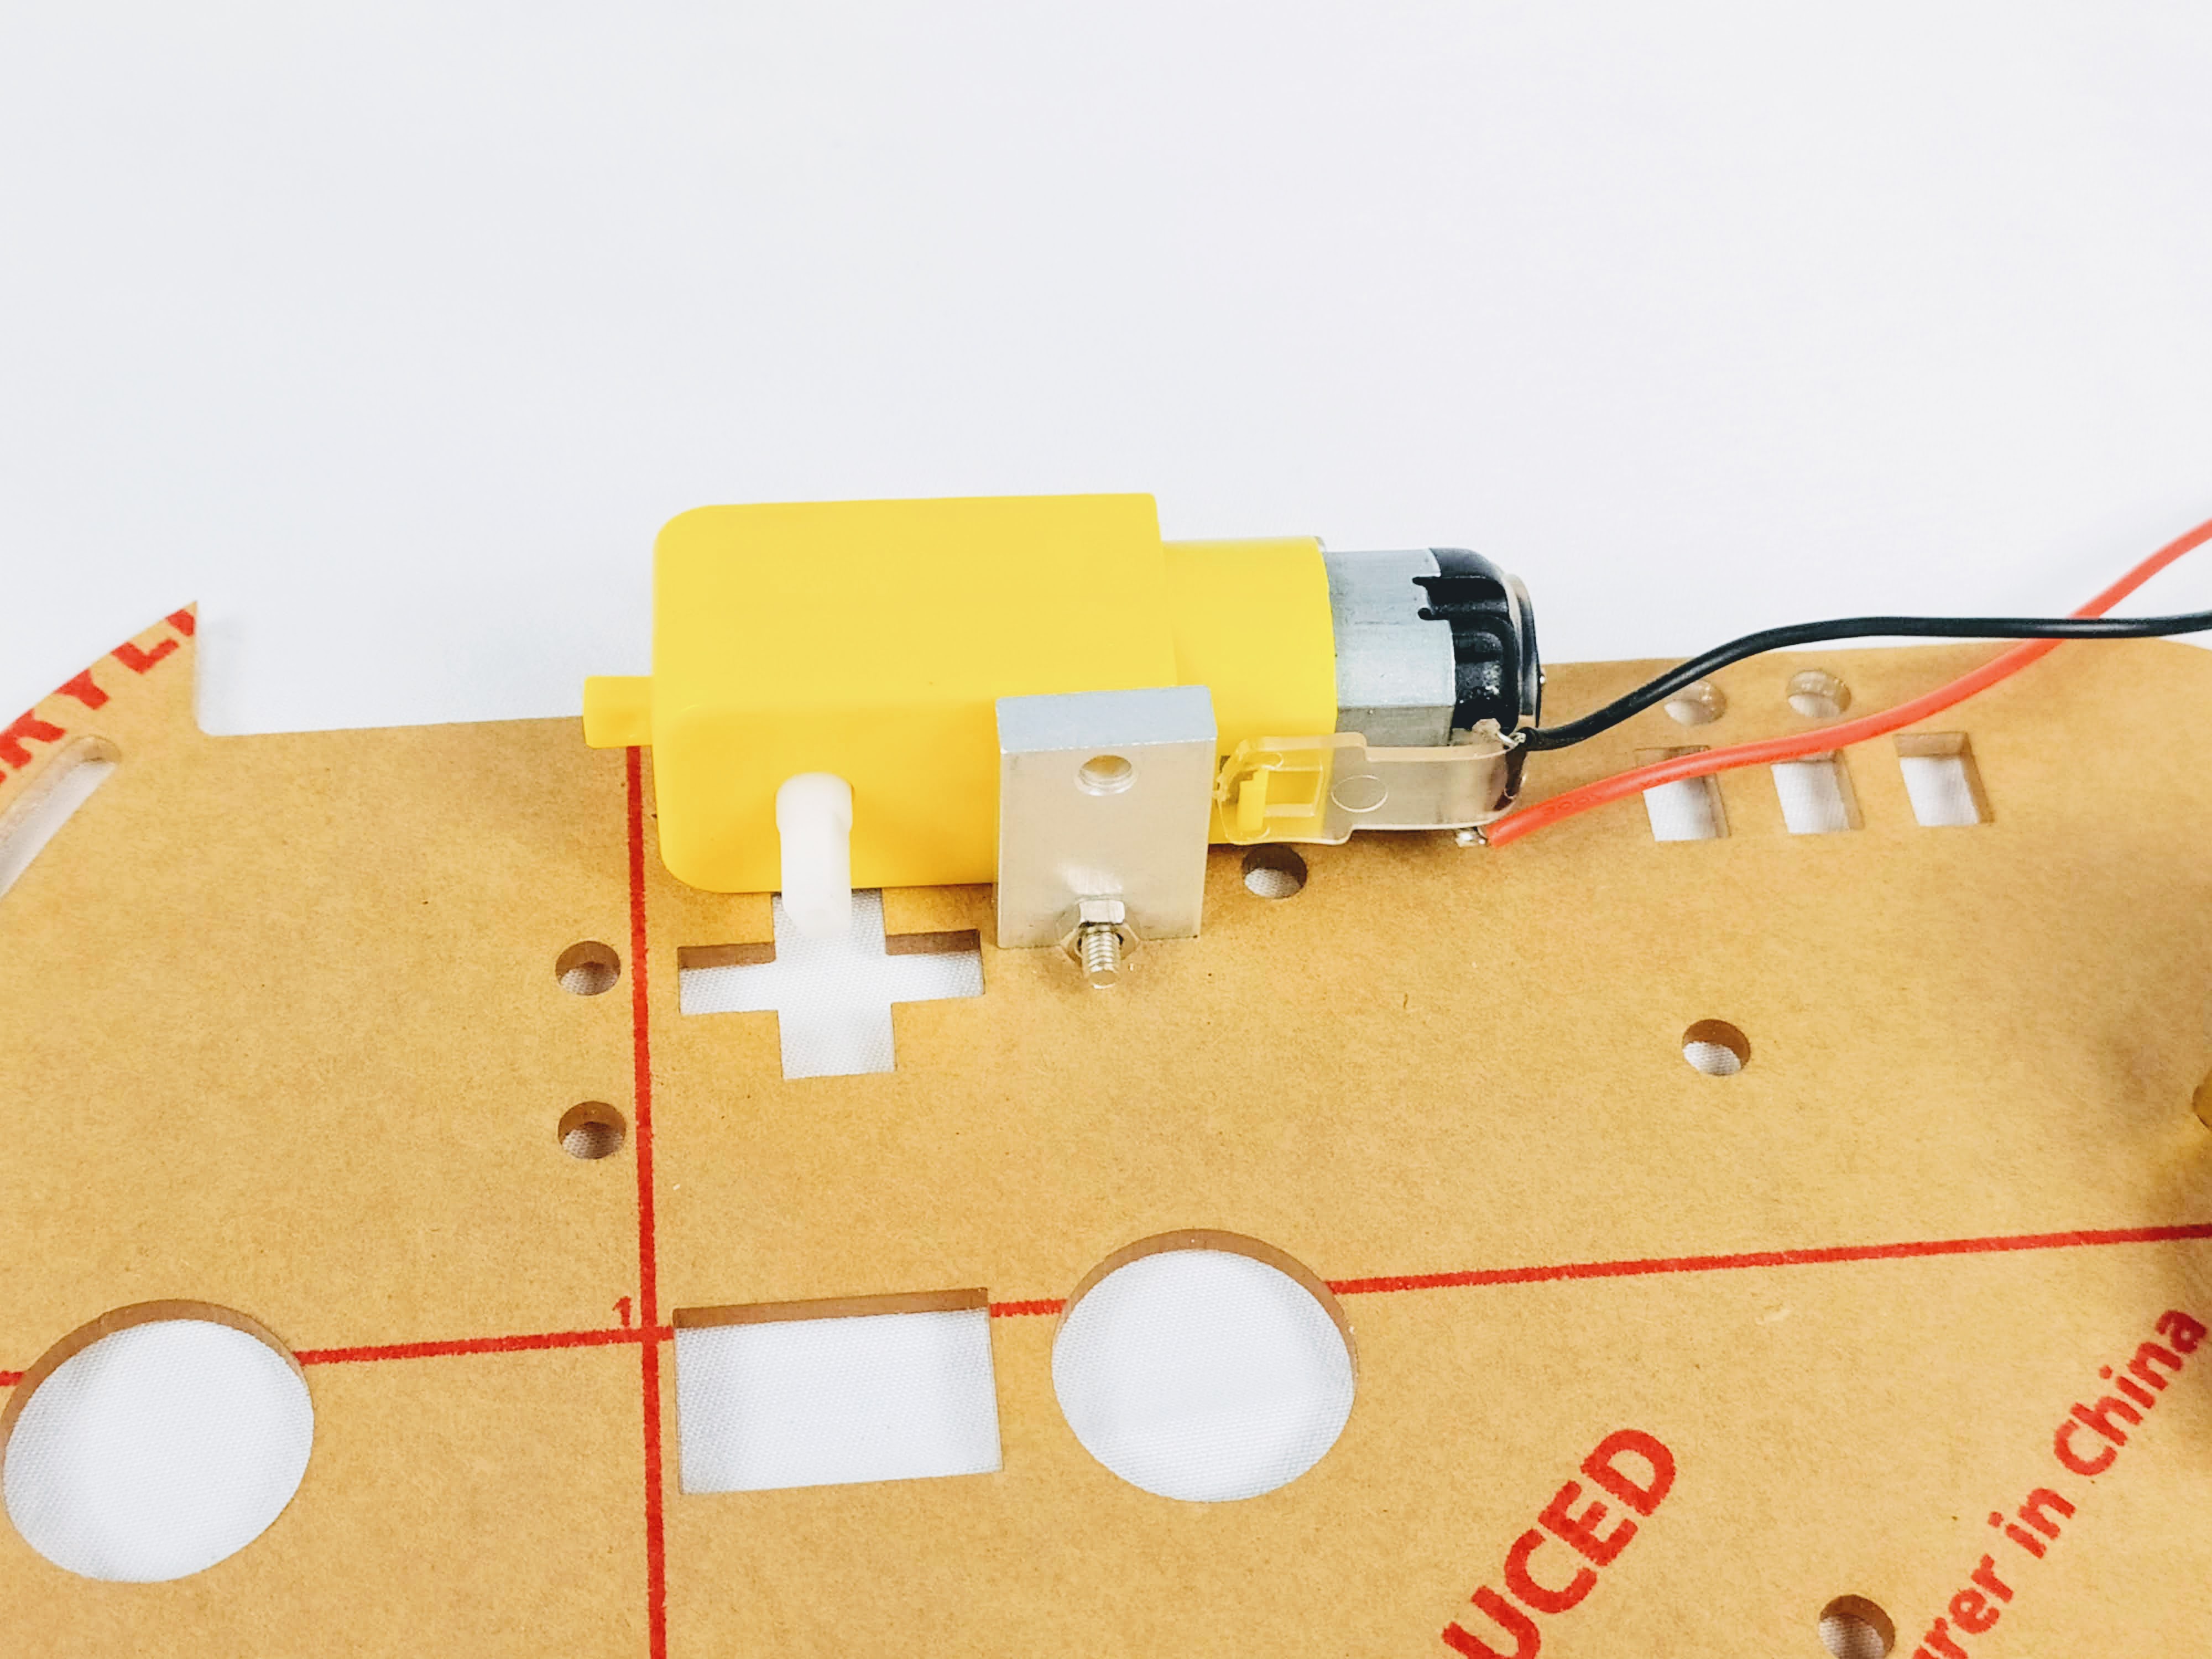
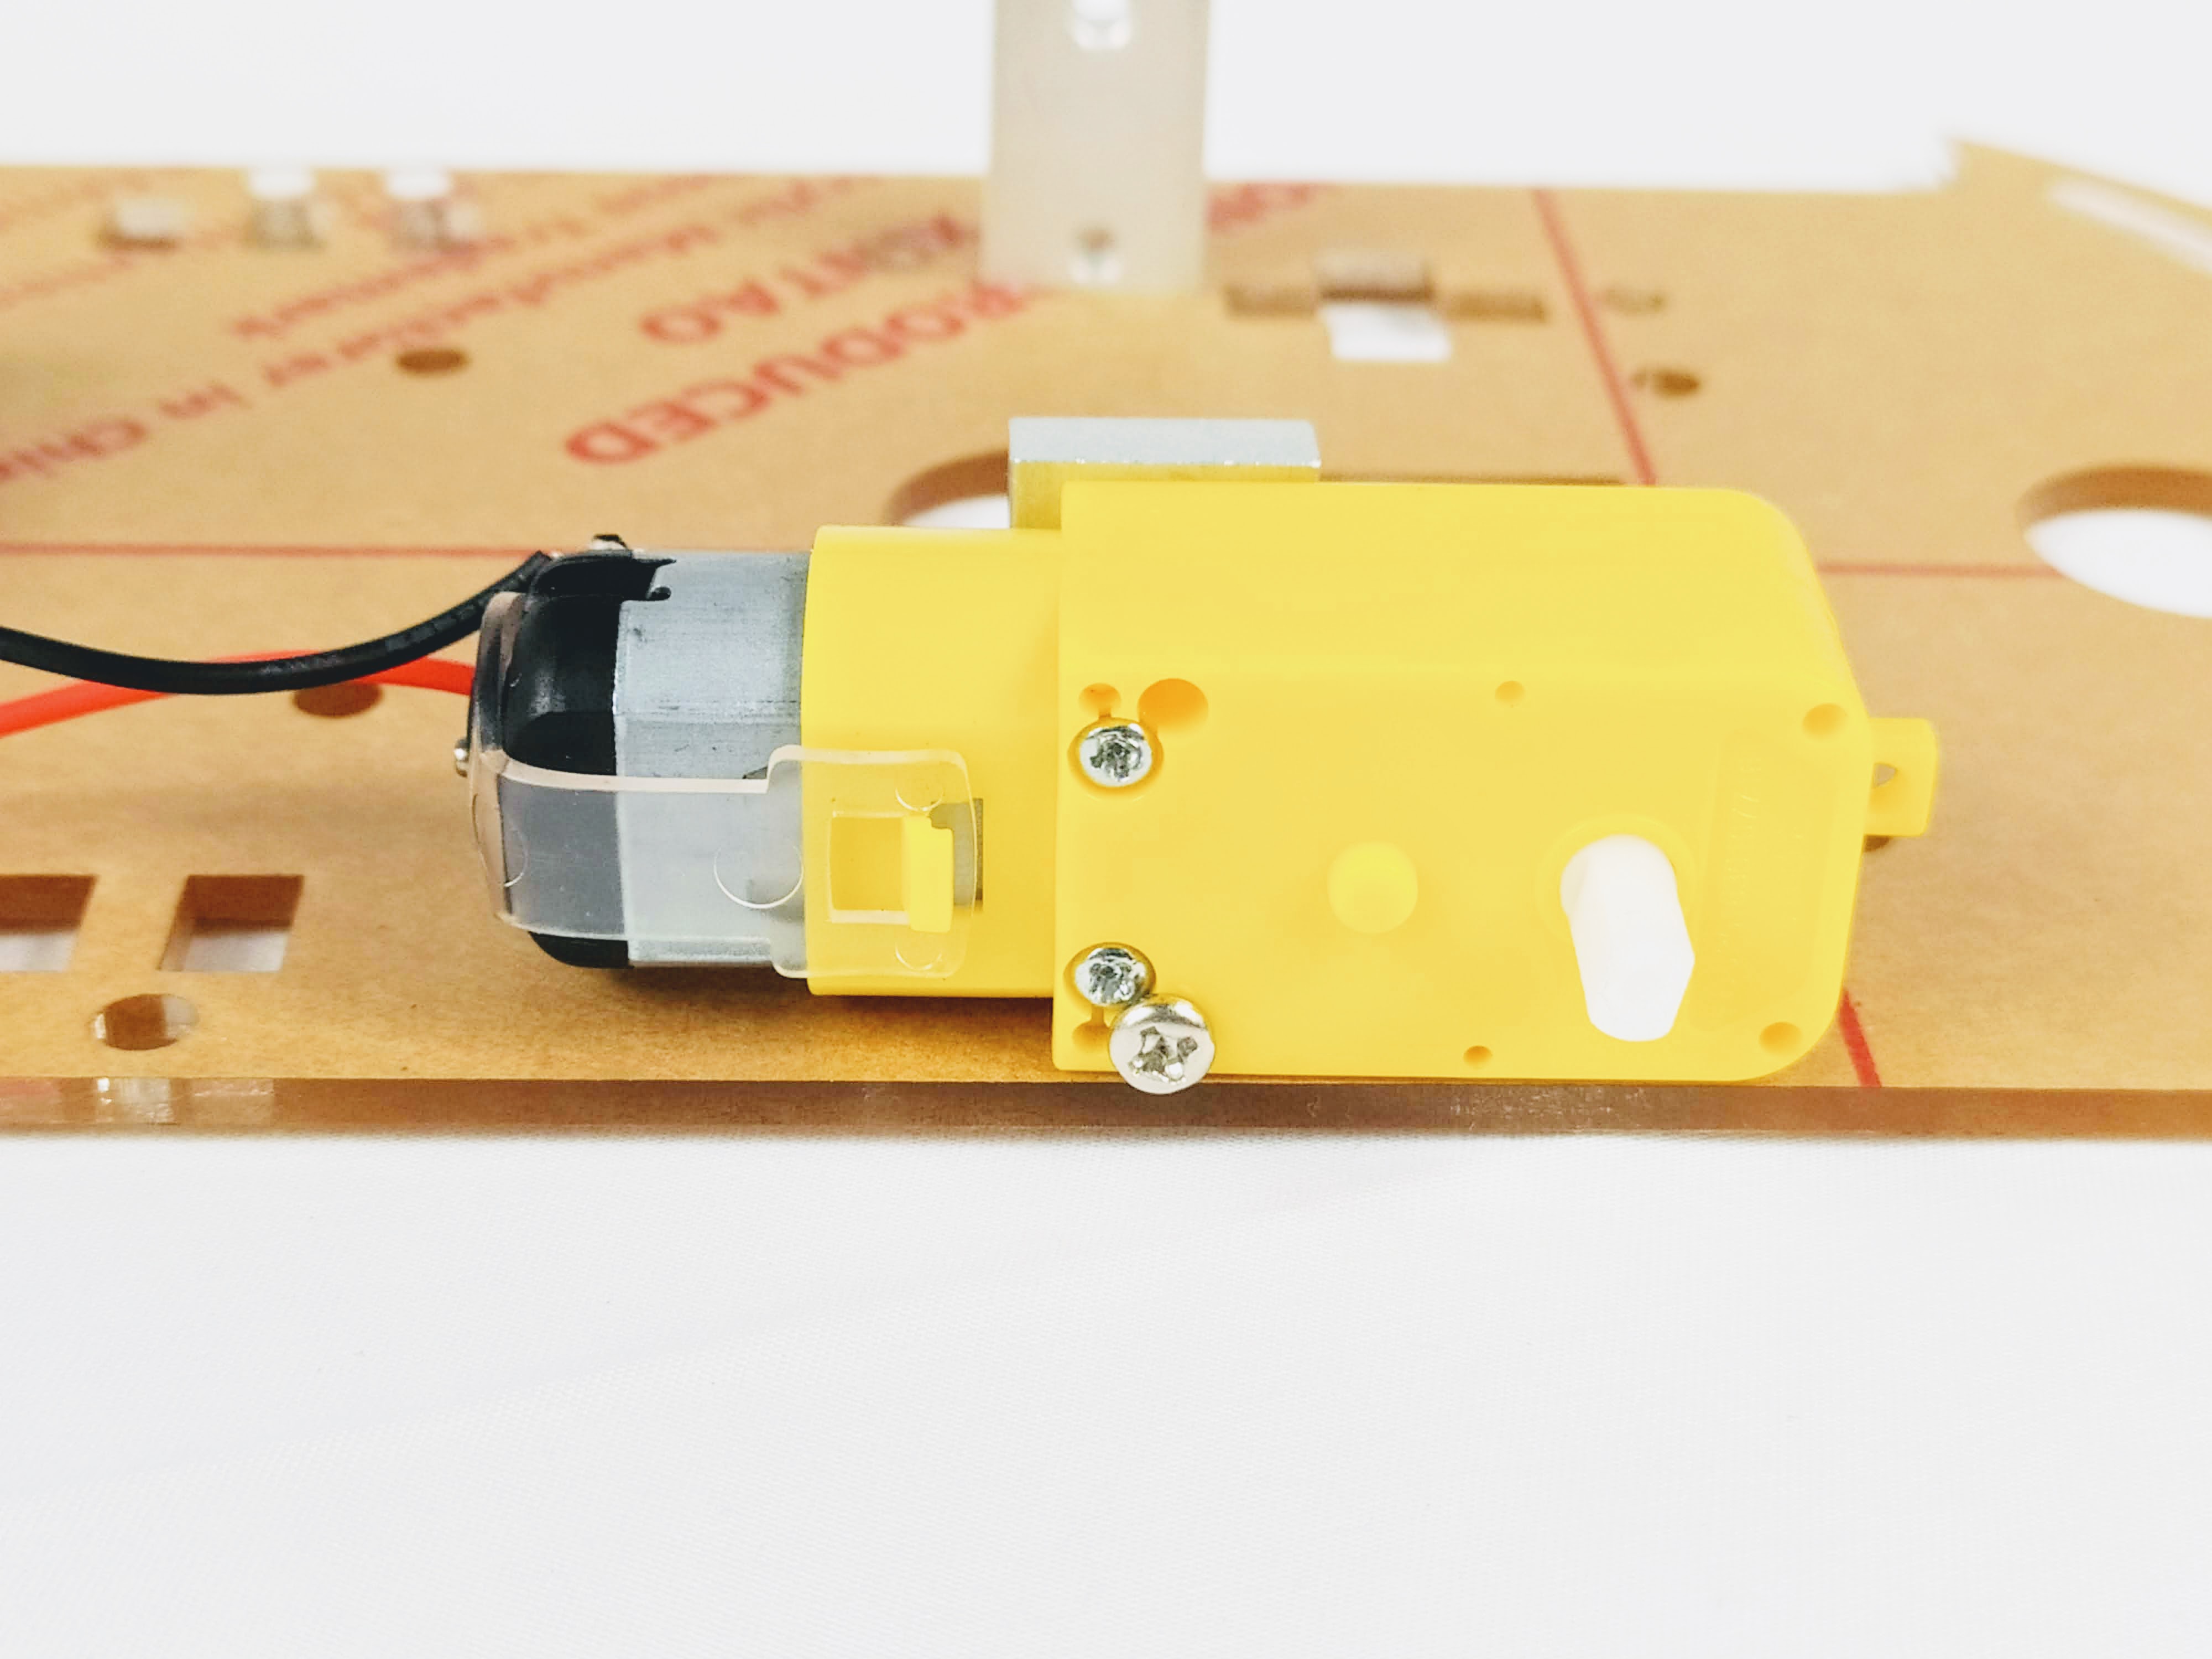
Repeat for the top hole
Insert the large wheel into the outside motor shaft of the fastened motor. Note that the flat part of the hole in the wheel must match with the flat side of the motor shaft. The shaft will not show when it is fully inserted.
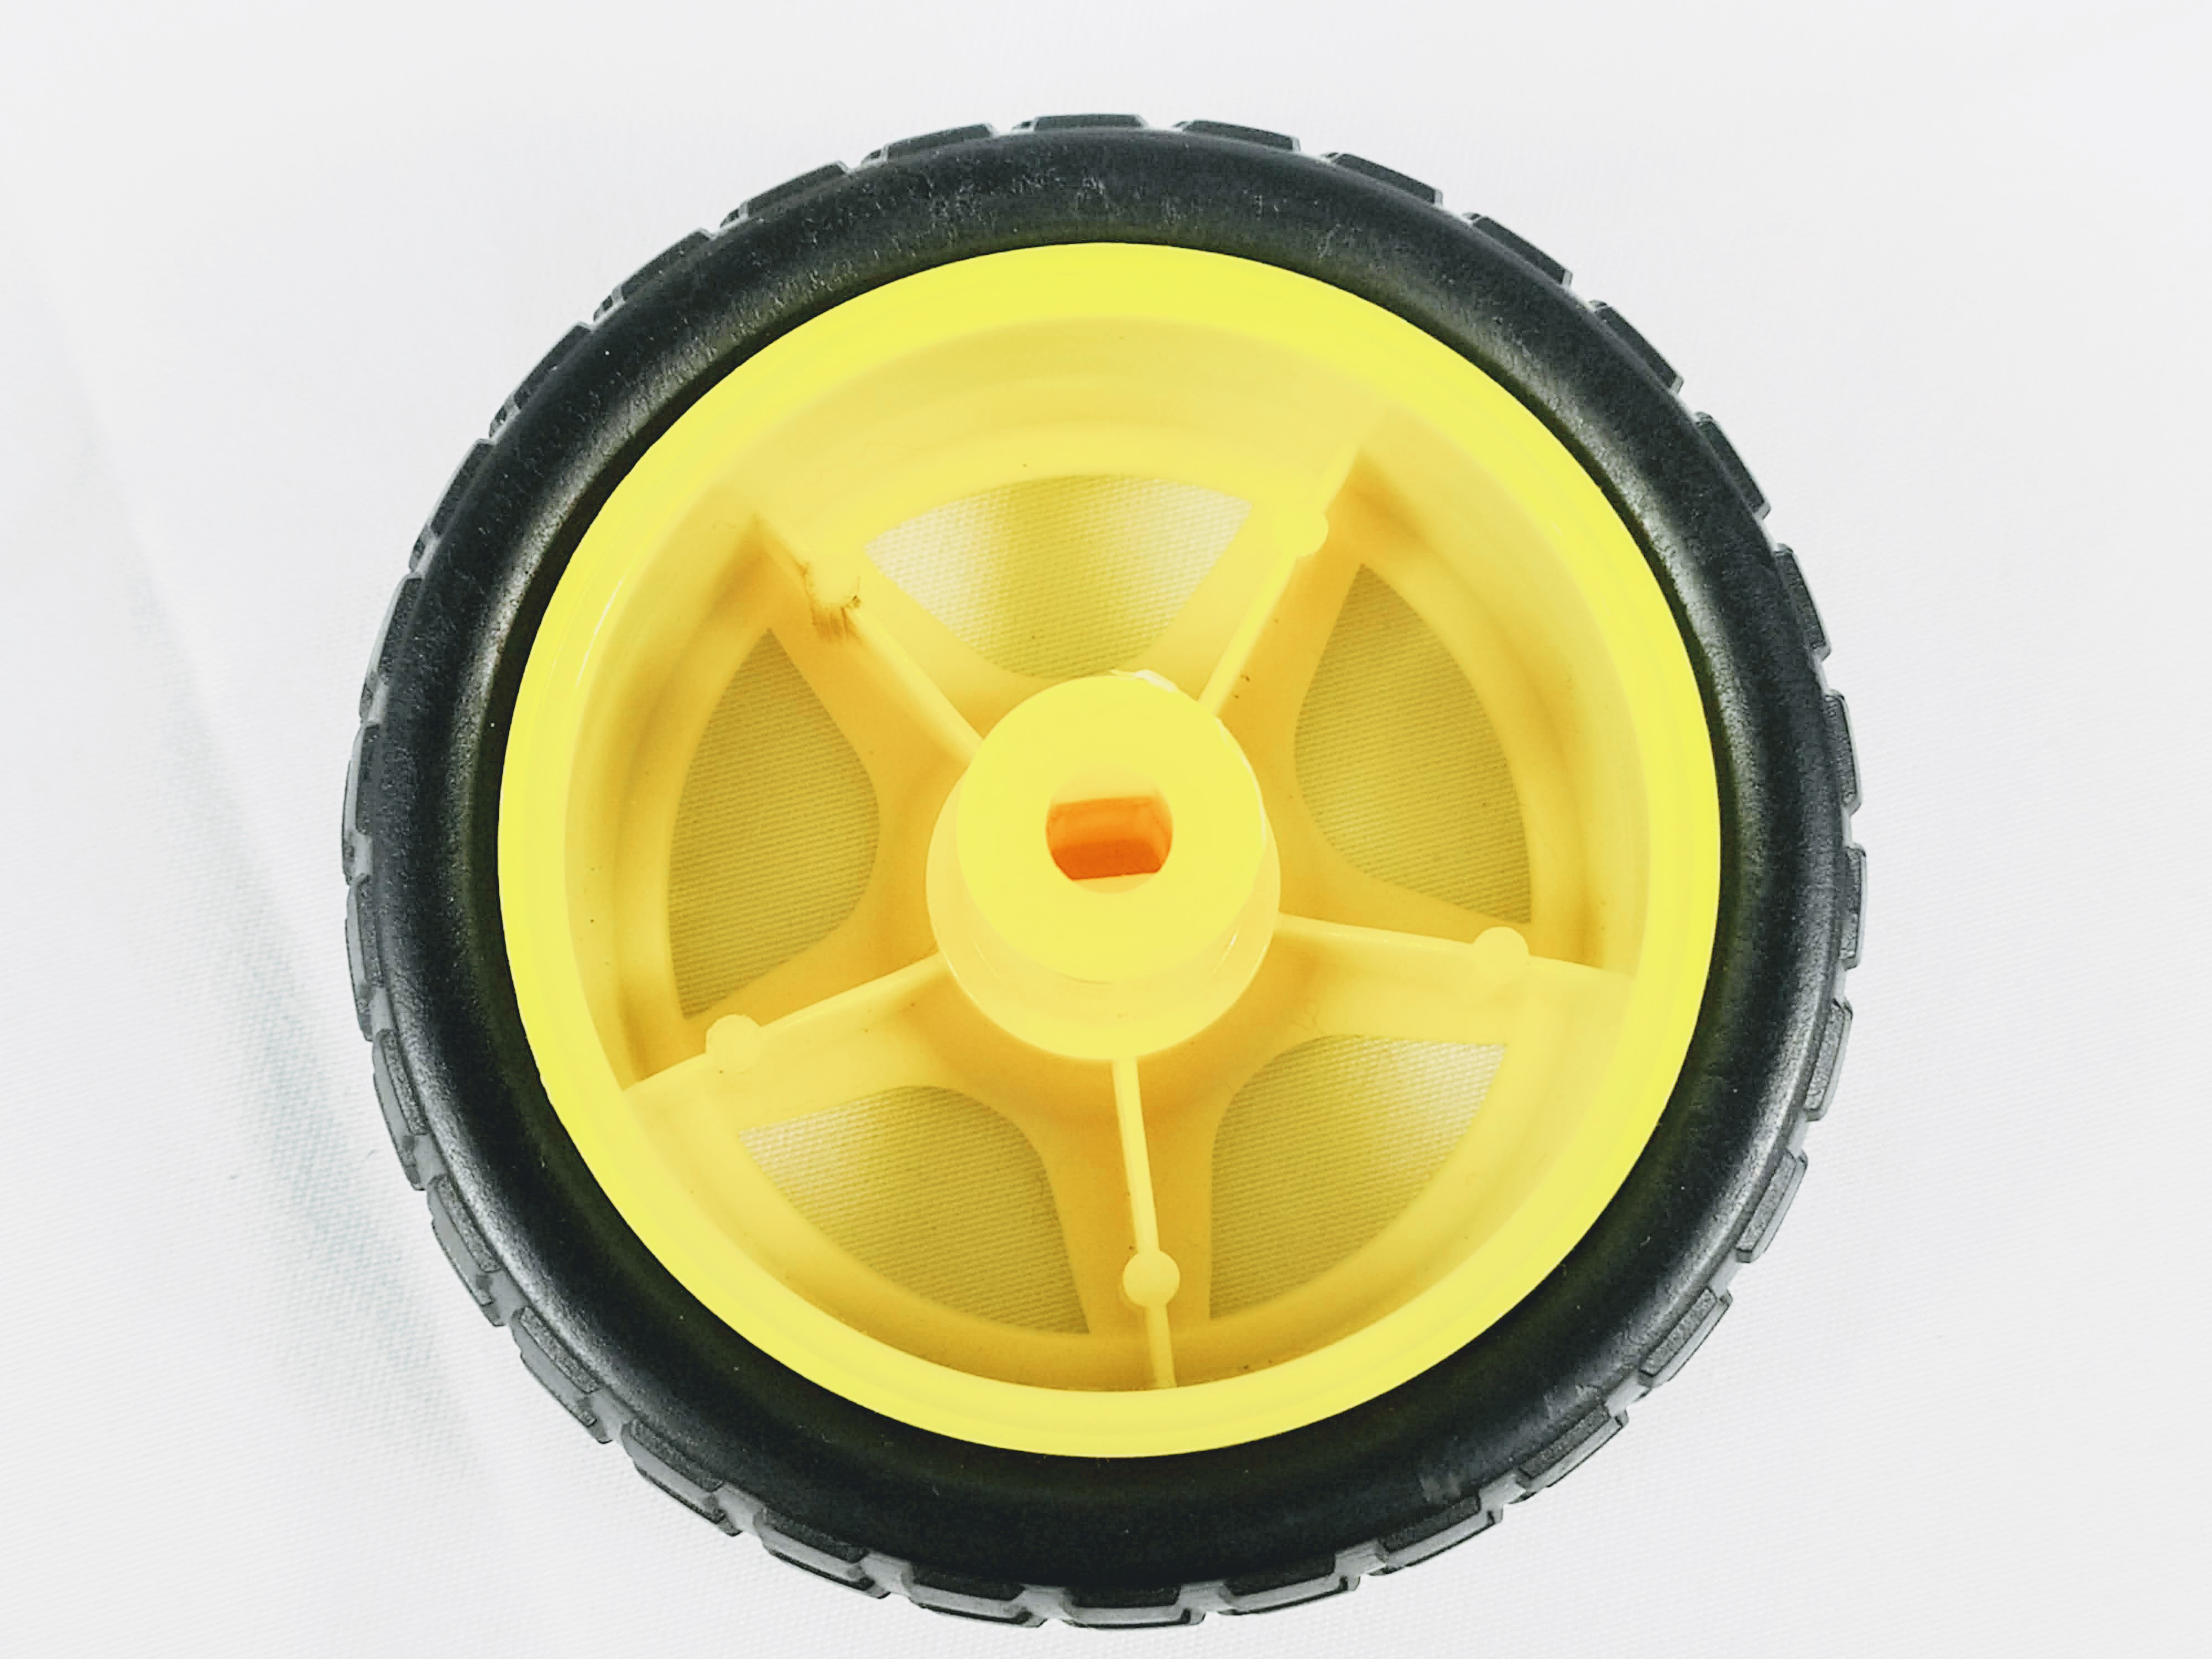
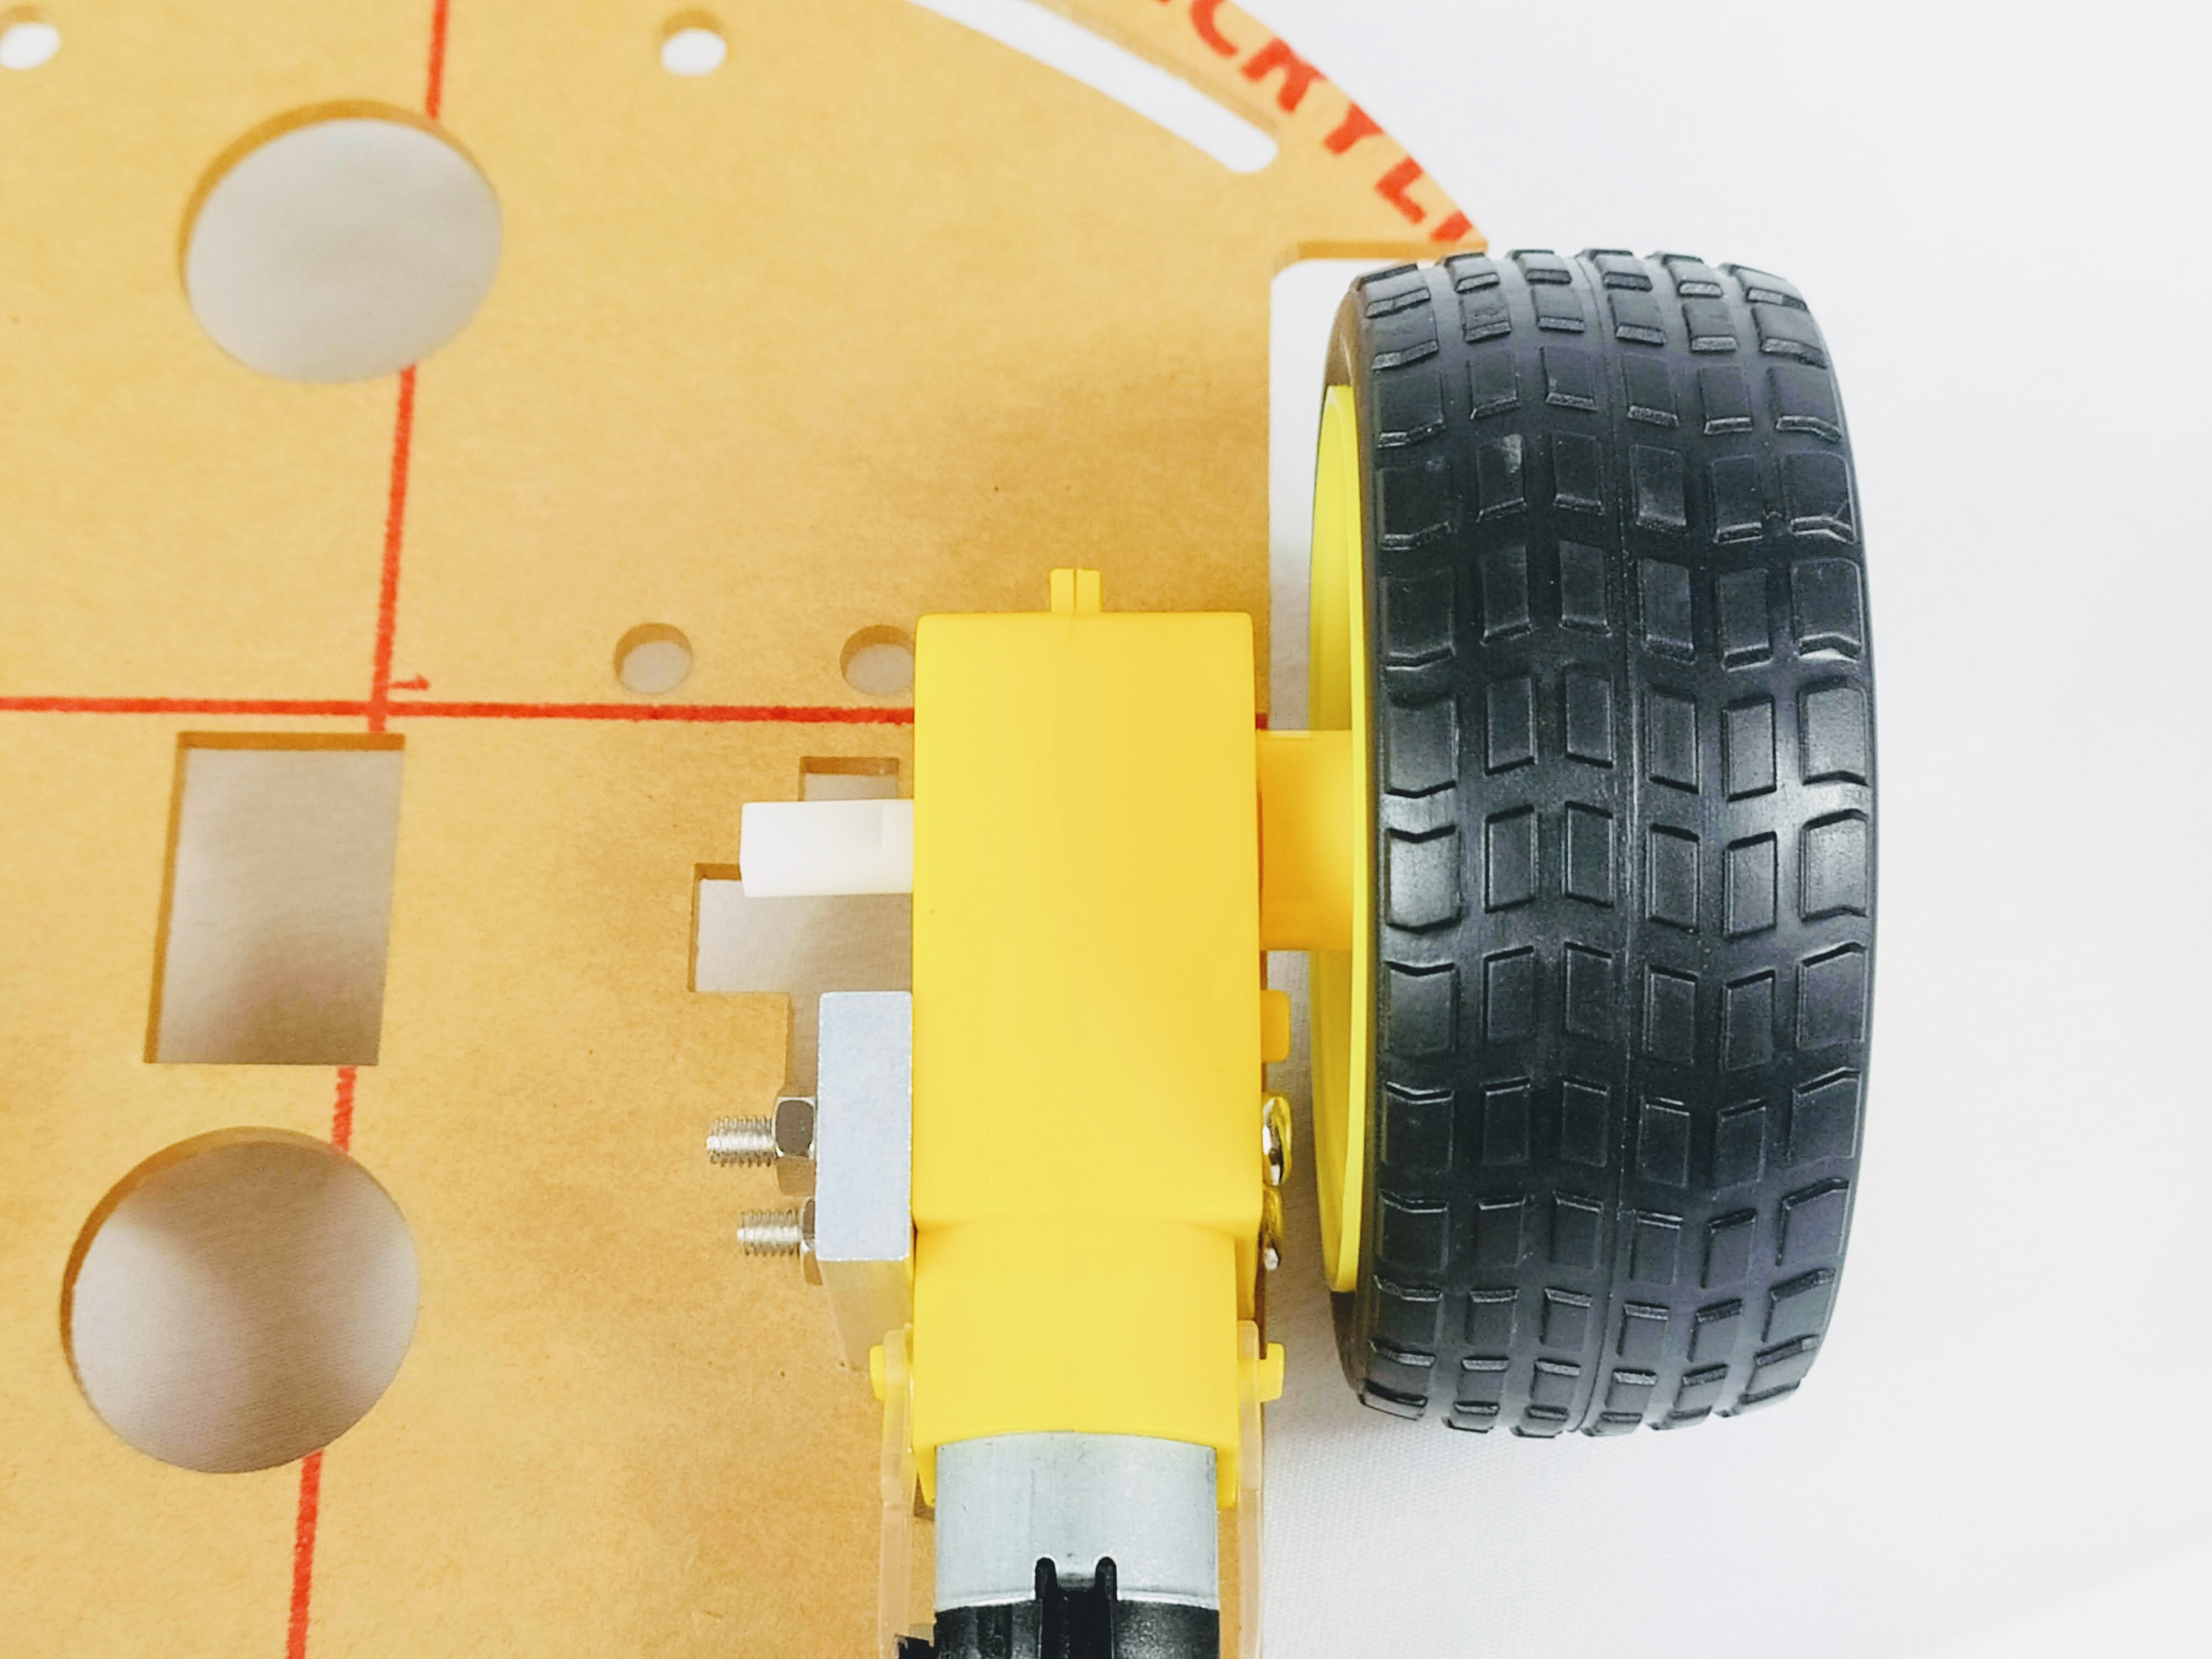
Repeat steps for the second motor + wheel.
Assembly Video For Older Chassis
Special thanks to: YIKESHU
Attach the Hardware
1. Attach the Breadboard
.jpg)
Remove the sticker paper from the back of the breadboard and stick it onto the chassis as shown in the picture below.
2. Attach the Uno
.jpg)
Using 2 x sticky foams to attach the Arduino Uno Compatible board to the chassis. Make sure to place the board so that the power connector and USB connector is not being blocked by the a wheel.
3. Attach the Battery Holder
.jpg)
Attach the battery holder to chassis.
3. Attach the Driver
Using 2 x sticky foams to attach the driver board to the chassis.
.jpg)