- PAGE SETTINGSClick on the gear to simplify view
- Settings

Lesson Plan
What Is Barnabas Racer?

The Barnabas Racer is a continuation project for Barnabas-Bot. This robot is a car that is able to think and act on its own. Builders will cover concepts from Barnabas Bot (circuits, coding, mechanical build) in addition to sensors. Recommended Ages: 11+
Project Materials
This project is done with robot parts that are readily available. Parts needed include:
- 1 x Barnabas Noggin (Arduino-based controlled)
- 1 x 2WD Metal Chassis
- 1 x Ultrasonic Sensor
- 2 x Continuous Servo Motors
- 1 x Bread Board
- 1 x LED
- 1 x Buzzer
- 1 x 4-Pin Button
- 6 x Resistors
- 15 x Male to Male Jumper Wires Bundle
- 1 x 9V Arduino battery plug
- 1 x 9V battery
- 3 x Zip Ties
- 1 x Philips Head Screw Driver
- 1 x Bag of Assorted Screws and Nuts
Need materials? Purchase the Barnabas Racer kit at our e-store. Classroom sets available. Contact us at info@barnabasrobotics.com to inquire.
How To Use Our Learning Portal
This learning portal includes written instructions as well as videos. Here are a few things that will be helpful for you as you begin.
Decide On Your Coding Style
A big part of the Barnabas Racer project includes creating code on the computer, which will be used to control your robot. When creating code, you can choose between block-based coding and text-based coding. Let’s explore these two types of coding.
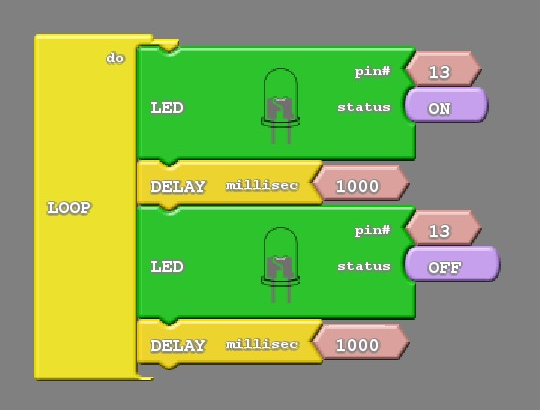
Block-based coding is an innovation in education that allows younger students to learn and experiment with the logic flow of computer coding without needing to type very much. Code is creating by snapping commands together like puzzle pieces. See below for an example of what it looks like.
Block-Based Code
Text-based coding requires that every command in the code to be typed out explicitly. The commands need to be spelled correctly and are case-sensitive (capitals and lower-case matter!). This style is the popular method used by software programmers (video game, website developers, app developers, etc.) in the real world. See below for an example of what it looks like.
Text-Based Code
void setup()
{
  pinMode( 2 , INPUT);
  pinMode( 7 , OUTPUT);

}

void loop()
{
  if (digitalRead(2) == HIGH) {
    digitalWrite(7,LOW);
  }
  else {
    digitalWrite(7,HIGH);
  }
}
In our classes, we start younger students (ages 8-11) with block-based coding and eventually graduate them to text-based coding as they gain experience.
If you’re having trouble deciding which one to choose, we recommend starting with block-based to ease into the coding. You can always change to text-based code in the middle of the project (if you choose to do so).
Set Your Coding Style
Once you’ve decided on your coding style, make sure to configure your learning portal so that you are able to view the correct instructions. Follow the steps below.
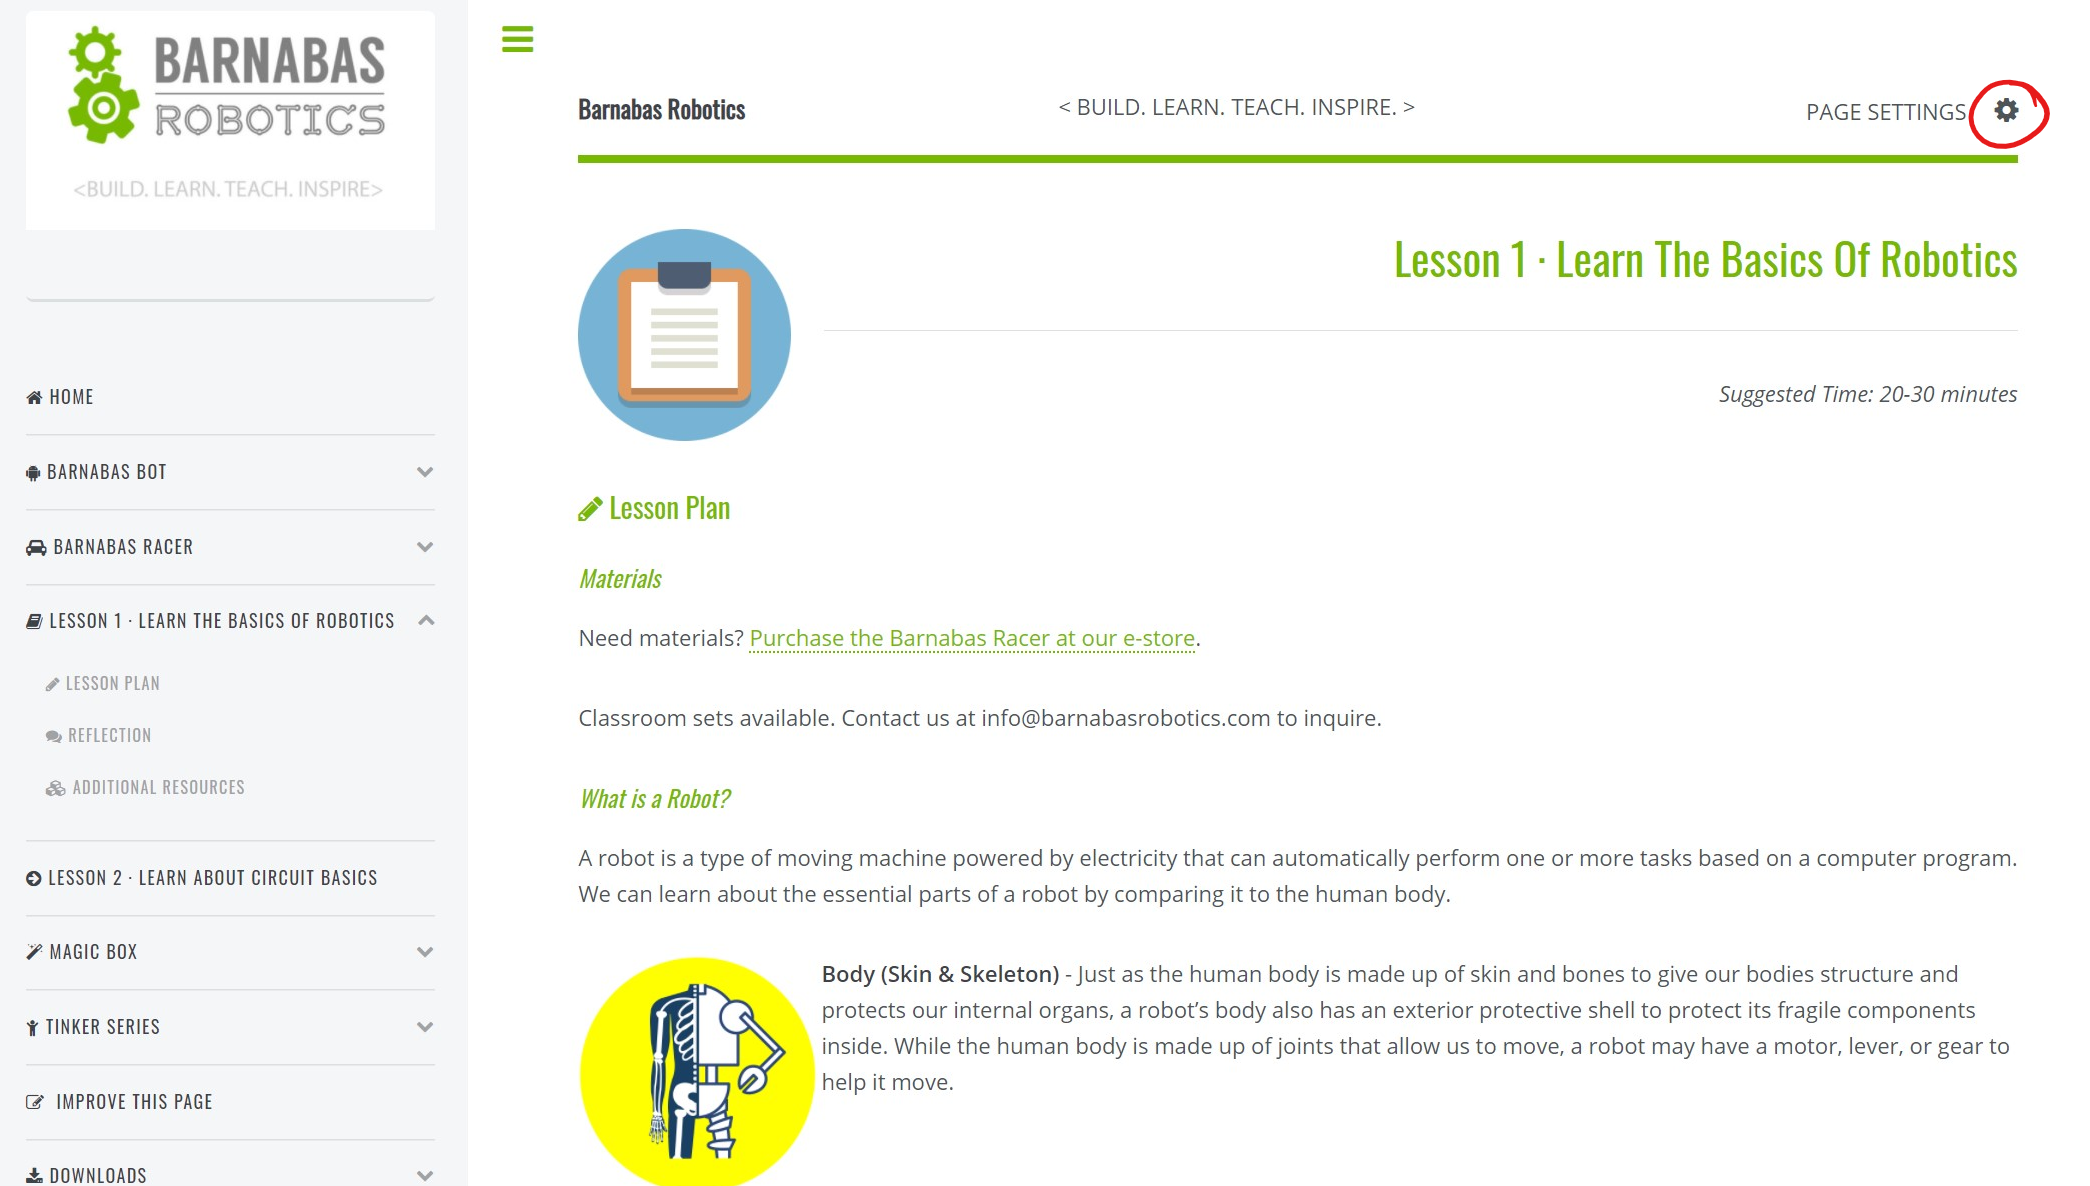
1. Click on the gear icon on the top right
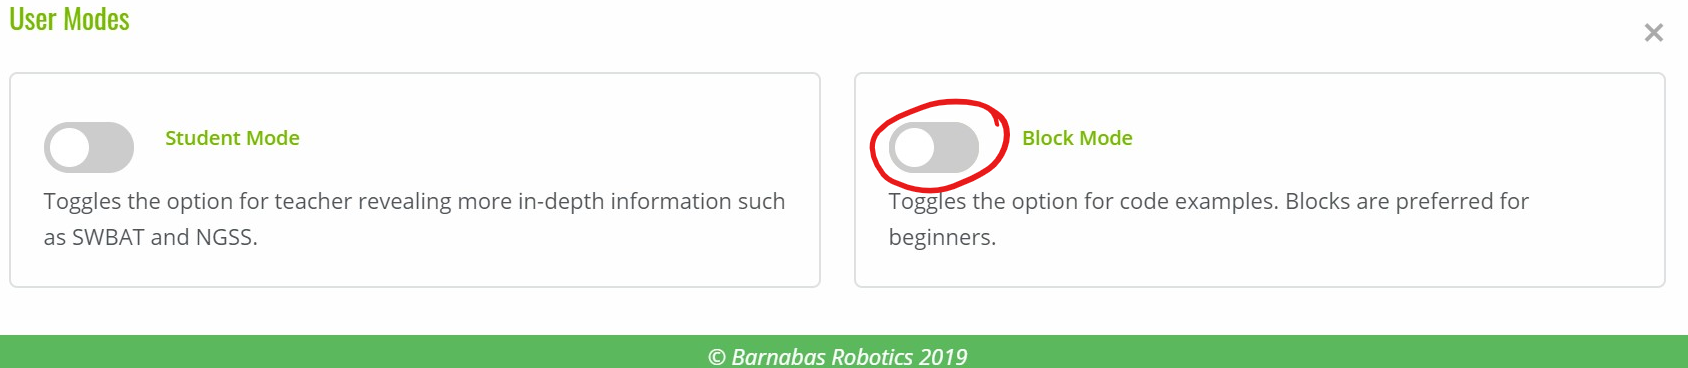
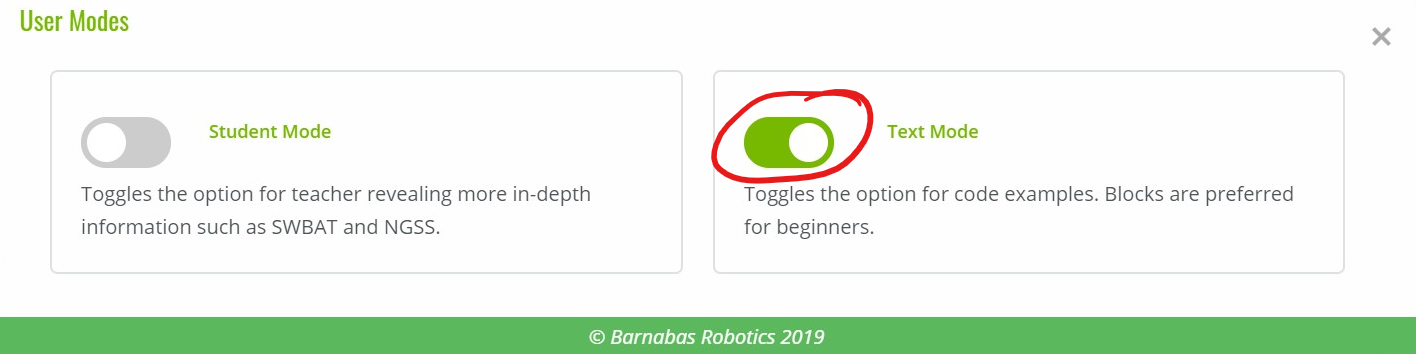
2. Click on the toggle button to select your coding mode.
Extra Resources
Some lessons include extra resources (videos, documents, etc.). Scroll to the bottom of the page to find them.

Navigate Between Lessons
After you finish a lesson, scroll to the bottom of the page and click “Next Lesson” to go to the next lesson.
You can also go back to the previous lesson by clicking on “Prev Lesson”.

Let’s Go!
Now that you know the basics of this portal, let’s get started!